
Mocha Pie
This recipe is made with three layers including a cookie crumb base, whipped chocolate filling and whipped cream topping. It's incredibly light and fluffy.
Tap Stars To Rate!
Serves: 10 servings
Ingredients
Crust:
- 1 ½ cups cookie crumbs
- ¼ cup unsalted butter - melted
- ¼ cup sugar - optional
Filling:
- 3 eggs
- ½ cup granulated sugar
- 4 oz semisweet baker's chocolate
- 2 tsp vanilla extract
- 2 tsp instant coffee granules
- ½ cup unsalted butter - softened and room temperature
- 3 cups whipping cream
- 2 Tbsp confectioners powdered sugar
- 1 tsp vanilla extract
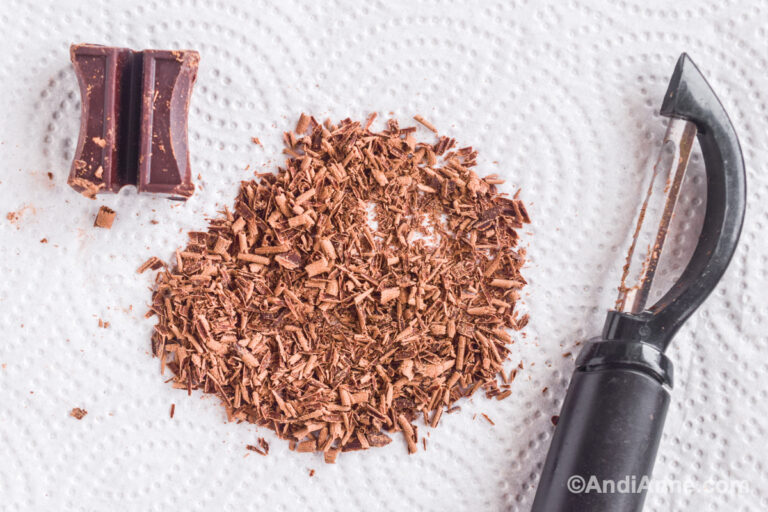
- 2 Tbsp chocolate shavings - from baker's chocolate
Instructions
Crust:
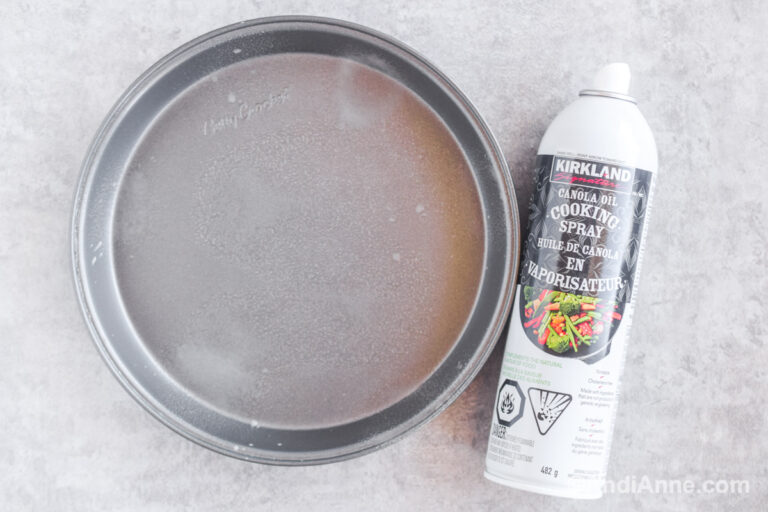
- Preheat the oven to 350°F. Spray a pie pan with nonstick cooking spray.
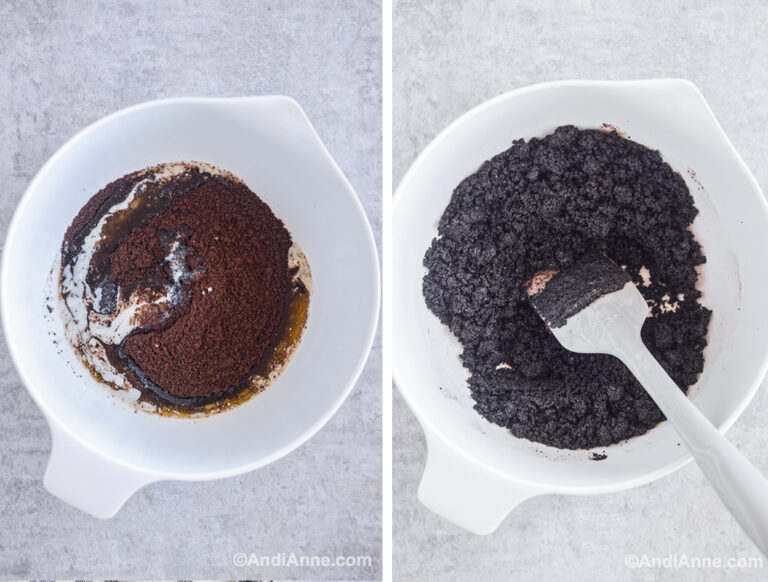
- Melt butter in the microwave, then mix in cookie crumbs and sugar.
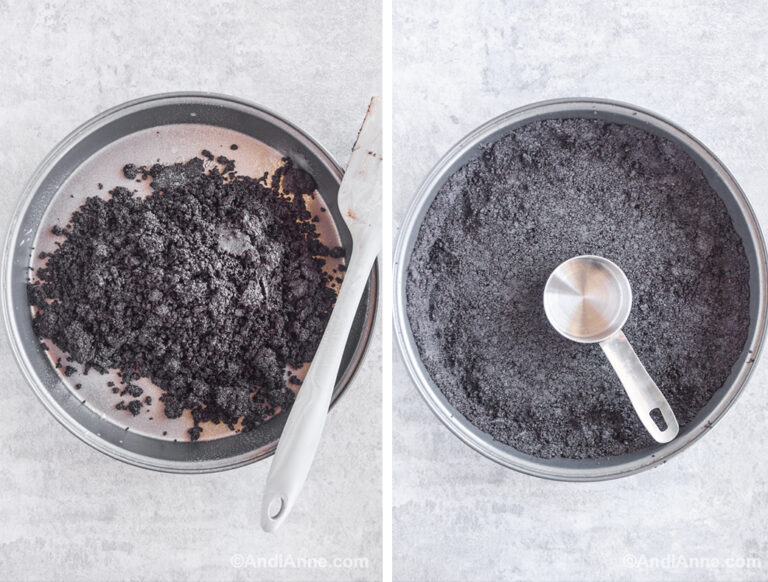
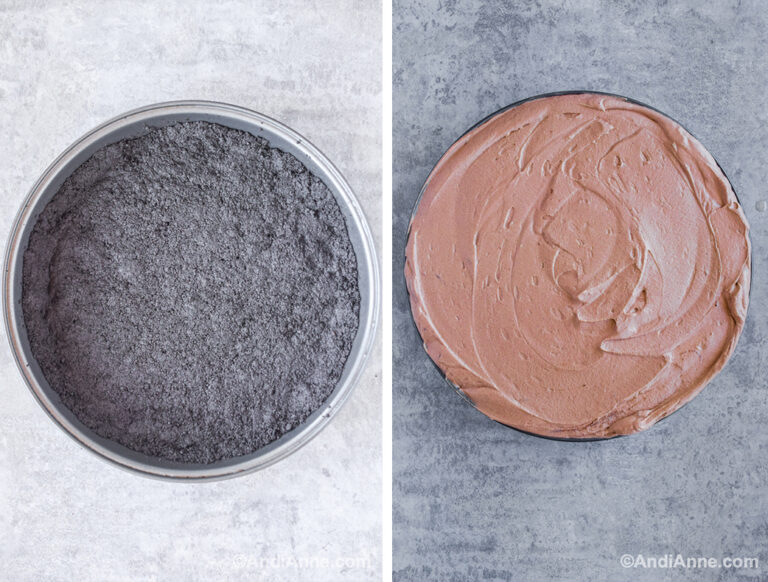
- Add to the greased pie pan. Press down with the bottom of a small measuring spoon or your fingers. Bake for 10 minutes, remove from oven and let cool completely before adding the mocha filling.
Filling:
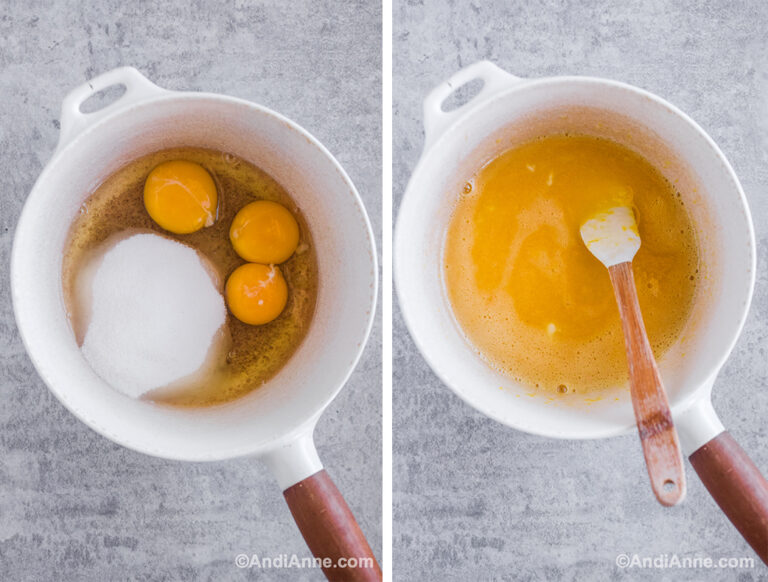
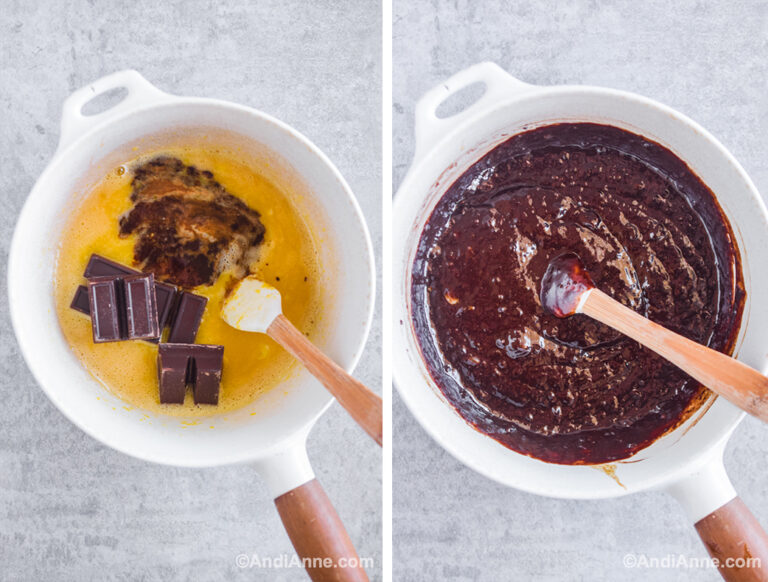
- Heat eggs and sugar to a pot over medium-high heat, stirring constantly. The sugar should be dissolved and will coat the back of a spoon (do not overcook or it will cook the eggs). Remove from heat.
- In a bowl, add the instant coffee and the vanilla to dissolve.
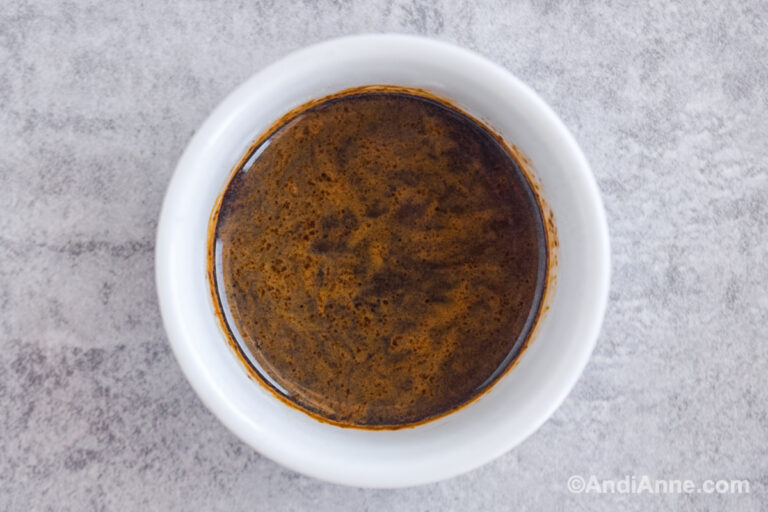
- Add in the baker's chocolate and dissolved coffee. Stir until chocolate is melted (not on the stove). Let cool and set aside.
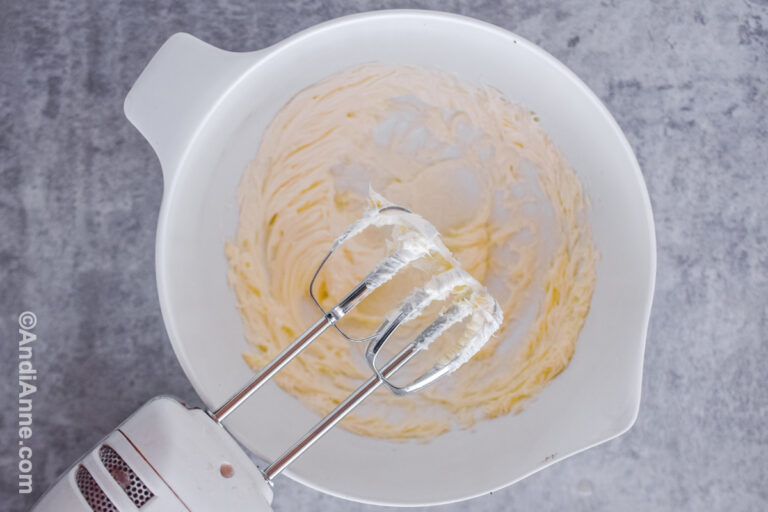
- In a medium bowl, beat the softened butter for 2 minutes.
- Add in ⅓ of the chocolate mixture and beat together just enough until combined.
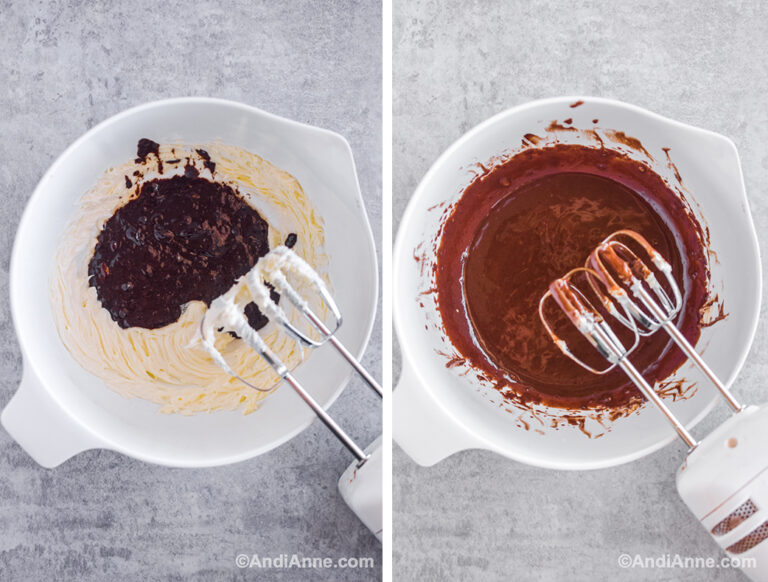
- Add another ⅓ of chocolate and mix just enough.
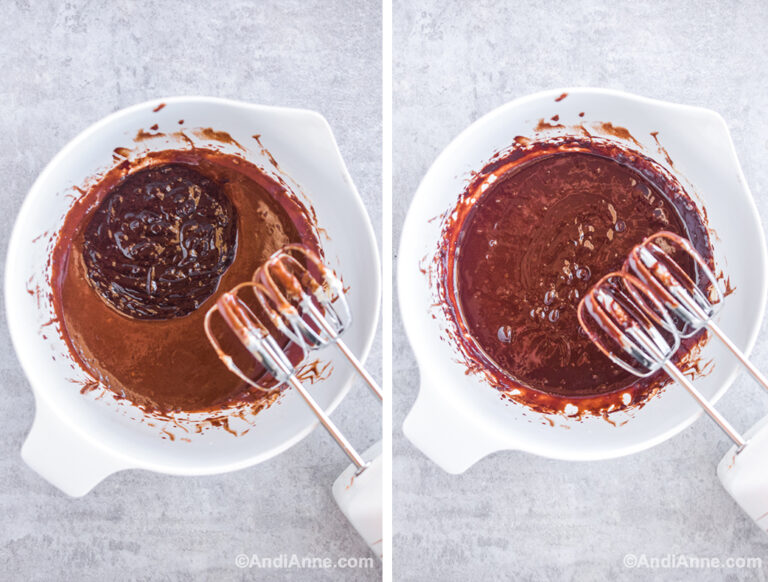
- Add the last ⅓ of chocolate mixture. Now mix for a full 5 minutes until very smooth and creamy.

- In a separate large bowl, add the whipping cream, vanilla and powdered sugar. Beat until peaks form. This usually takes 8-10 minutes.
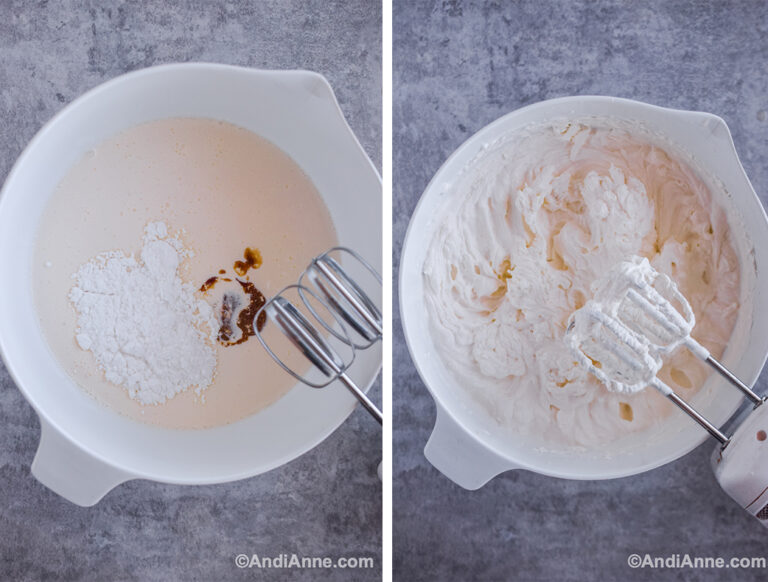
- Scoop out 2 cups worth of whipping cream. Cover it and place in the fridge for later.

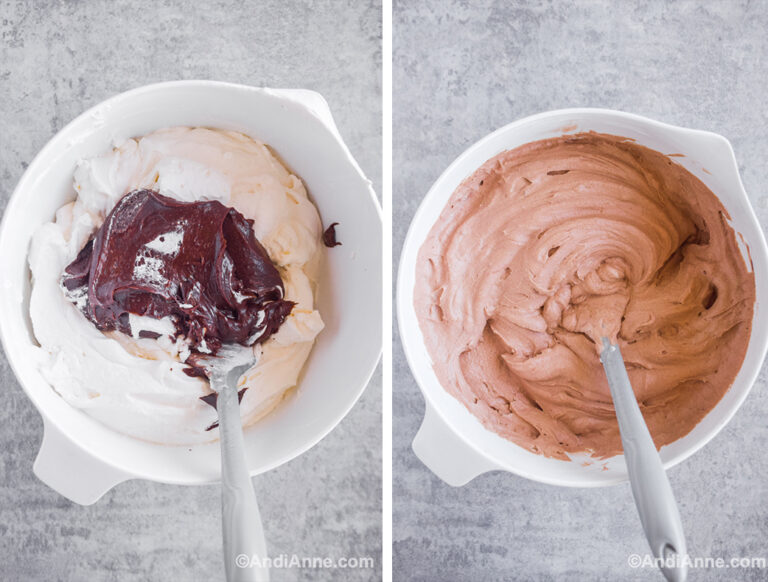
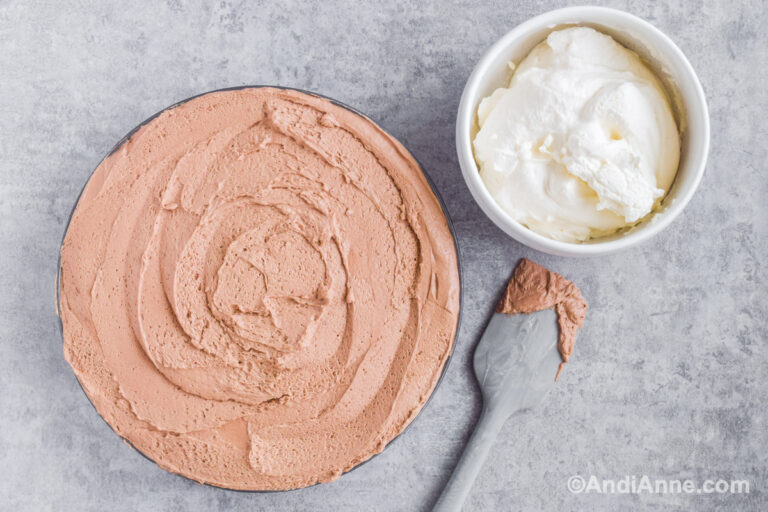
- Add the cooled chocolate mixture to the large whipped cream bowl and mix together thoroughly. Scrape the sides and bottom to get all the chocolate.
- Pour into the cooled and cooked cookie crust. Smooth out the top with a spatula. Cover and refridgerate overnight (or minimum 4 hours).
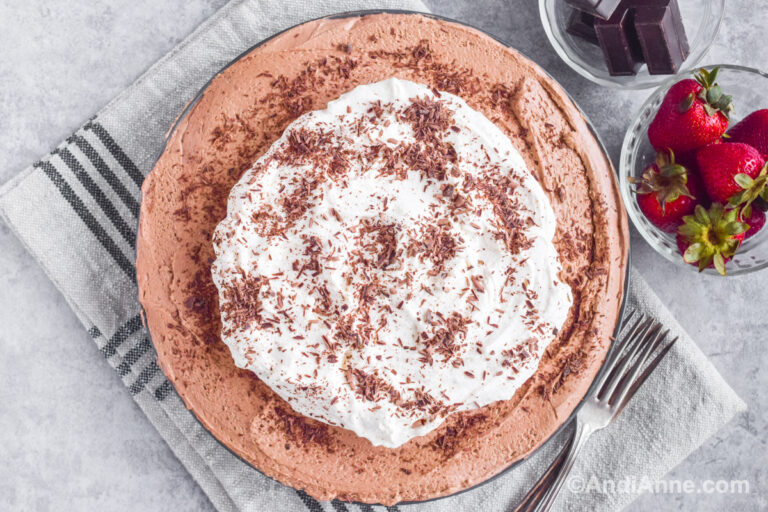
- Remove from fridge, scoop remaining whipping cream on to the center.
- Top with chocolate shavings using a vegetable peeler.
- Serve and enjoy! Slice then use a pie server. Leftovers can be stored in the fridge covered up to 4 days.
Tried this recipe?If you make this, please Leave A Review letting me know how it was!
Nutrition info is auto-calculated and meant to be an approximation only.
Did You Try This Recipe?Please Do Me A Favor And Leave A Comment Below!
