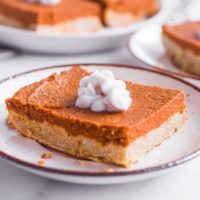
Paleo Pumpkin Pie Bars
Paleo pumpkin pie bars are no-dairy, no-sugar, gluten-free and nut-free. They're made with a coconut flour crust and an easy pumpkin filling. These bars require a lot less fuss than a traditional pie. You can use a rectangular baking dish and then slice it into bars for an easy Thanksgiving or Christmas dessert!
Tap Stars To Rate!
Ingredients
Crust:
- 1 cup coconut flour
- ¼ cup arrowroot powder
- 1 tsp cinnamon
- 1 tsp baking powder
- ½ tsp baking soda
- 3 eggs
- ½ cup coconut milk
Filling:
- 1 can pumpkin puree - equals 2 cups worth
- ½ cup coconut milk
- 2 eggs
- 1 Tbsp pumpkin pie spice - 1½ tsp cinnamon, ½ tsp nutmeg, ½ tsp ginger, ¼ tsp all spice
- 2 tsp vanilla extract
- ¼ cup xylitol (Optional) - lakanto monkfruit sweetener or coconut sugar
Instructions
- Preheat the oven to 350°F. Spray a rectangular baking dish with non stick cooking spray (I use avocado spray).
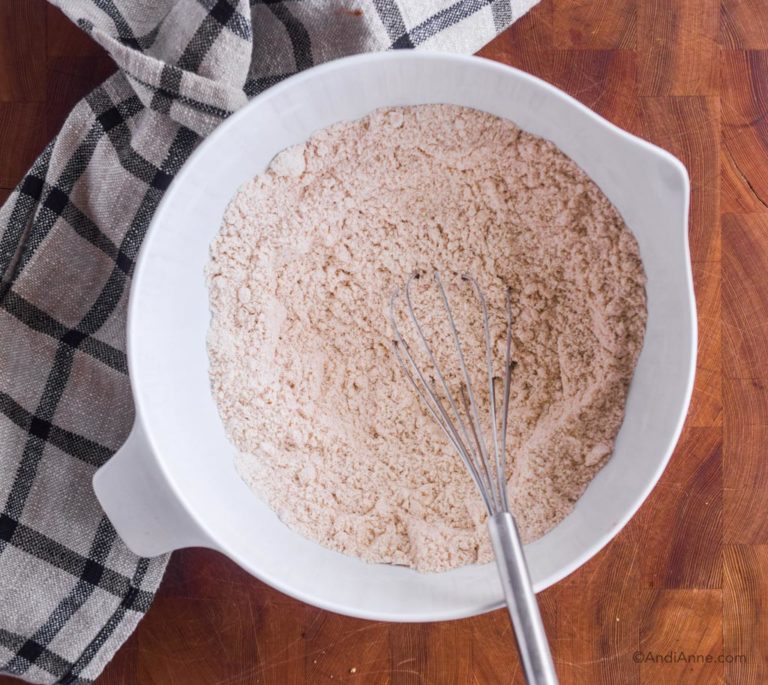
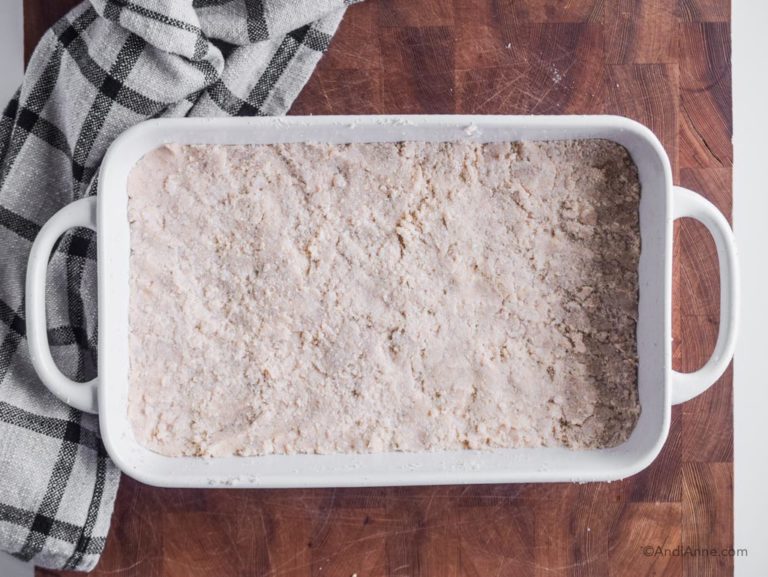
- In a large mixing bowl, combine coconut flour, arrowroot flour, baking powder, baking soda and cinnamon.
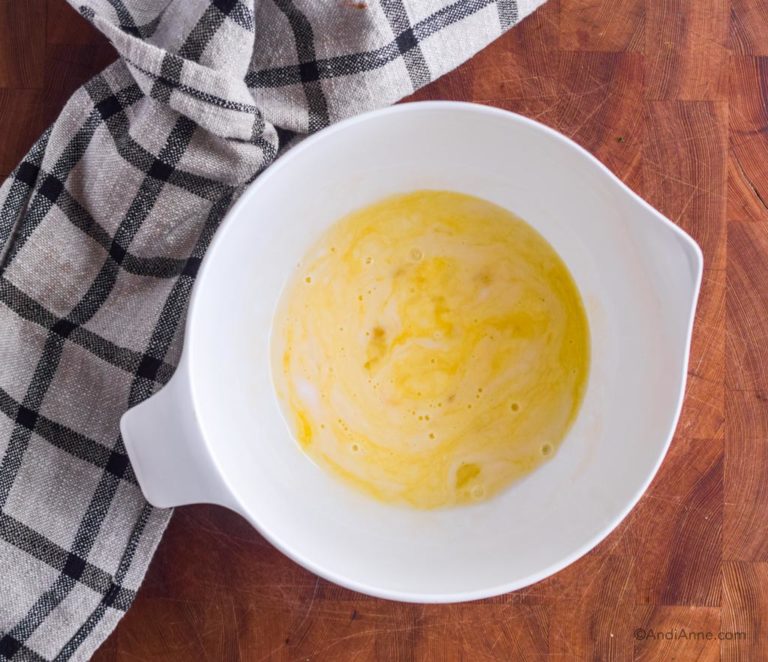
- In a separate bowl, whisk together the eggs and coconut milk.
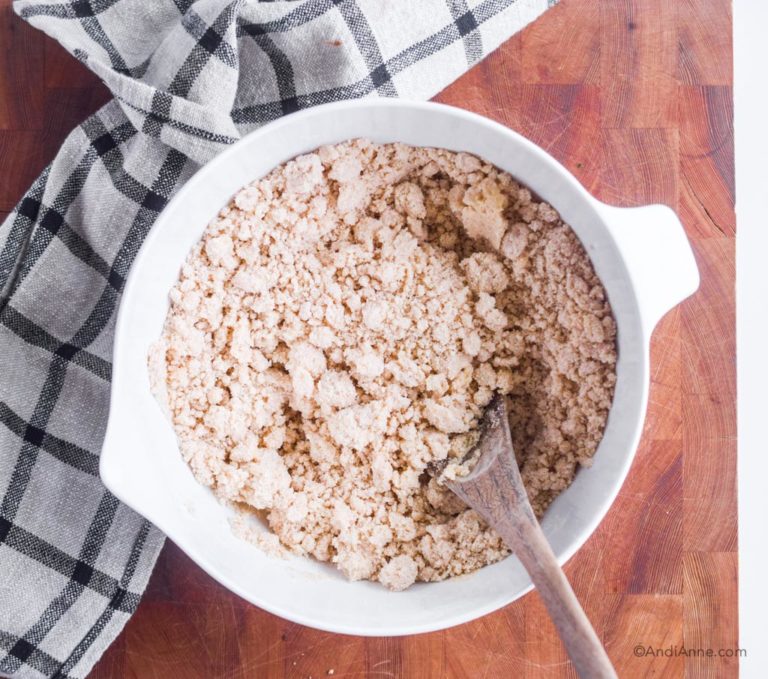
- Pour the liquid into the dry ingredients. Mix together until everything becomes crumbly.
- Press the crumb mixture into the bottom of the baking dish (be sure to grease the dish before adding it - I use nonstick avocado spray). Bake the crust for 15 minutes, then remove from the oven.
- While crust is baking, make the filling: add pumpkin puree, coconut milk, eggs, vanilla and pumpkin pie spice to a bowl. (Optional: add sweetener to bowl - I did not do this - see notes below) Mix together.

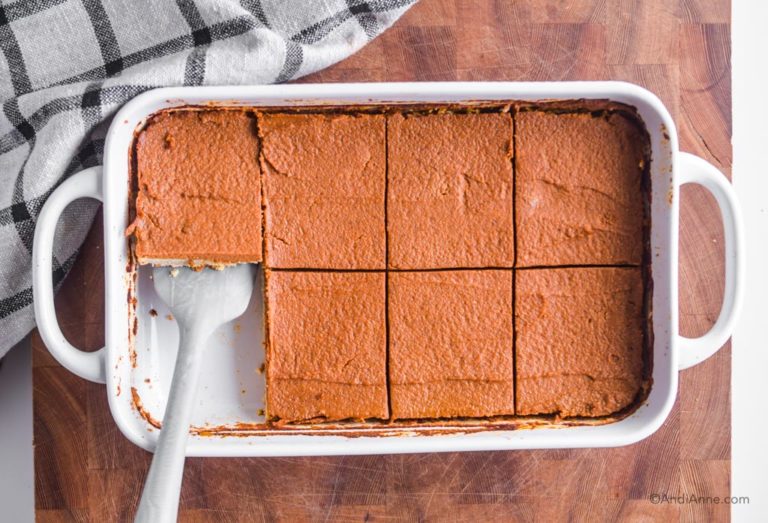
- Pour filling overtop of baked crust. Smooth with silicone spatual. Bake in the oven for 45 minutes.

- Remove from oven and let cool for 15-20 minutes, then slice into squares. Pumpkin pie bars taste best when chilled - I like to refrigerate once completely cool for 1-2 hours before serving. Serve with whipped coconut cream and a sprinkle of cinnamon on top.
Tried this recipe?If you make this, please Leave A Review letting me know how it was!
Notes
In my effort to avoid sugar, my pumpkin pie bars had no sweetener. This is great for anyone struggling with sugar for health reasons.
If you don't add sugar, these will taste different than what you might normally be used to (because they are unsweetened). Personally, we loved them with a big dollop of whipped coconut cream.
If you prefer to have some sweetener, you can add ¼ cup xylitol, lakanto monkfruit sweetener or coconut sugar to the filling ingredients (xylitol and lakanto are sugar-free for keto and diabetic diets).
Nutrition info is auto-calculated and meant to be an approximation only.
Did You Try This Recipe?Please Do Me A Favor And Leave A Comment Below!
