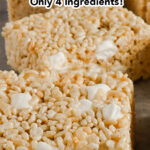
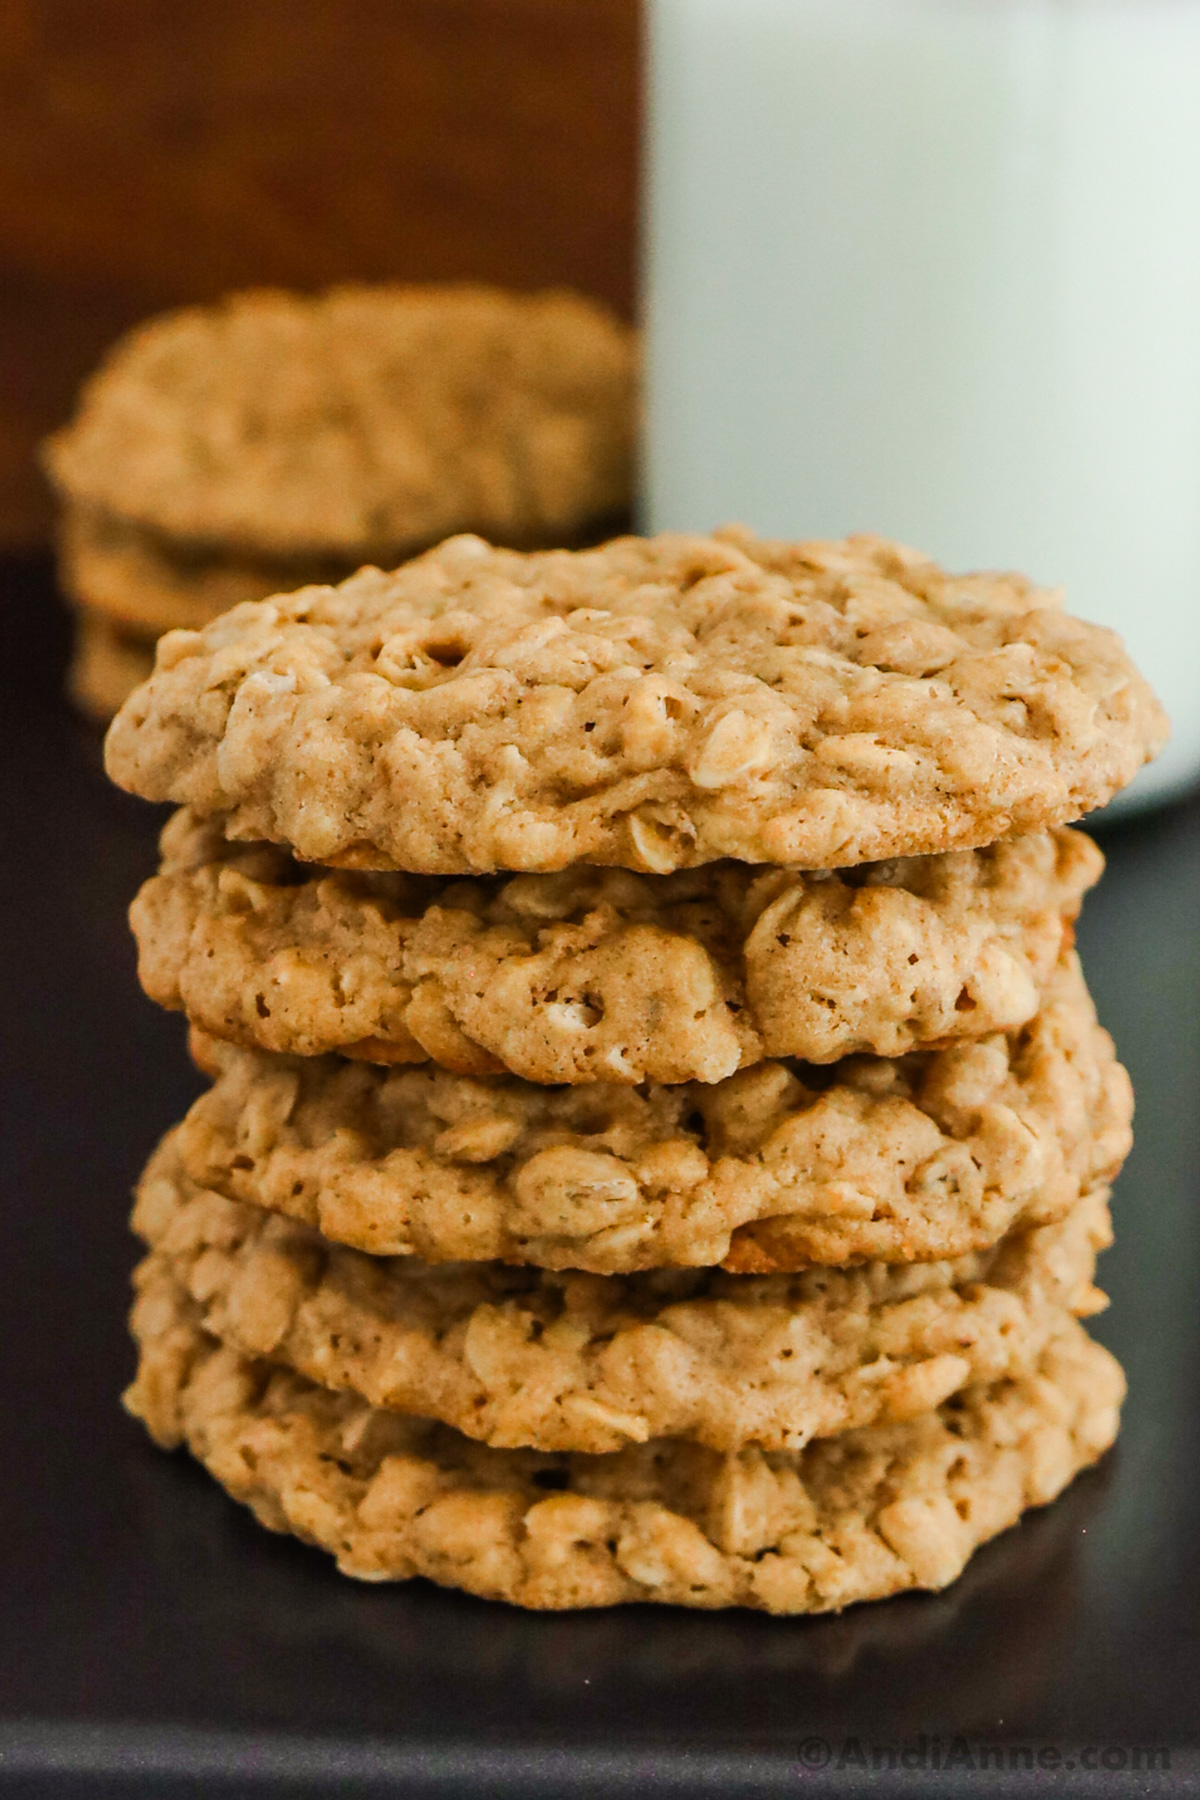
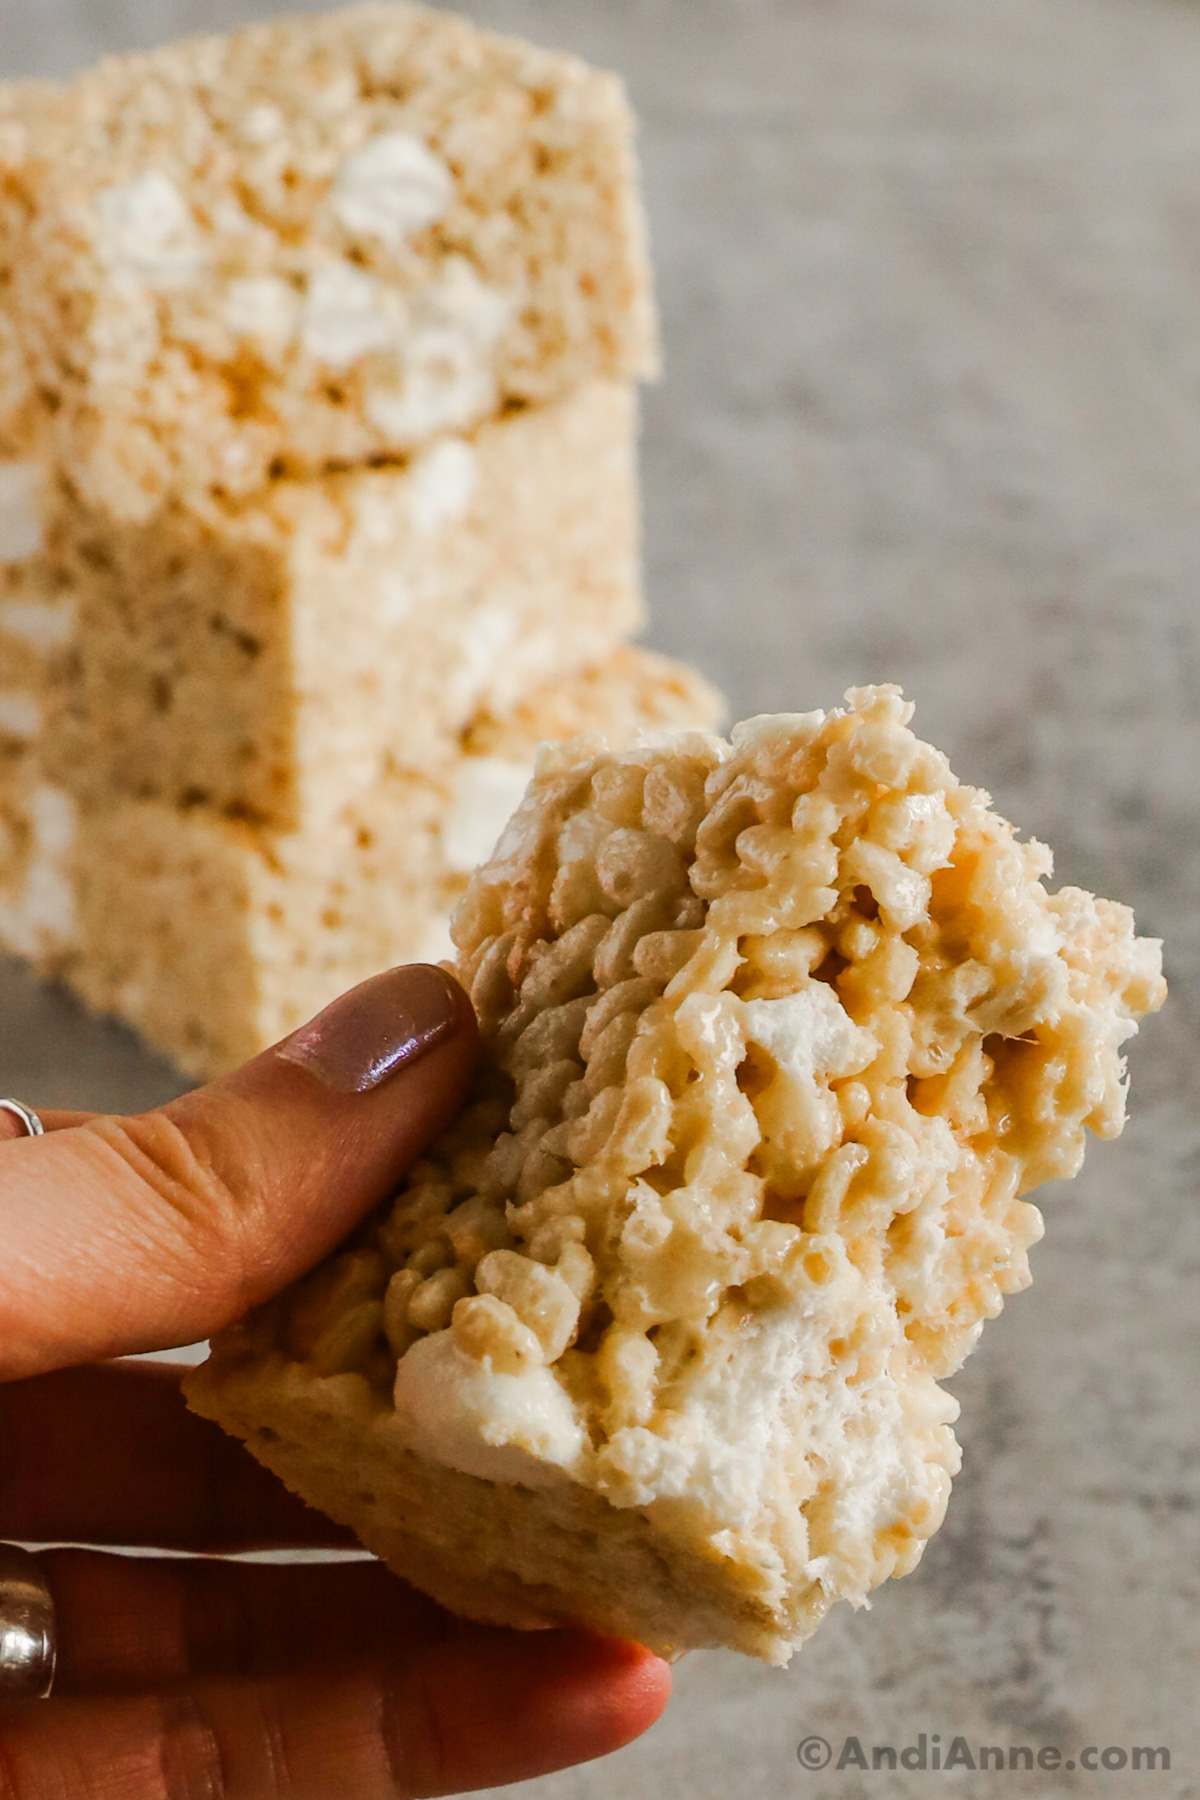
These are the classic rice krispie treats recipe that we all know and love, but thicker and with extra marshmallows!
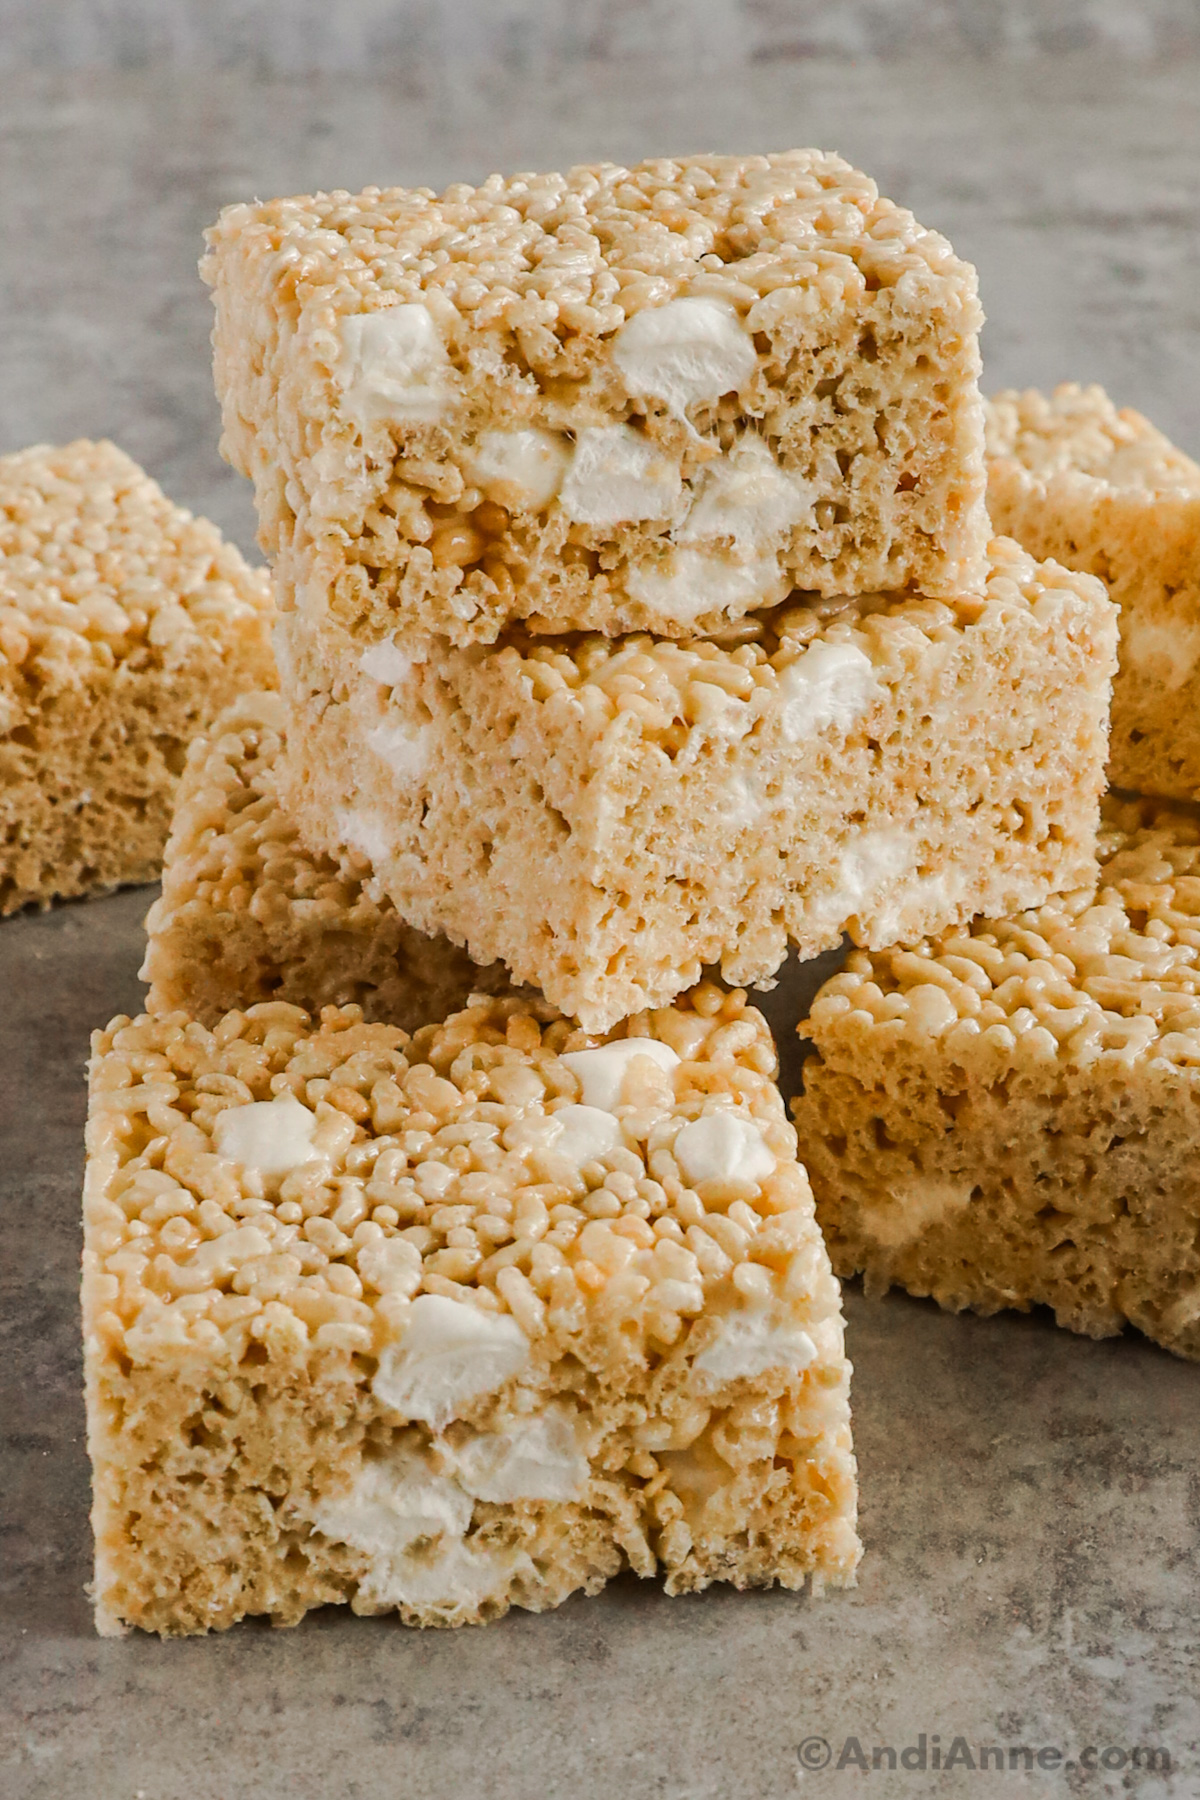
Rice Krispie Treats Overview
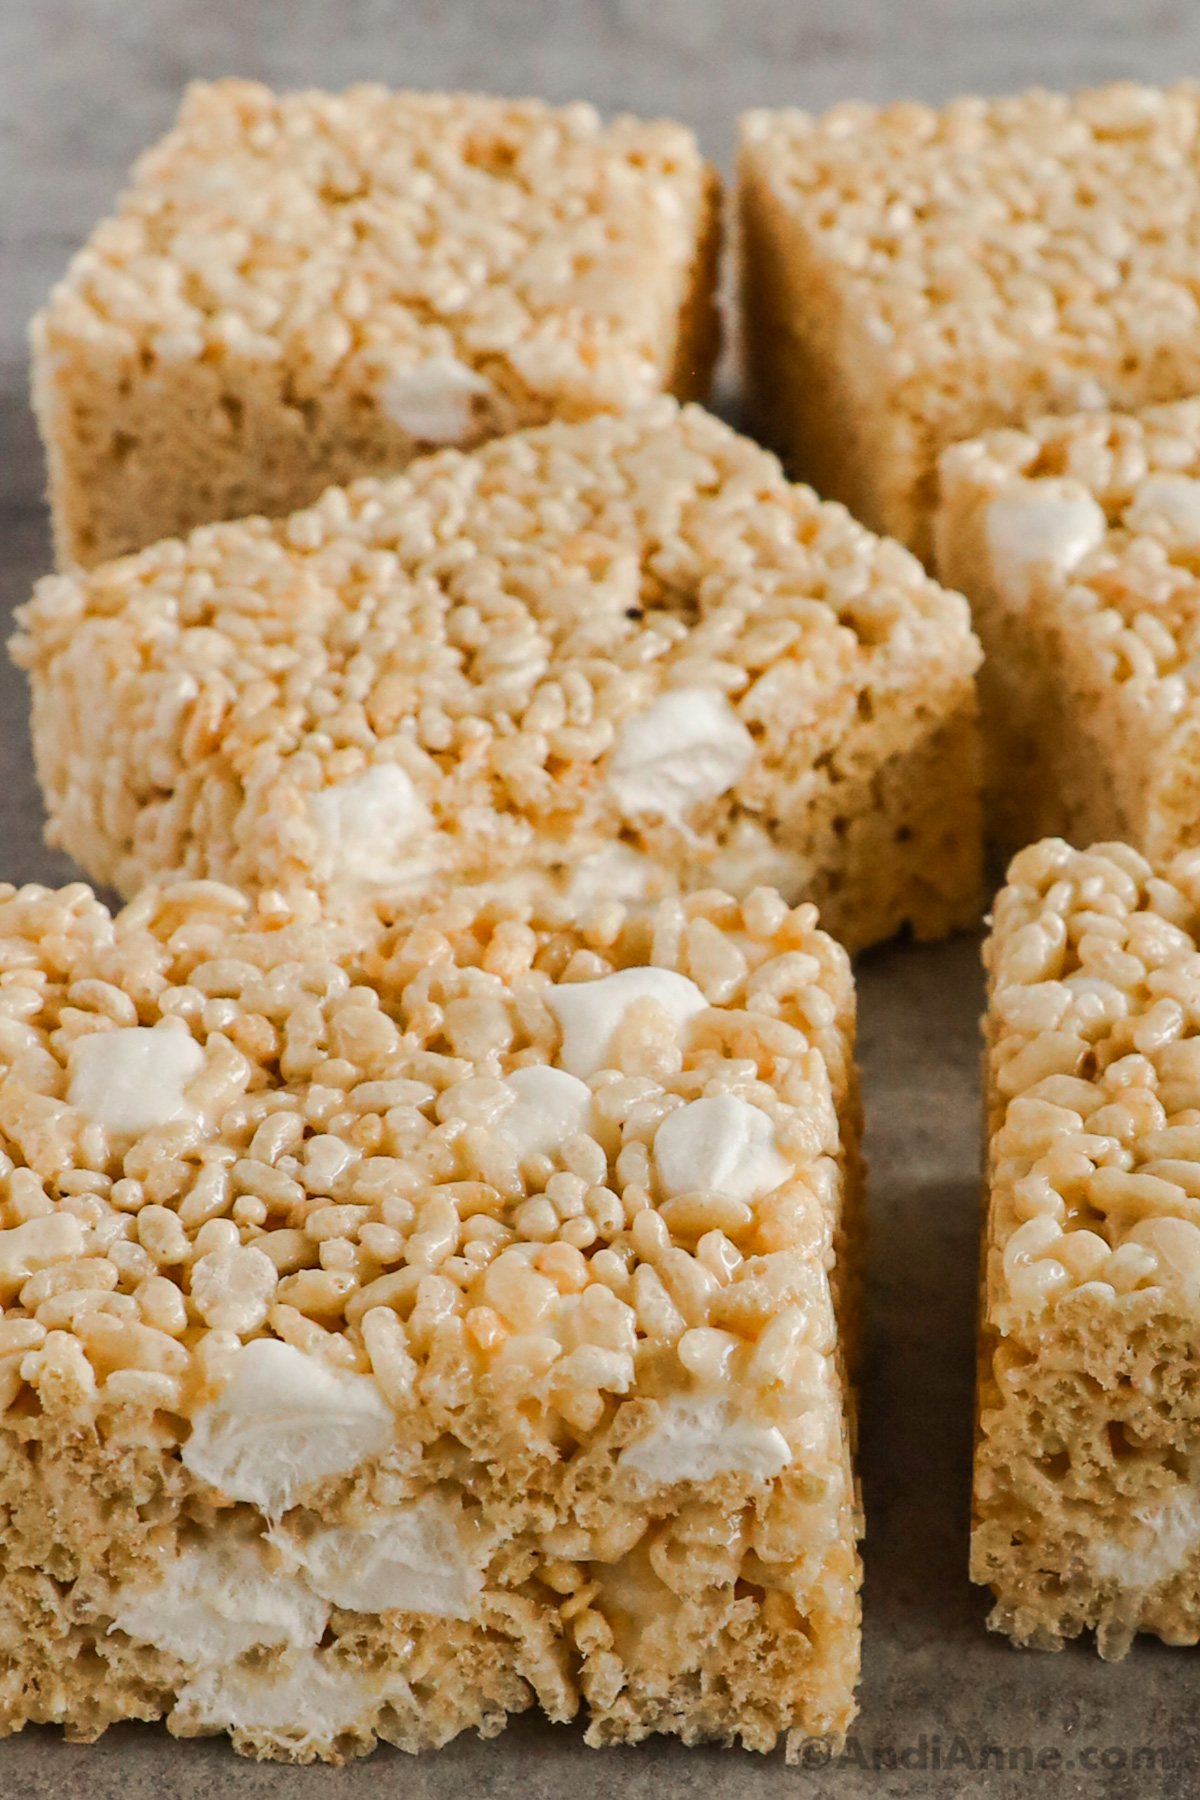
I've always thought that most recipes make rice krispie treats too small which is why I increased the ingredient quantities to make these JUMBO rice krispie treats! These taste like the classic rice krispie squares we all know and love, but these are thicker and include extra mini marshmallows.
My 8-year-old daughter LOVES these. I've made them as a school treat on her birthday. And I also regularly make them for snacks. I like to pop these sliced into the freezer for storage. This always helps them last longer as they're not on the counter for easy access.
This recipe can be made in less than 15 minutes. First, melt the butter, then melt the marshmallows. Stir in vanilla extract and then the rice krispies cereal. Press into a baking dish and let it sit before slicing them into squares. Make sure to use a large pot for this recipe!
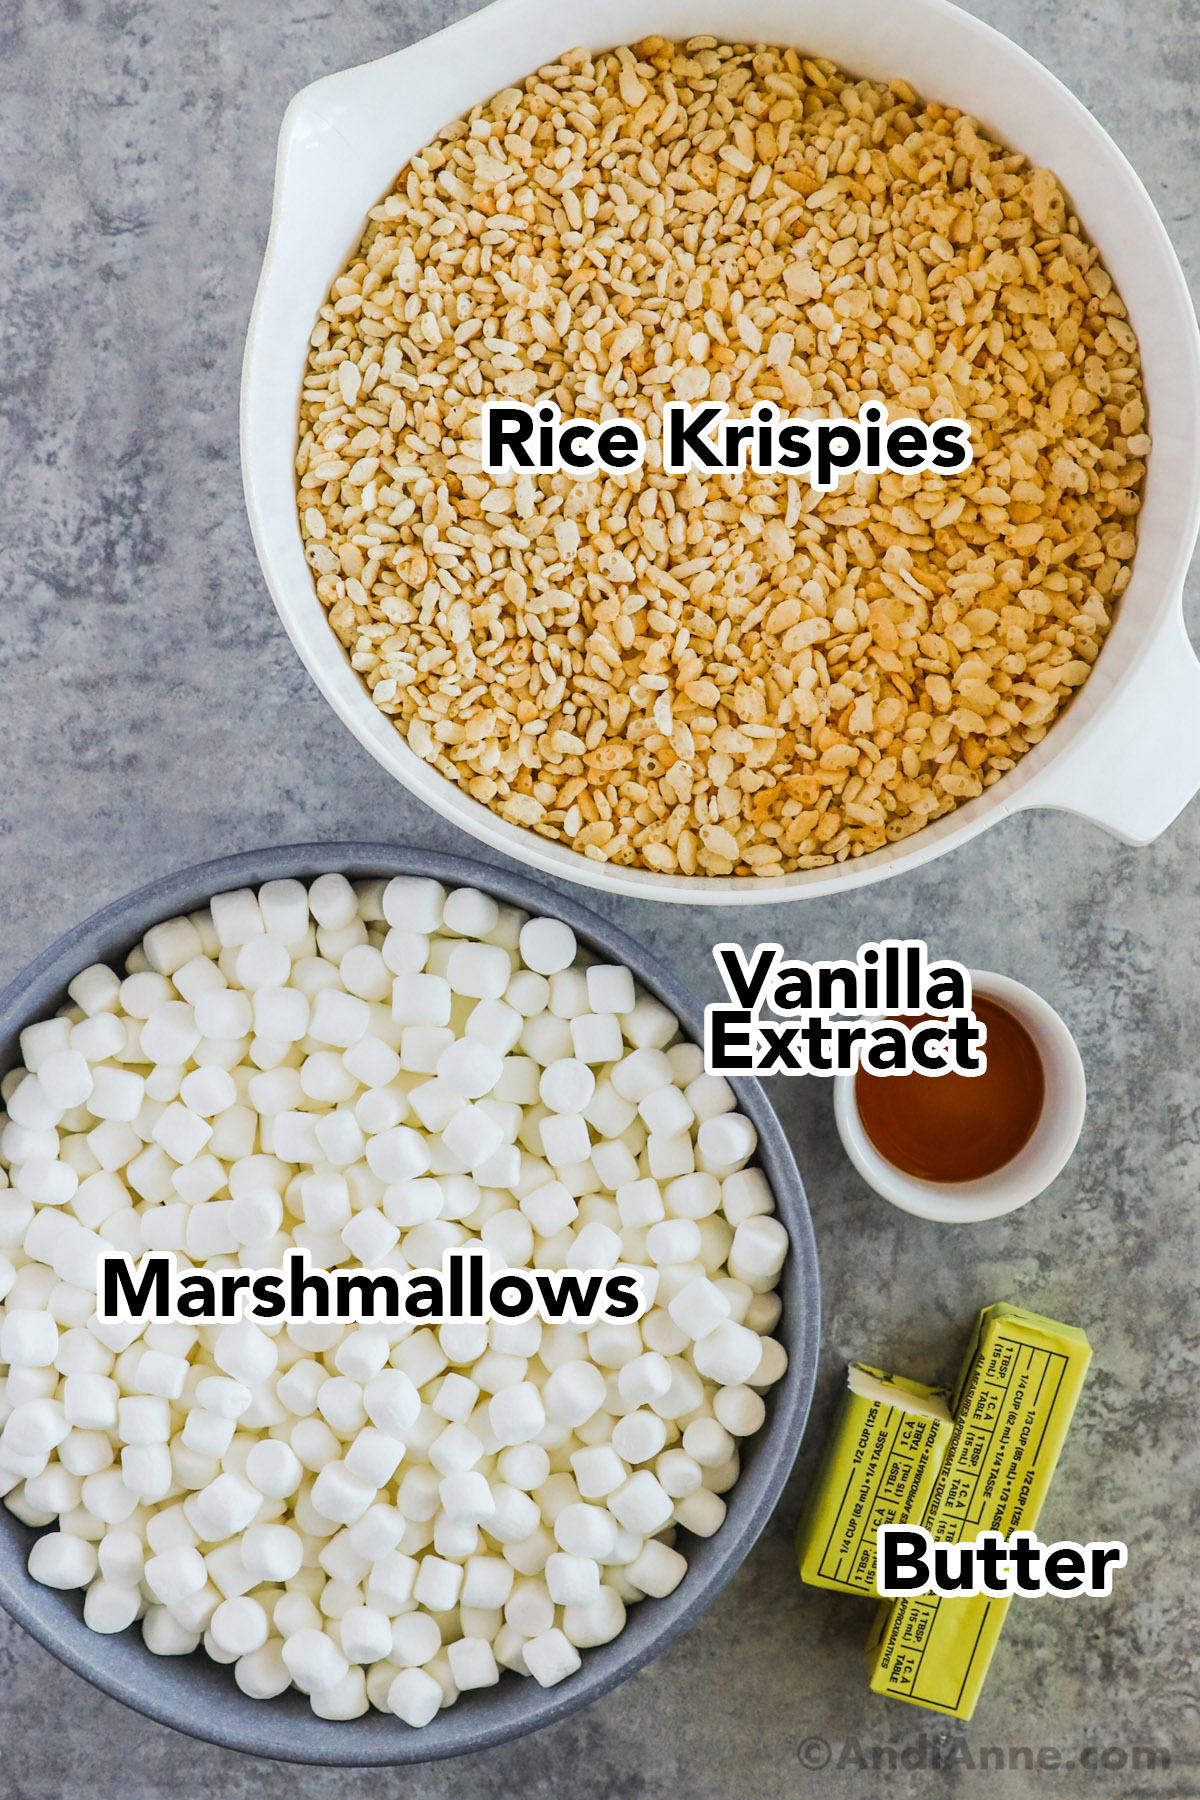
Recipe Ingredients
- ¾ cup salted butter
- 20 oz mini marshmallows - (two bags worth) leave 2 cups worth for the end
- 1 Tbsp vanilla extract
- 12 cups rice krispies cereal
How To Make Jumbo Rice Krispies Treats
Full ingredients and instructions are also in the recipe card at the bottom of this blog post.
STEP 1: Spray a 9×11 baking pan with nonstick cooking spray and set aside.
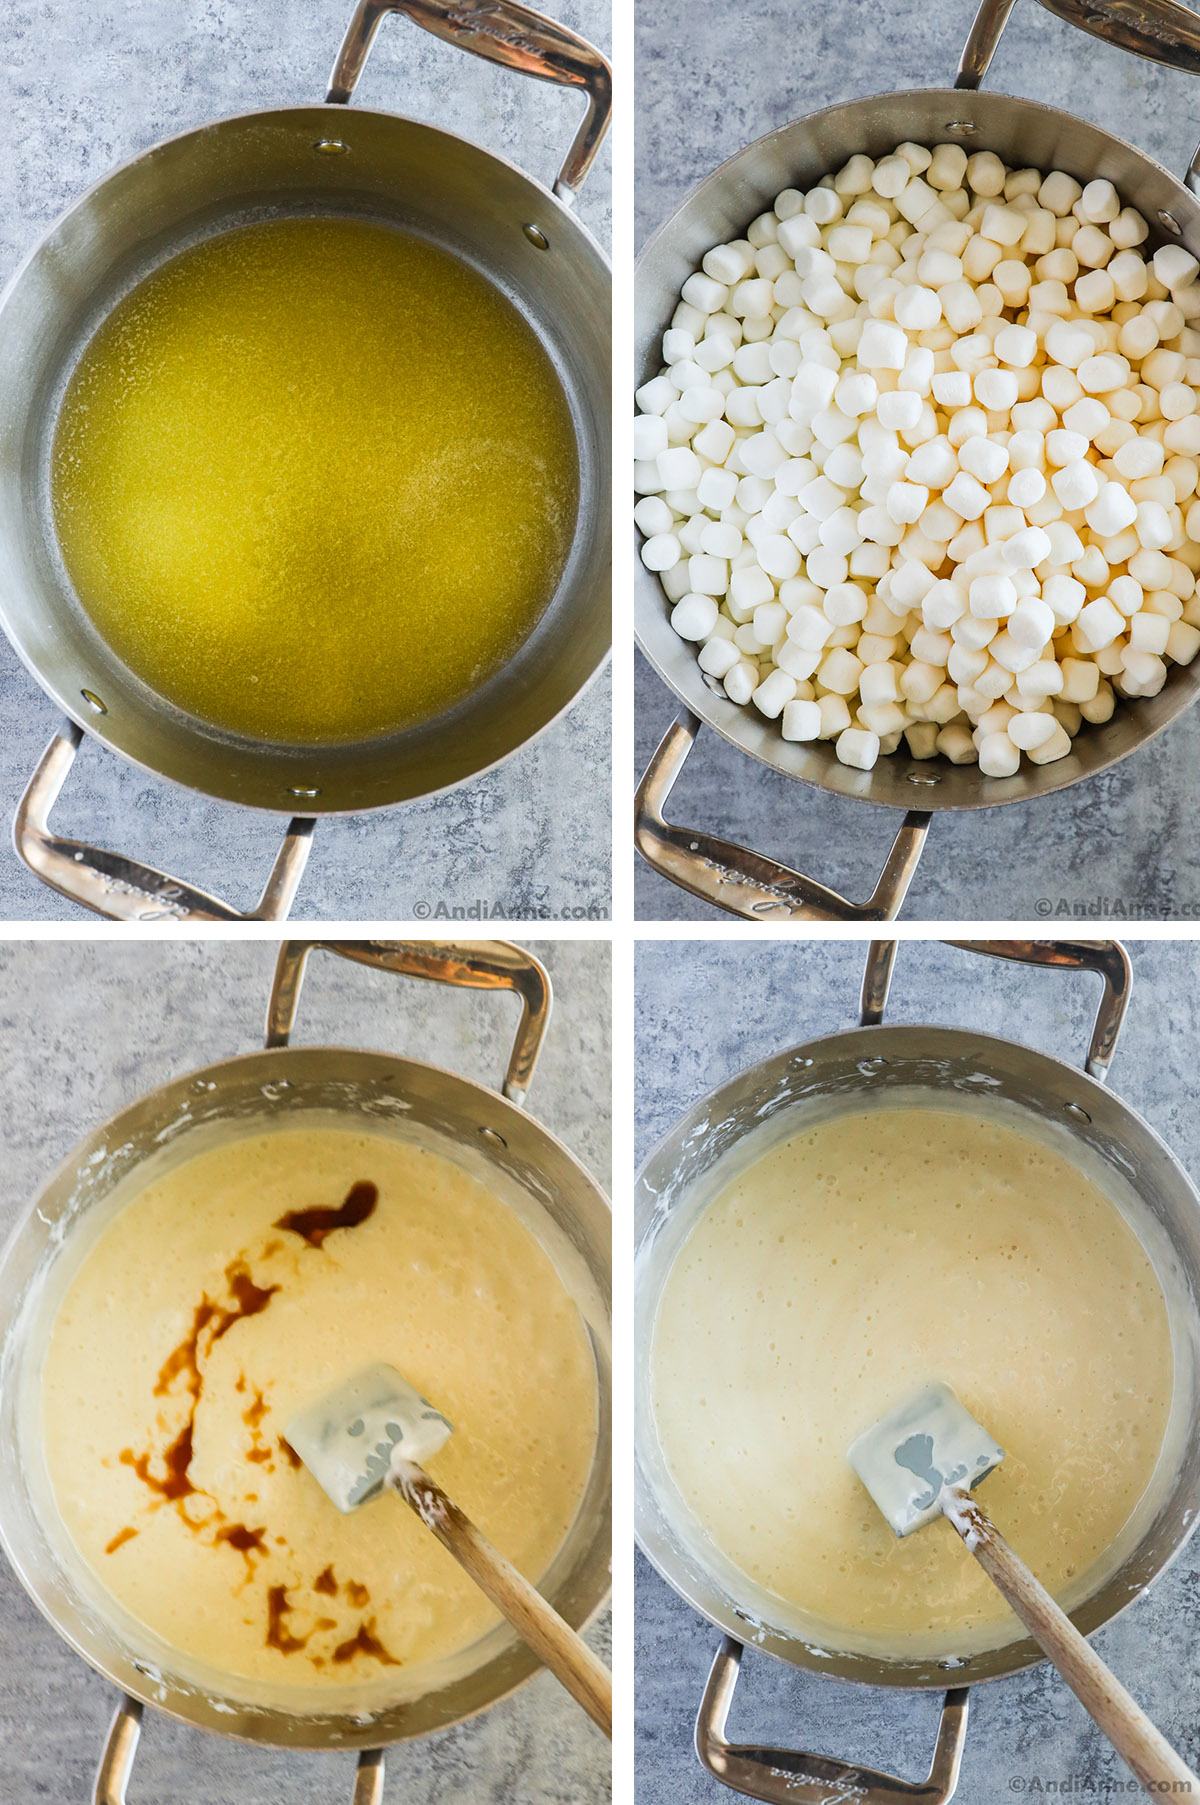
STEP 2: In a large pot (it must be large!) melt ¾ cup salted butter over medium heat. Next, add almost all of the 32 oz mini marshmallows (about 2 bags), but leave 2 cups worth out (save those for later).
STEP 3: Reduce the heat to medium-low and gently stir until the marshmallows melt, about 3-4 minutes. Do not leave the stove during this time as the ingredients can easily burn.
STEP 4: Remove from heat and then stir in 1 Tbsp vanilla extract.
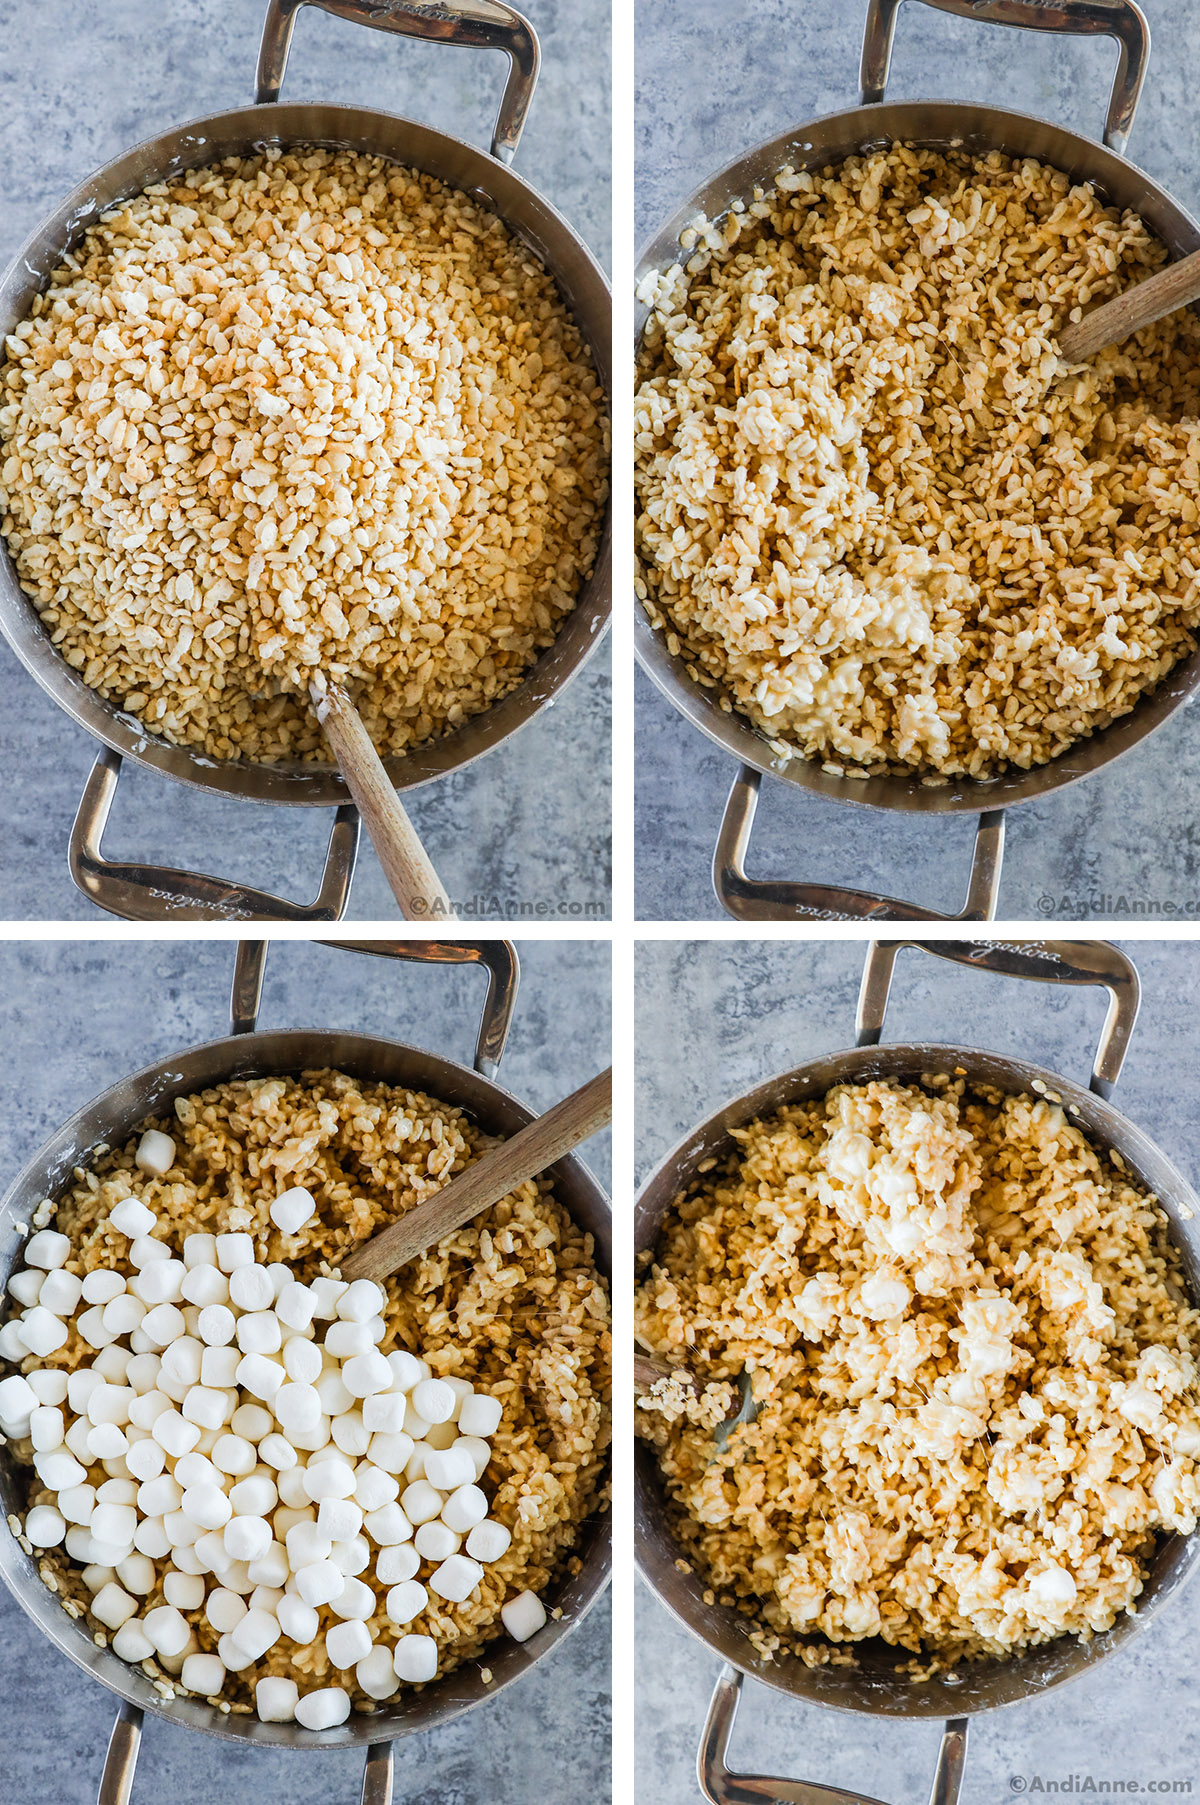
STEP 5: Now add 12 cups of rice krispies cereal, and 2 cups of mini marshmallows to the pot (this step is why you need a big pot for this recipe). Gently mix everything together so that the rice krispies are evenly coated with the melted marshmallows.
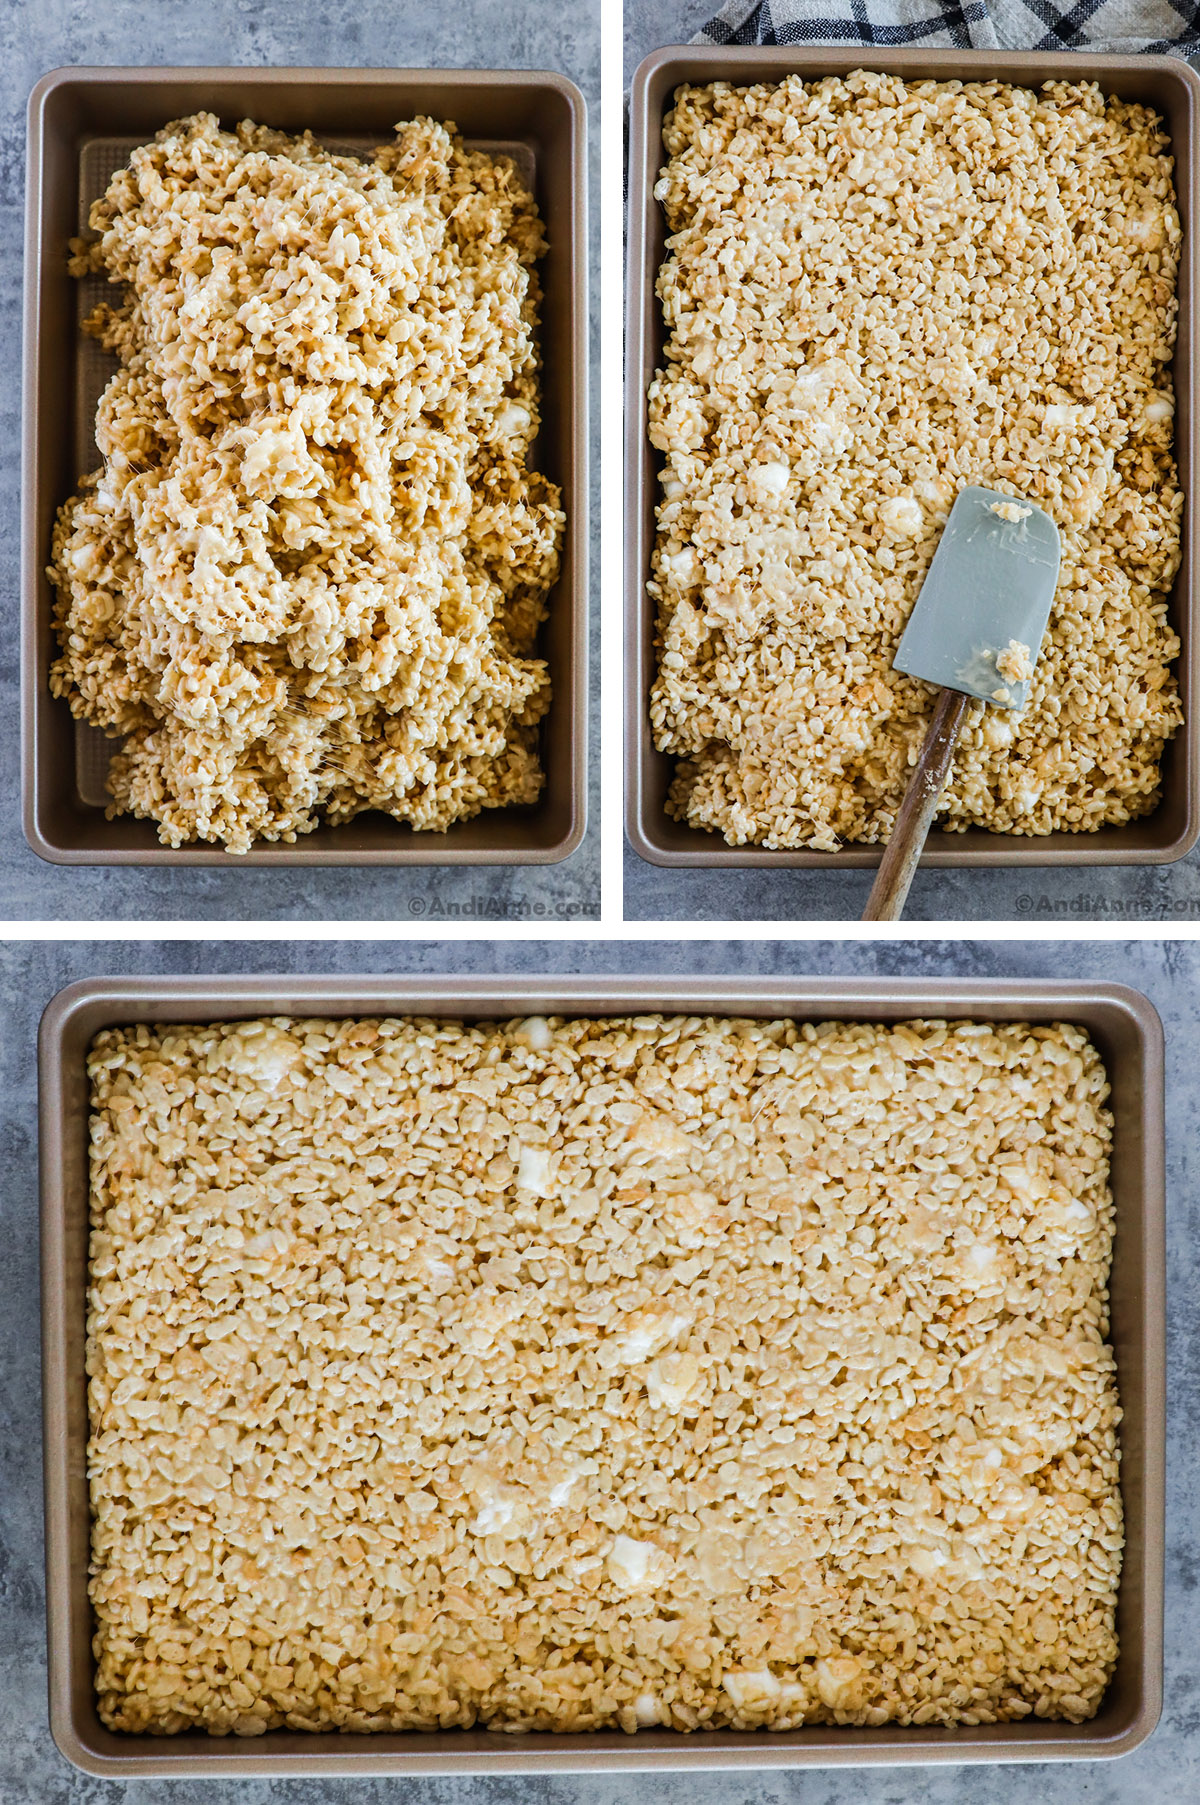
STEP 6: Scoop the rice krispies mixture into the prepared baking pan. Lightly spray a silicone spatula with nonstick cooking spray and use it to help spread out the mixture into an even layer.
NOTE: If you want softer rice krispies, then press them lightly into the pan. If you want thick dense rice krispies treats (which is my personal favorite) then press the mixture firmly down into the pan.
STEP 7: Cover the pan with plastic wrap and let it sit on the counter or in the fridge for at least an hour. I prefer to let them chill overnight in the fridge to get clean crisp lines when I slice them.
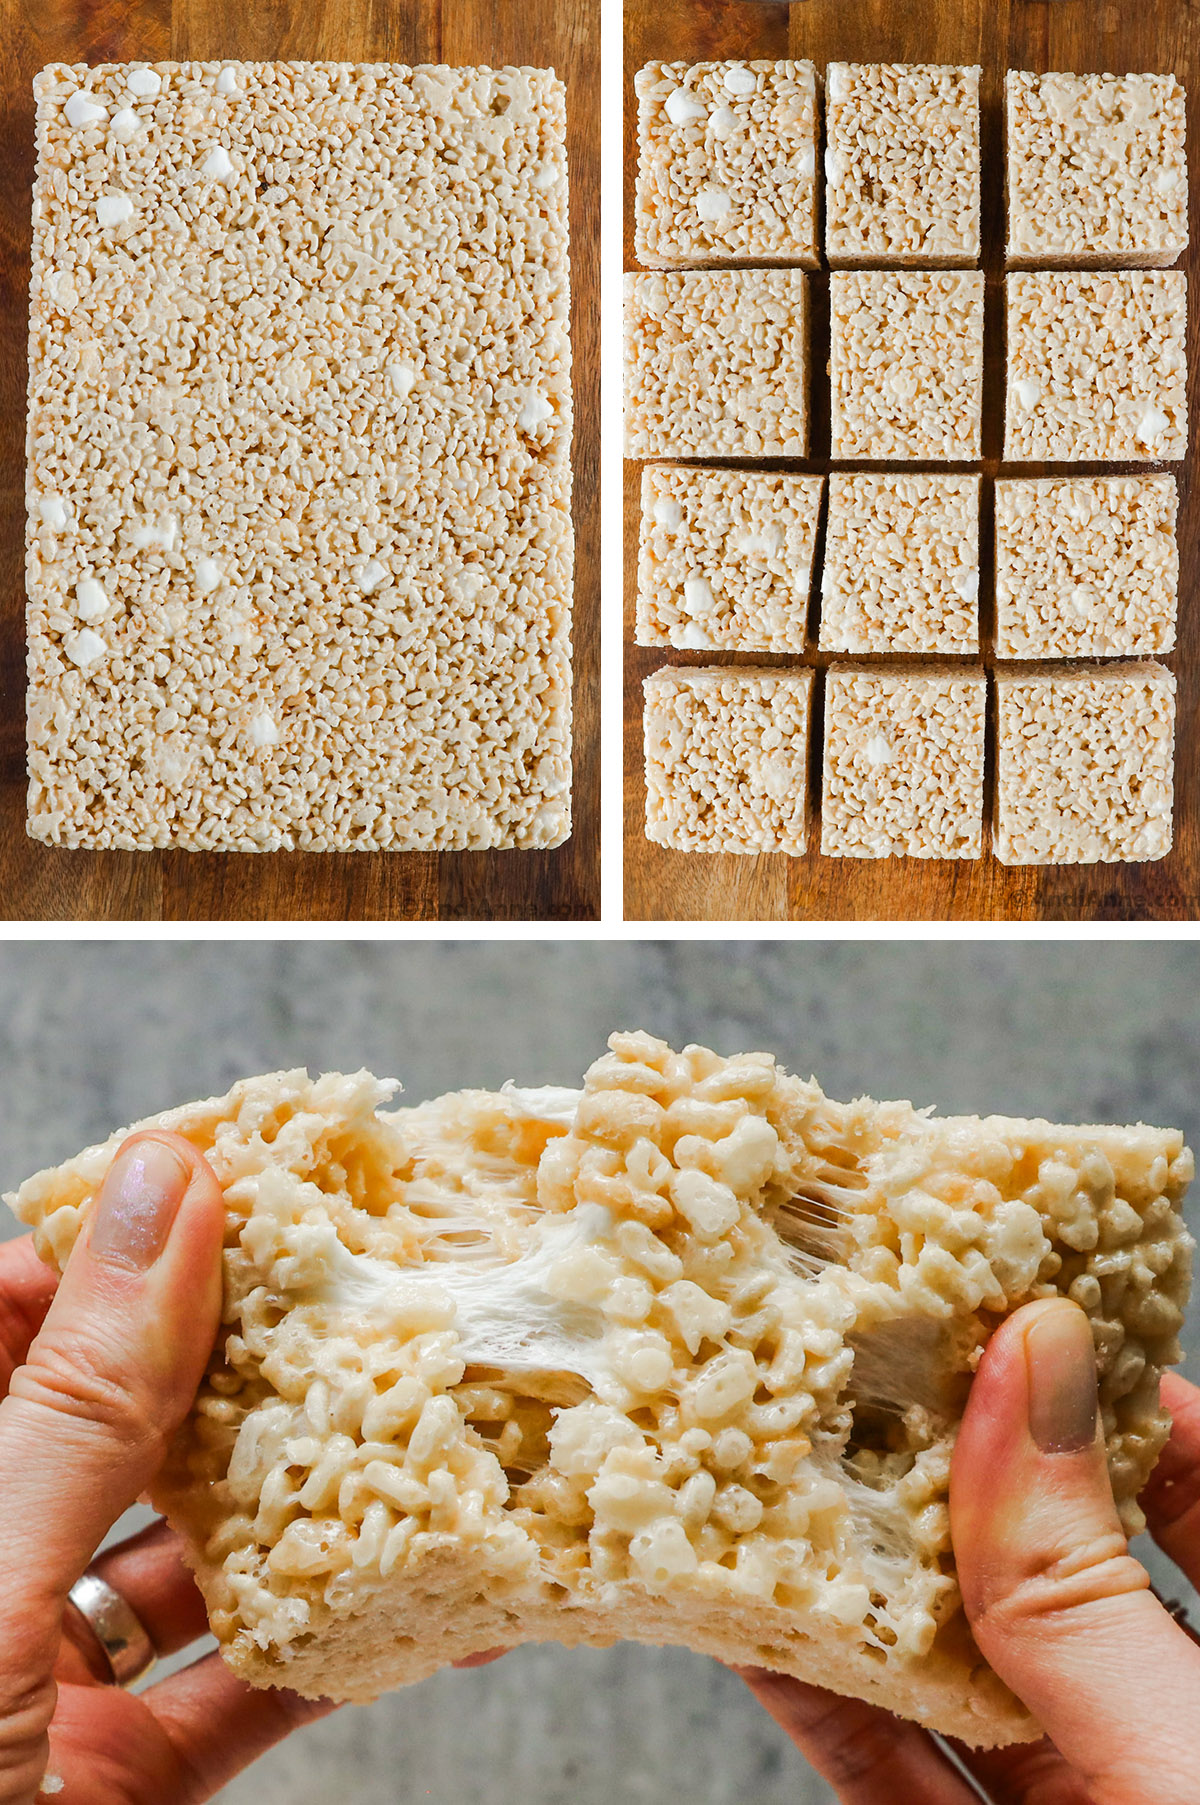
STEP 8: Now slice into 12 or 24 servings (depending on how big you want them), serve and enjoy!
Recipe Tips
- You must use a large pot for this recipe! Because these are jumbo rice krispie treats, you need a big pot to be able to mix all the ingredients in. Stir slowly and gently so that the rice krispies cereal doesn't fly everywhere and create a big mess.
- Grease the pan - Make sure the 9x11 pan is sprayed evenly with nonstick cooking spray. This will prevent the rice krispie squares from sticking. You can also grease it with butter or use parchment paper.
- Let the rice krispie mixture sit covered overnight in the fridge before slicing if you want clean crisp lines. If that doesn't matter to you, wait at least 1 hour before slicing into squares.
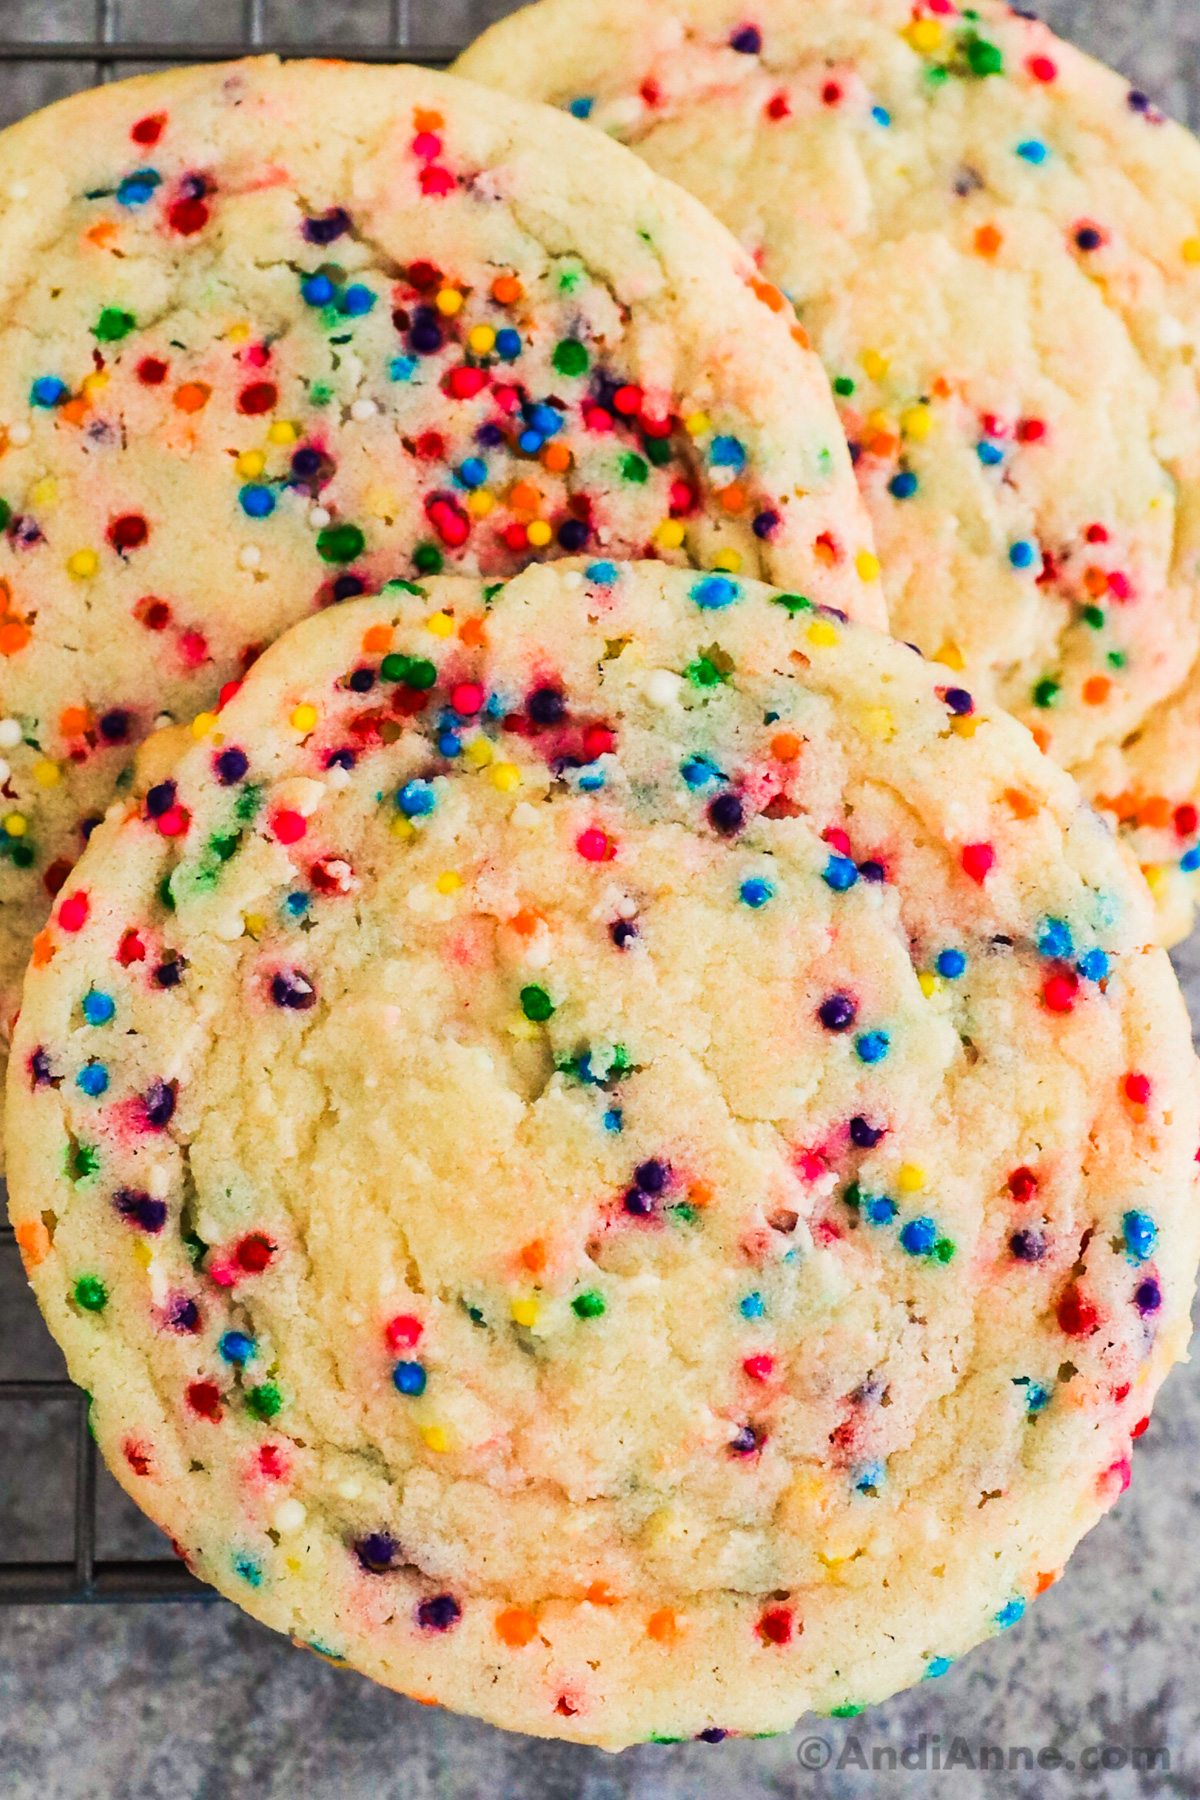
- You can also add sprinkles, chocolate chips, and candies to the mixture. Feel free to add up to 1 cup worth. I make these with ½ cup of sprinkles for my daughter's class on her birthday every year and the kids love them!
How To Store Leftovers
You can store these on the counter at room temperature, in the fridge or in the freezer! They must be stored in an airtight container or bag to maintain their freshness.
Personally, I like to store mine in the freezer. They tend to last longer as they're out of sight and not as easy to grab. I just store mine sliced and in big freezer bags. My daughter will happily eat them while they're still cold straight out of the freezer.
If dinner feels like a daily panic—read this.
Stop letting 5 PM run your life.
If you’re tired of standing in front of the fridge at 5 PM wondering what the heck to make—you’re not doing anything wrong.
You’re just stuck in a broken system that puts all the pressure on you… with zero support.
That’s why I’m creating Dinner Rescue Club—a new membership to help busy moms simplify dinner with flexible plans, repeatable rhythms, and real-life shortcuts that actually work.
We’re opening soon with a small beta group (just 20 spots!). If you’ve ever felt like:
- “I’m too tired to figure it out”
- “I want dinner to feel easier, but I don’t even know where to start”
- “Why does this feel so hard when I’m trying so hard?”
…then this is for you!!
Join the waitlist here to get:
- Early access before we open to the public
- Behind-the-scenes sneak peeks
- A locked-in beta price that won’t be offered again
Ingredients
- ¾ cup salted butter
- 20 oz mini marshmallows - (two bags worth) leave 2 cups worth for the end
- 1 Tbsp vanilla extract
- 12 cups rice krispies cereal
Instructions
- Spray a 9x11 baking pan with nonstick cooking spray and set aside.
- In a large pot (it must be large!) melt ¾ cup salted butter over medium heat. Next, add almost all of the 32 oz mini marshmallows (about 2 bags), but leave 2 cups worth out (save those for later).
- Reduce the heat to medium-low and gently stir until the marshmallows melt, about 3-4 minutes. Do not leave the stove during this time as the ingredients can easily burn.
- Remove from heat and then stir in 1 Tbsp vanilla extract.
- Now add 12 cups of rice krispies cereal, and 2 cups of mini marshmallows to the pot (this step is why you need a big pot for this recipe). Gently mix everything together so that the rice krispies are evenly coated with the melted marshmallows.
- Scoop the rice krispies mixture into the prepared baking pan. Lightly spray a silicone spatula with nonstick cooking spray and use it to help spread out the mixture into an even layer.
- NOTE: If you want softer rice krispies, then press them lightly into the pan. If you want thick dense rice krispies treats (which is my personal favorite) then press the mixture firmly down into the pan.
- Cover the pan with plastic wrap and let it sit on the counter or in the fridge for at least an hour. I prefer to let them chill overnight in the fridge to get clean crisp lines when I slice them.
- Now slice into 12 or 24 servings (depending on how big you want them), serve and enjoy!
Nutrition Info
The nutritional information provided is an estimate and is per serving.

