


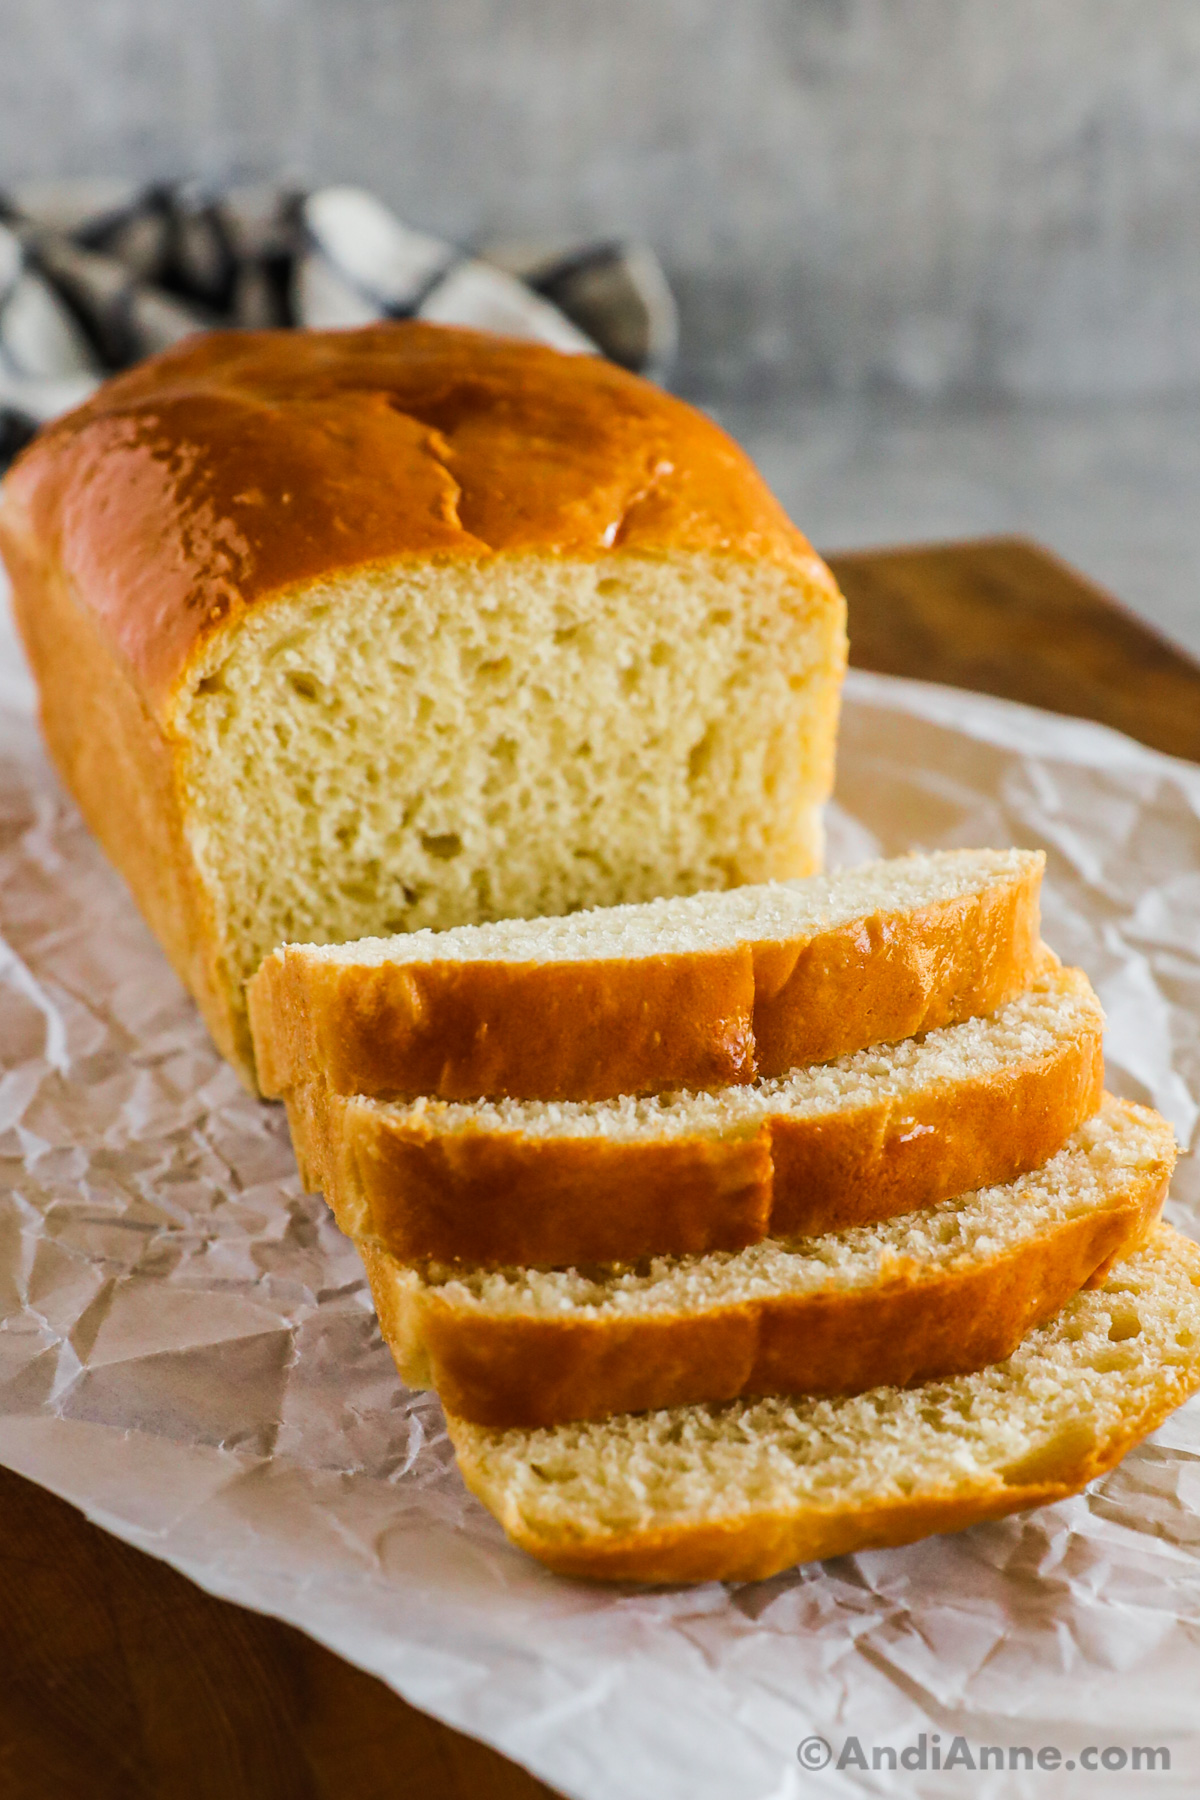
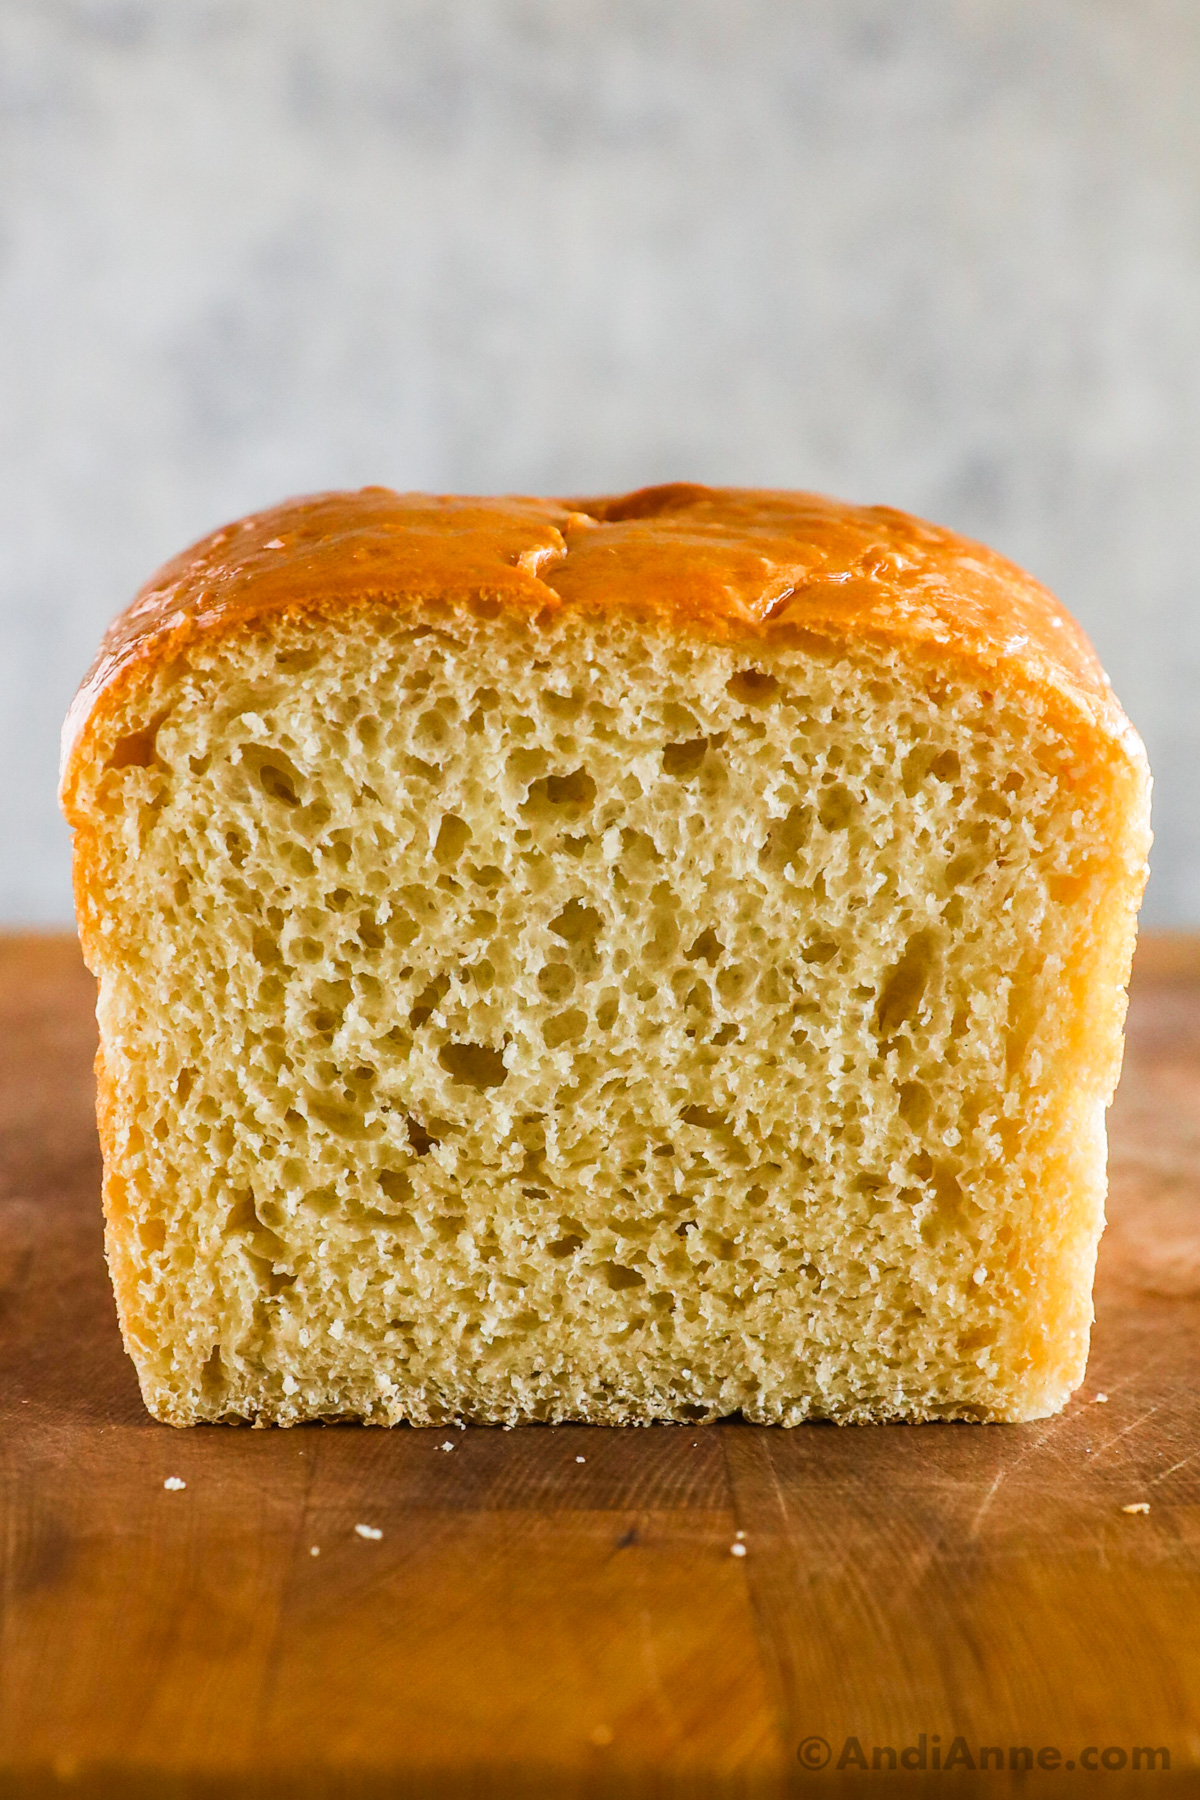
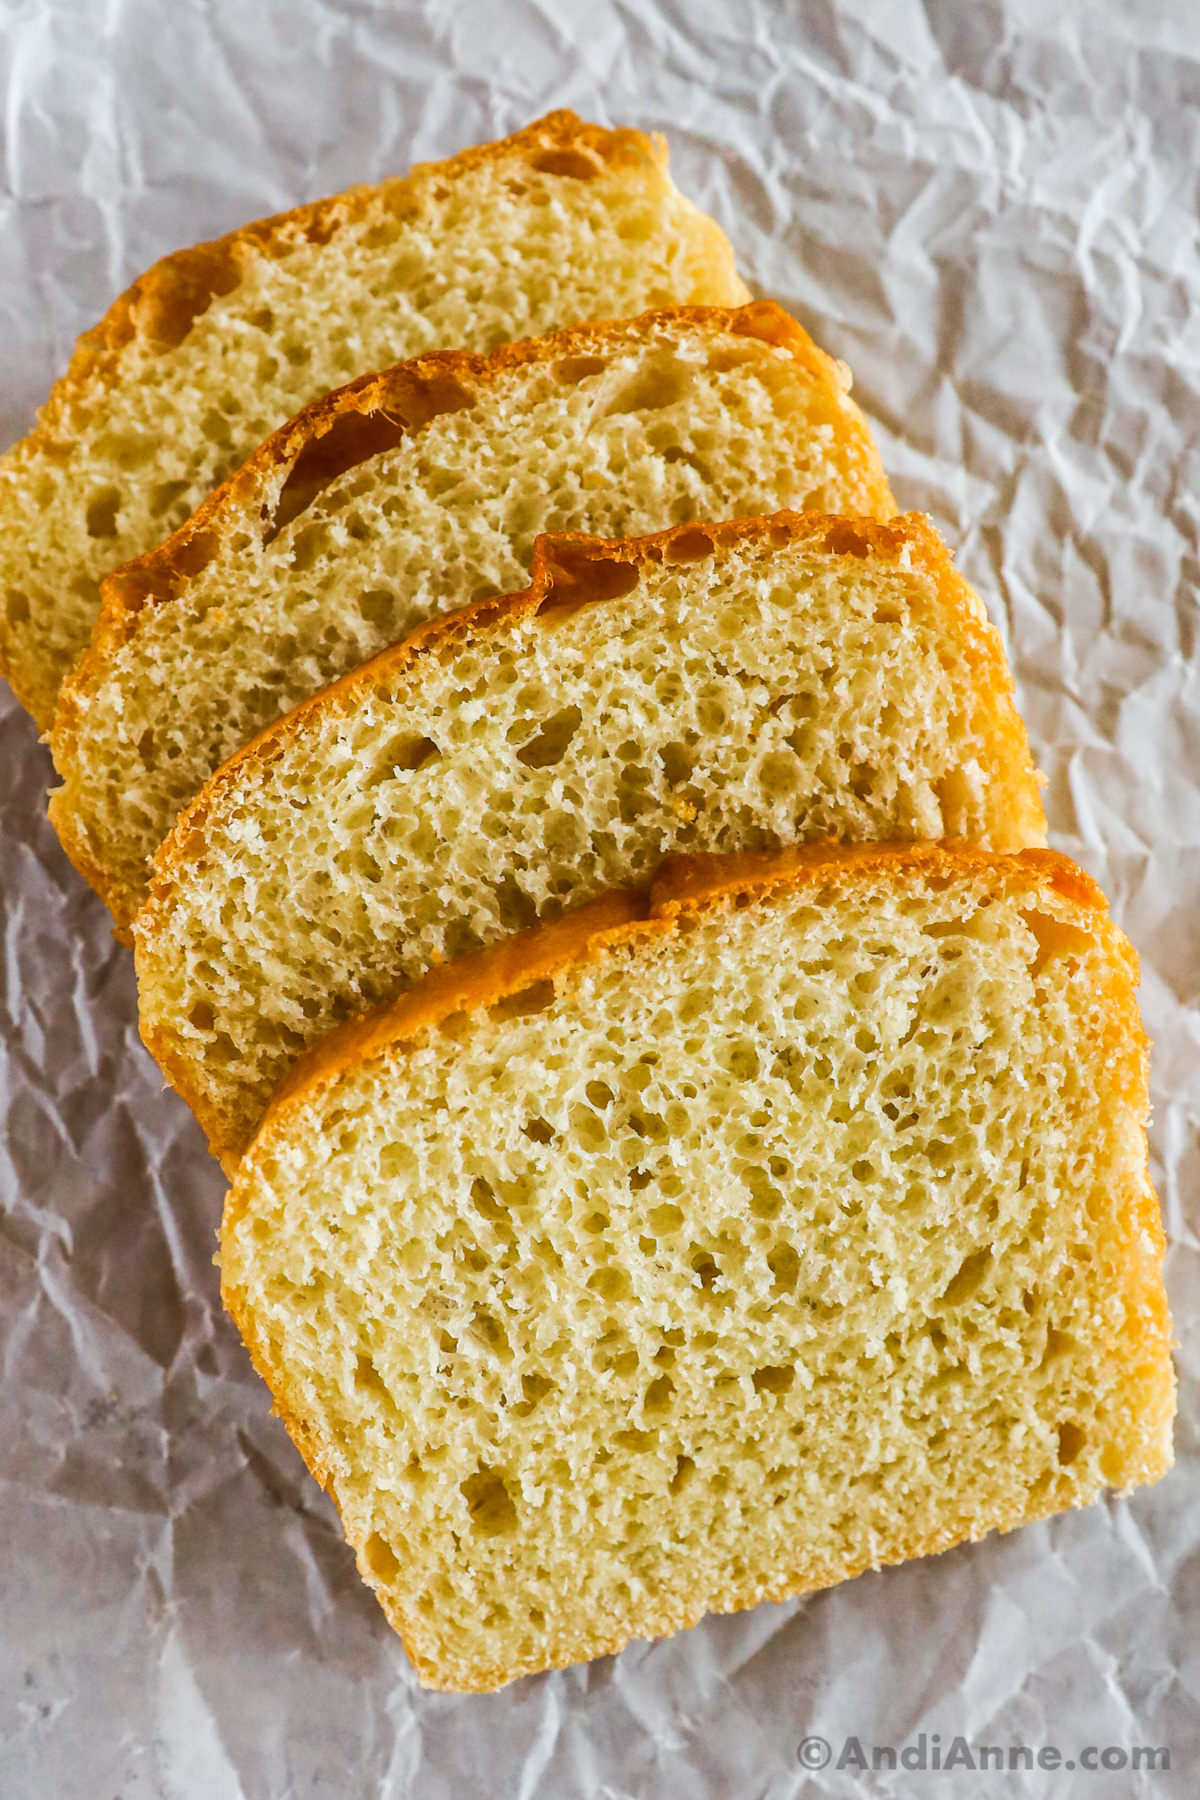
Amish Bread is a wonderfully soft, fluffy, and sweet bread anyone can make, perfect for learning the basics of bread making. It makes delicious sandwich bread and slices easily with no crumbs.
Amish Bread Recipe Overview
I love this Amish bread recipe because it can be adjusted for various outcomes such as cinnamon buns, dinner rolls, raisin bread, chocolate chip bread, ham and cheese bread, french toast, and so on! I've chosen the bread loaf recipe because it's simple, and delicious on its own.
This recipe is inexpensive, requiring only a few basic ingredients to enjoy homemade bread. Follow my easy steps below!
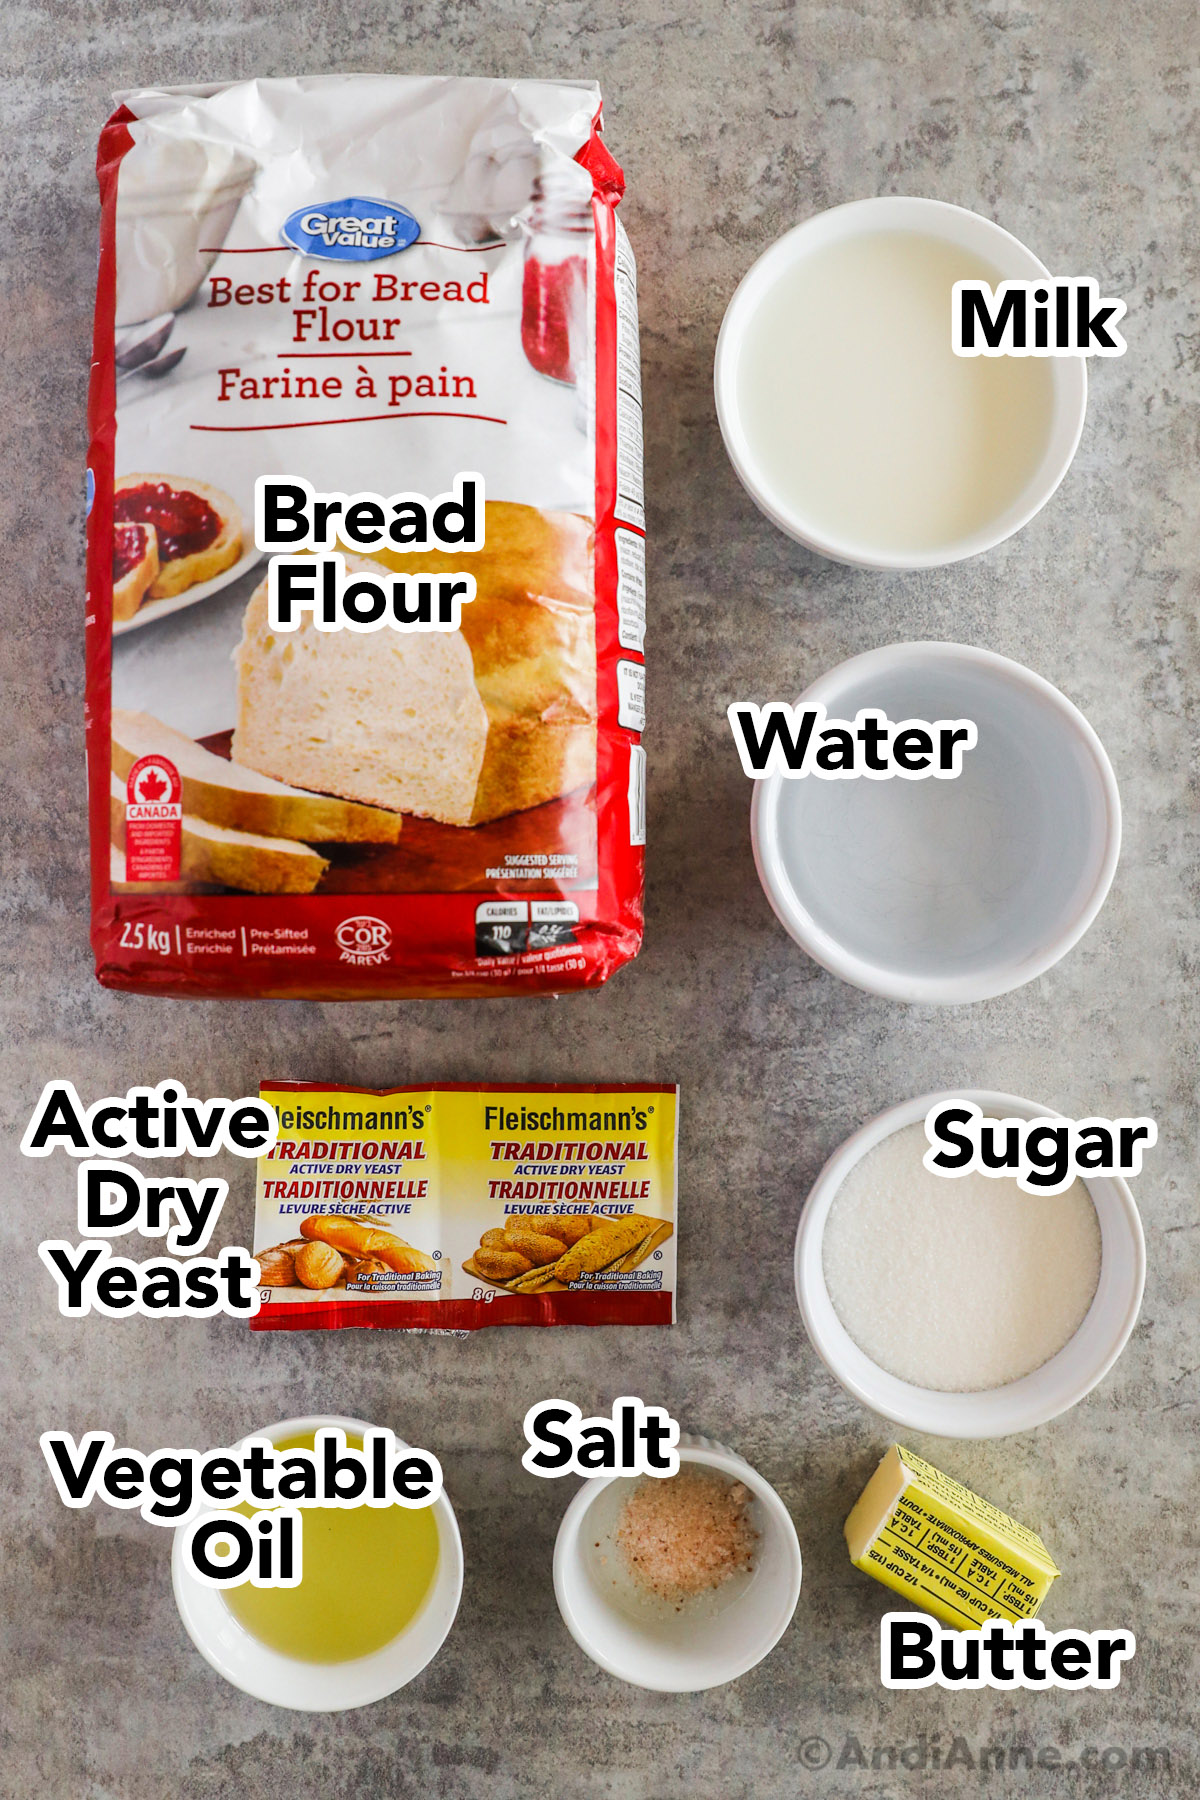
Recipe Ingredients
- 1 cup warm water
- 1 ½ Tbsp active dry yeast
- 1 cup warm milk
- ⅔ cup sugar
- 1 tsp salt
- ¼ cup vegetable oil - or canola oil
- 4 ½ - 5 cups bread flour - all-purpose flour
- 1 ½ Tbsp butter - melted for brushing - optional

How To Make Amish Bread
Full ingredients and instructions are also in the recipe card at the bottom of this blog post.
STEP 1: In a small bowl, mix 1 cup warm water, ⅓ cup sugar, and 1 ½ Tbsp active dry yeast. Let sit 10 minutes. The yeast will start to foam and bubble. If it doesn't the yeast is no good and you will need to start a fresh batch.
STEP 2: In a large separate bowl, stir 1 cup of flour with 1 tsp salt.
STEP 3: Now add the yeast mixture to the large bowl and mix.
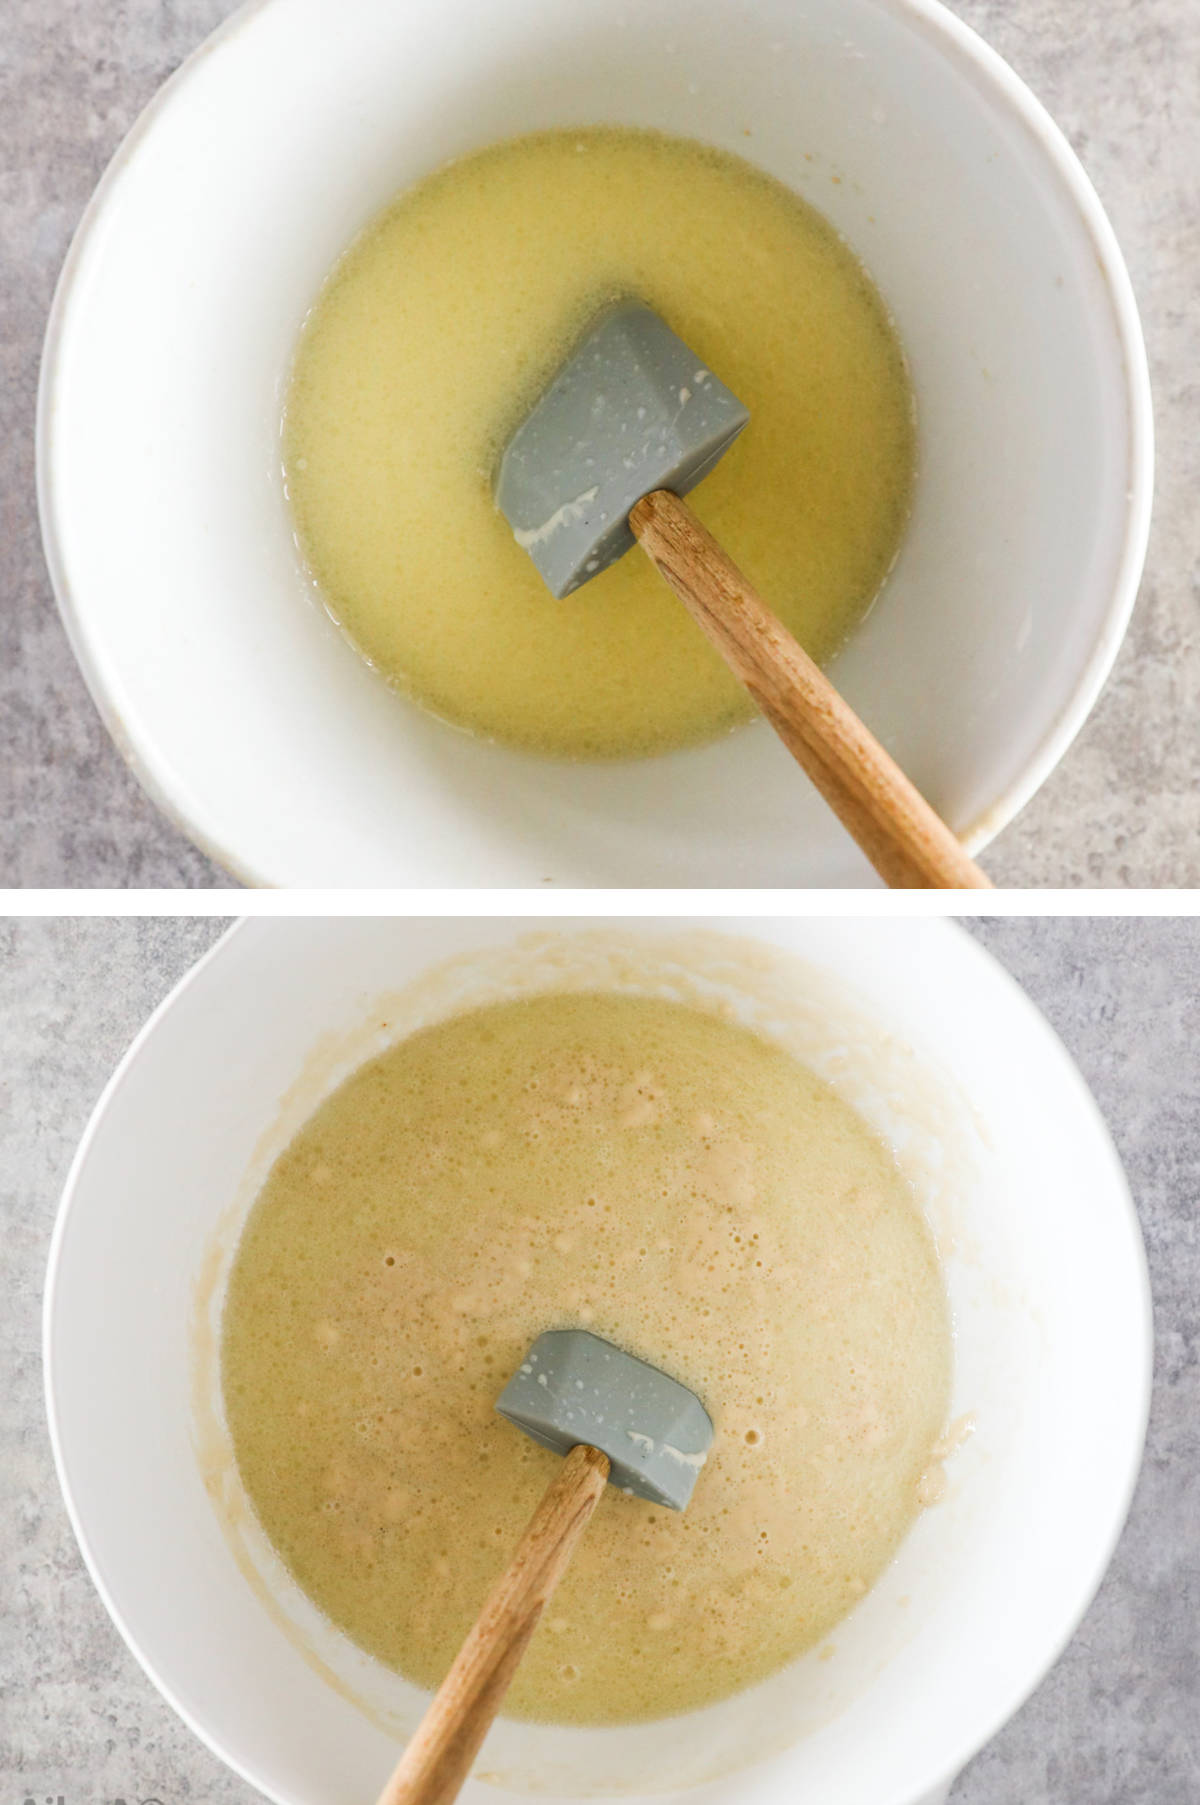
STEP 4: In a small bowl, whisk 1 cup warm milk, the remaining ⅓ cup sugar, and ¼ cup vegetable oil. Stir this milk mixture into the large bowl with the yeast & flour mixture (you now have one main bowl with ingredients).
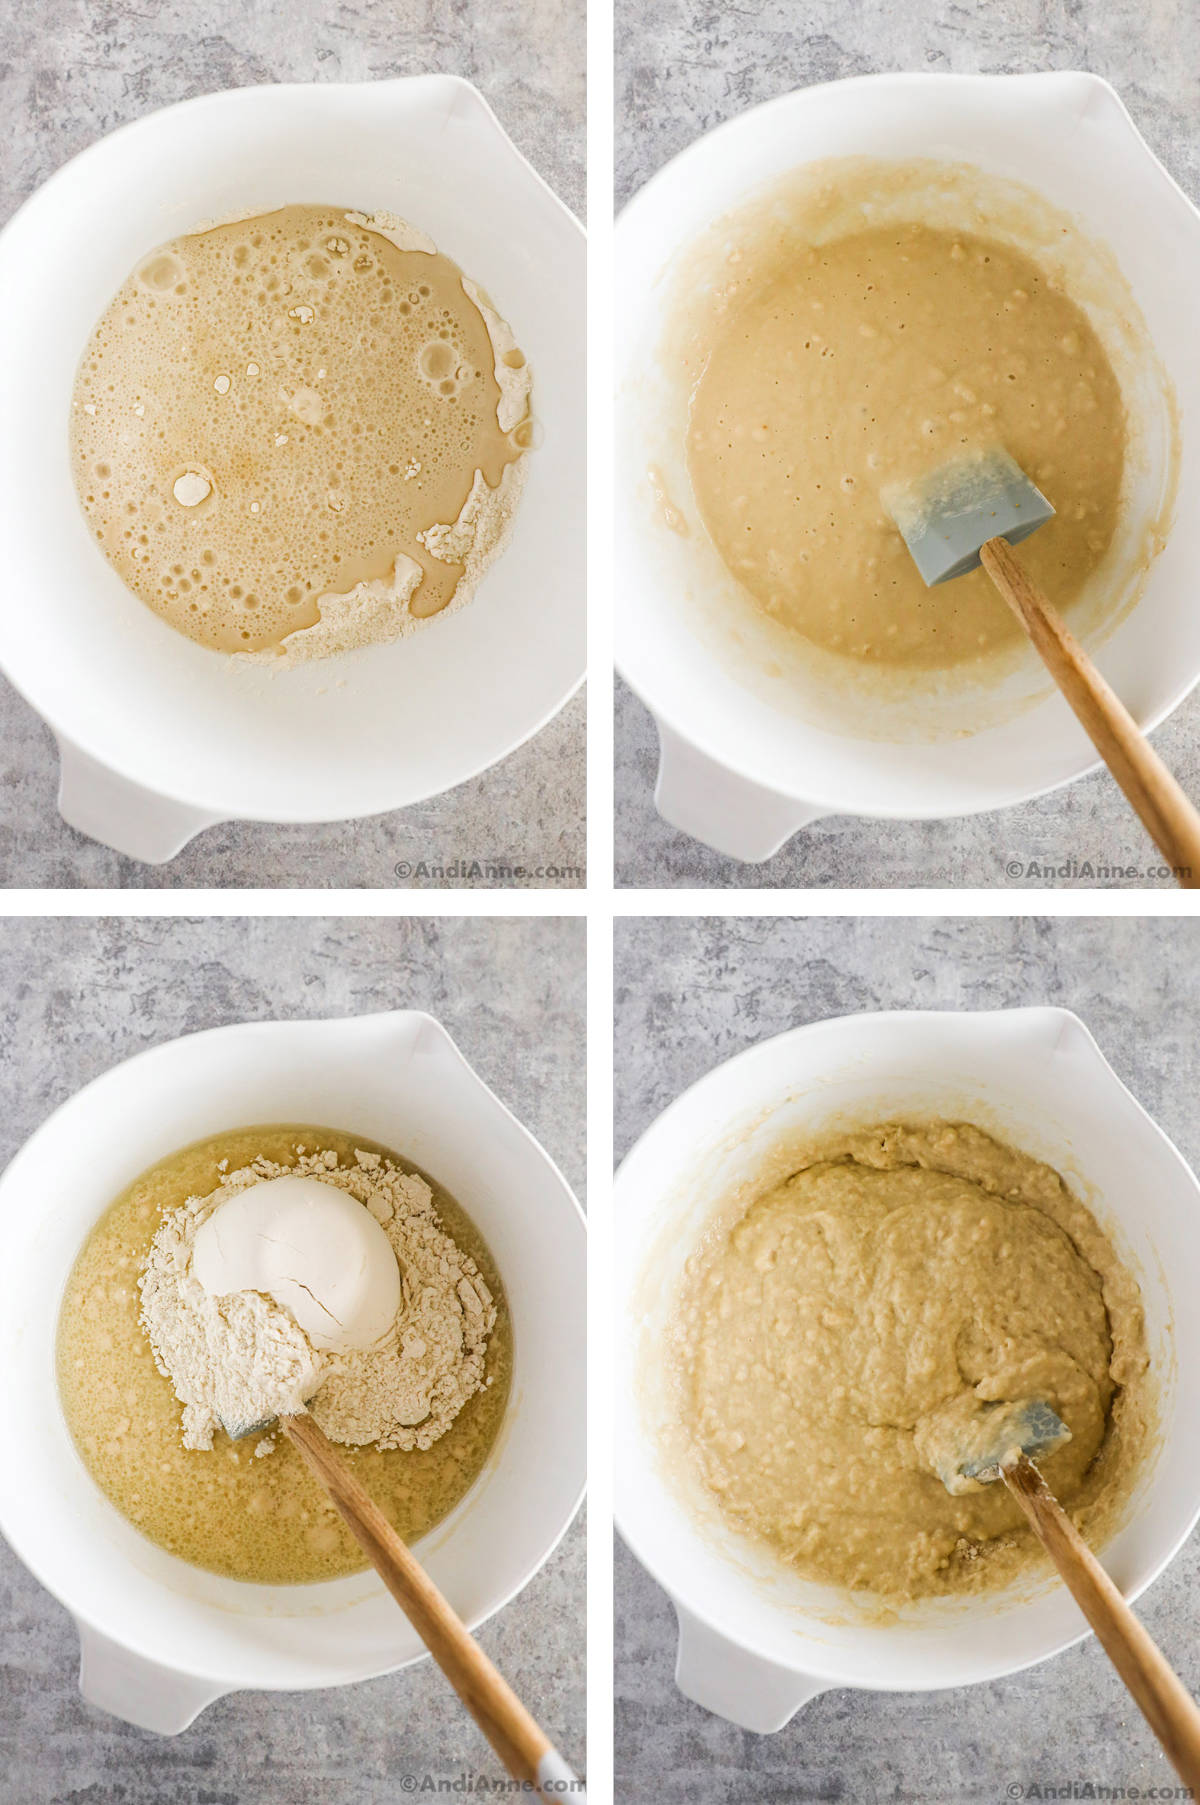
STEP 5: Mix in 2 cups of flour. You can use a hand mixer or stand mixer with a dough hook for this step.
STEP 6: Add 1 cup of flour and mix.
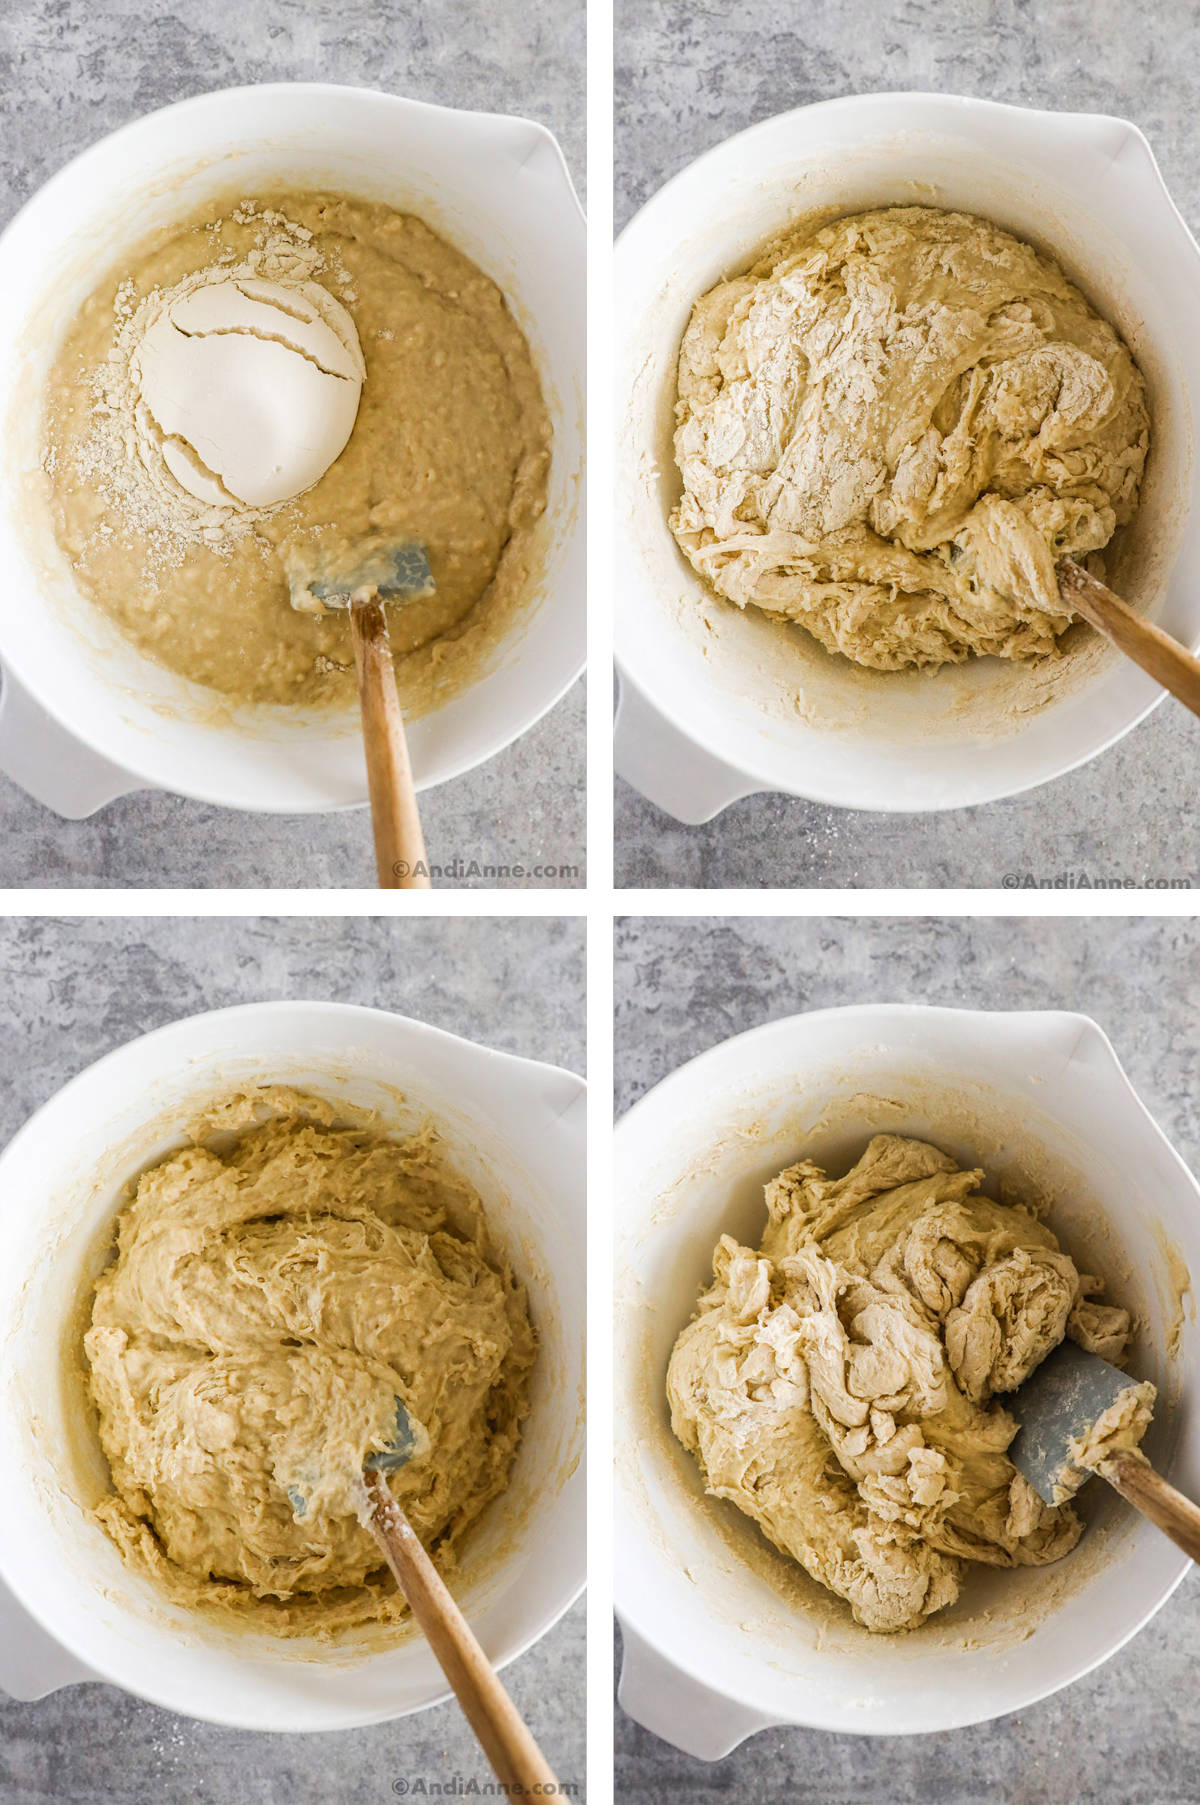
STEP 7: At this point, add ½ cup flour at a time until the dough no longer sticks to the bowl.
STEP 8: The dough shouldn't be too sticky and will be smooth and elastic.
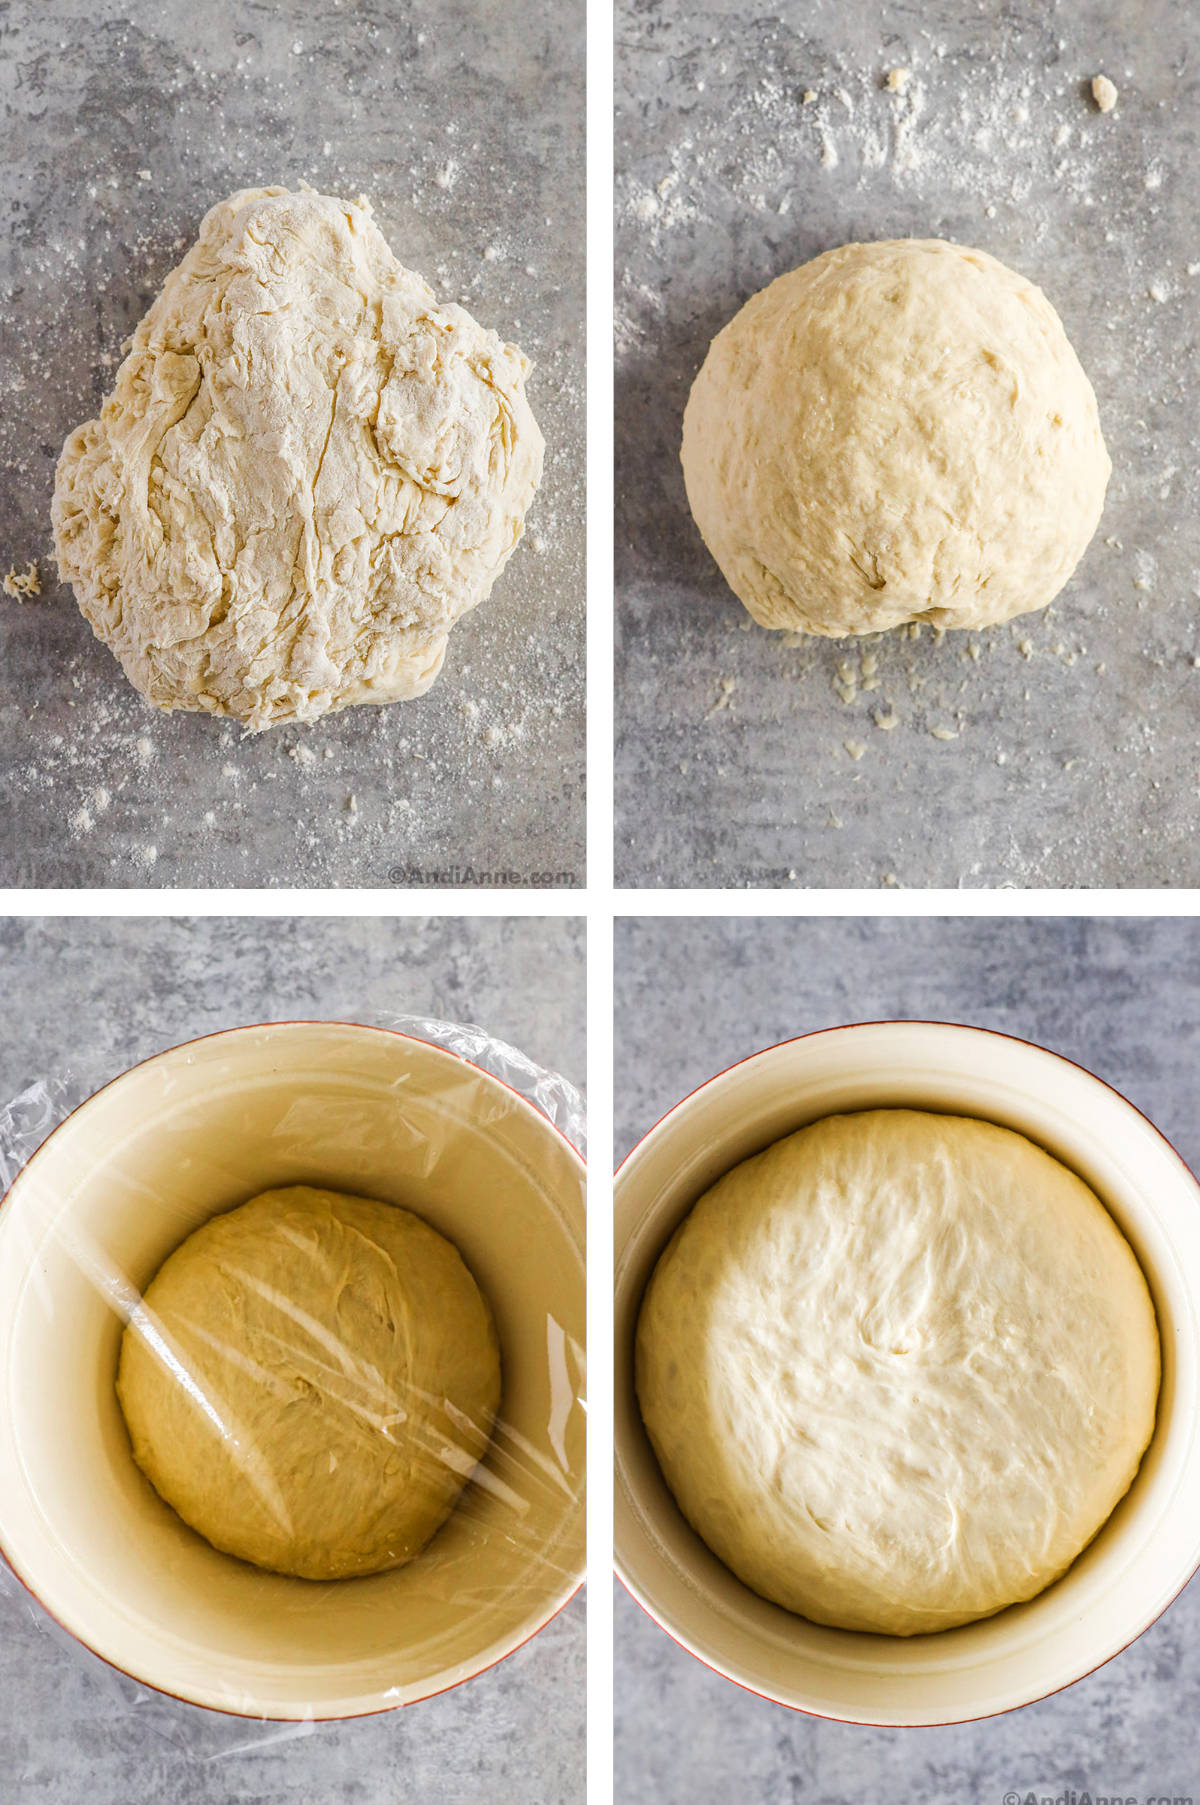
STEP 9: Add the dough to a floured surface and knead for 5-8 minutes. Sprinkle on more flour if the dough feels too sticky, alternatively, you can mix the dough at medium speed in a stand mixer.
STEP 10: Grease a large bowl with cooking spray. Roll the dough into a ball. Cover loosely with plastic wrap and place it in a warm dark area preferably 75°F and 78°F (24°C and 25°C) for 60-90 mins, until that dough has doubled in size.
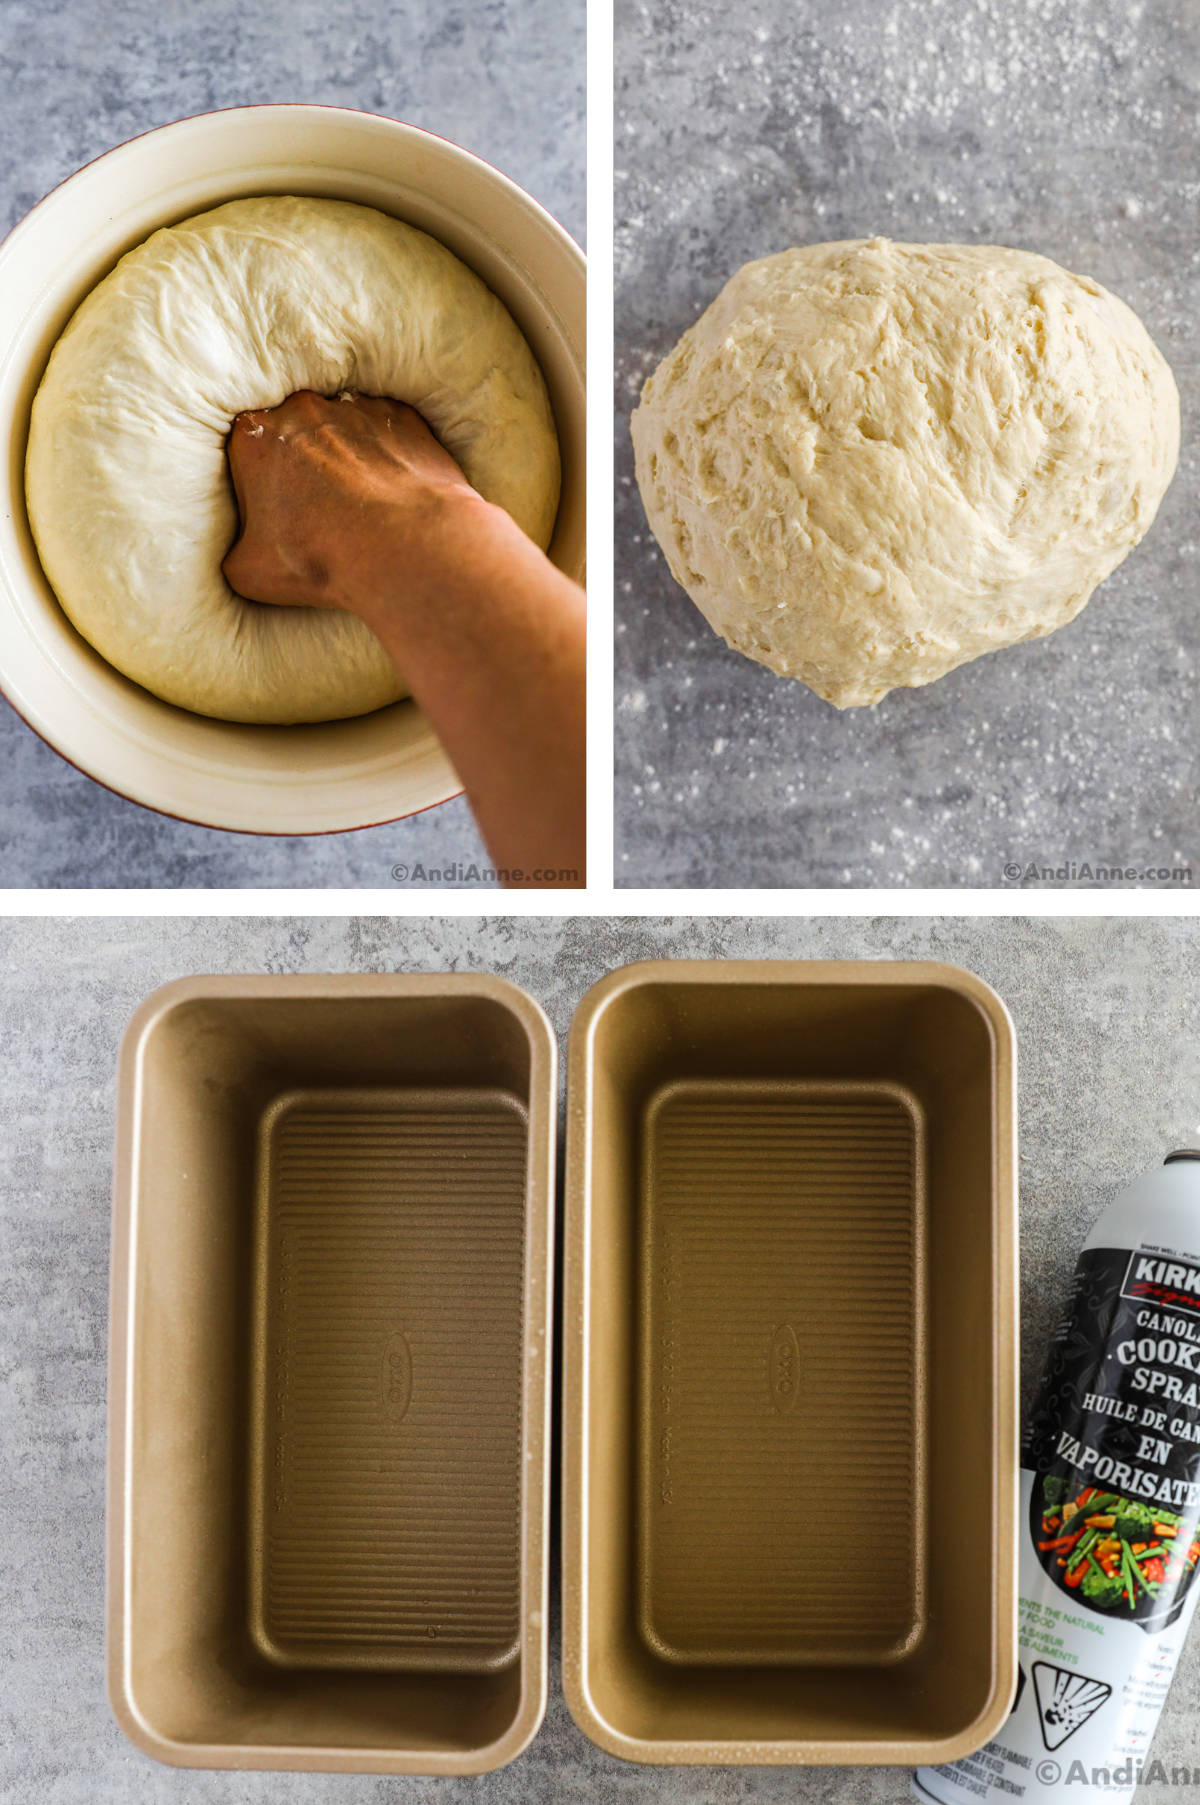
STEP 11: Once the dough has risen to twice its size, remove it to a floured surface, and knead for 3-5 minutes.
STEP 12: Grease two 9x5 loaf pans with cooking spray.
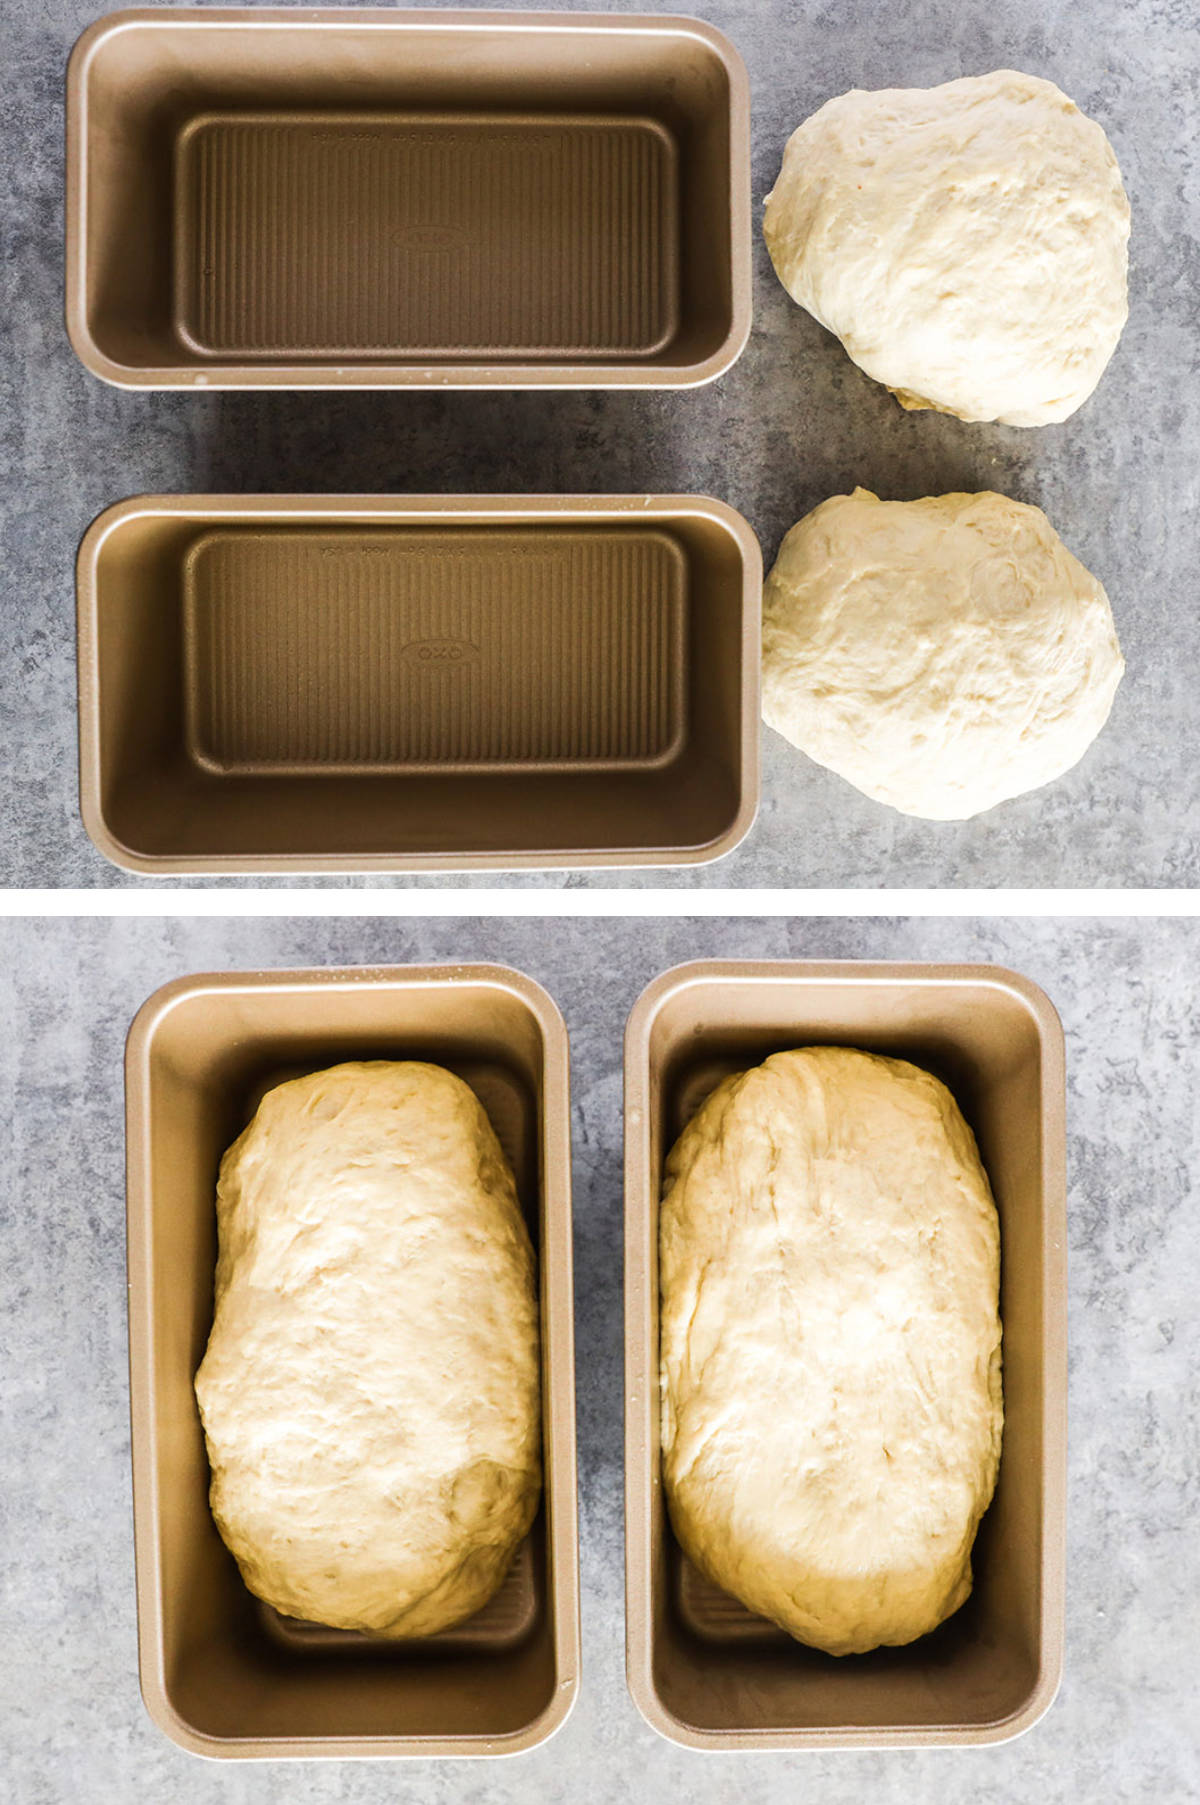
STEP 13: Divide the dough in half and form each into a log shape to fit your loaf pans. Place each log-shaped dough into the pan and cover loosely with plastic wrap.
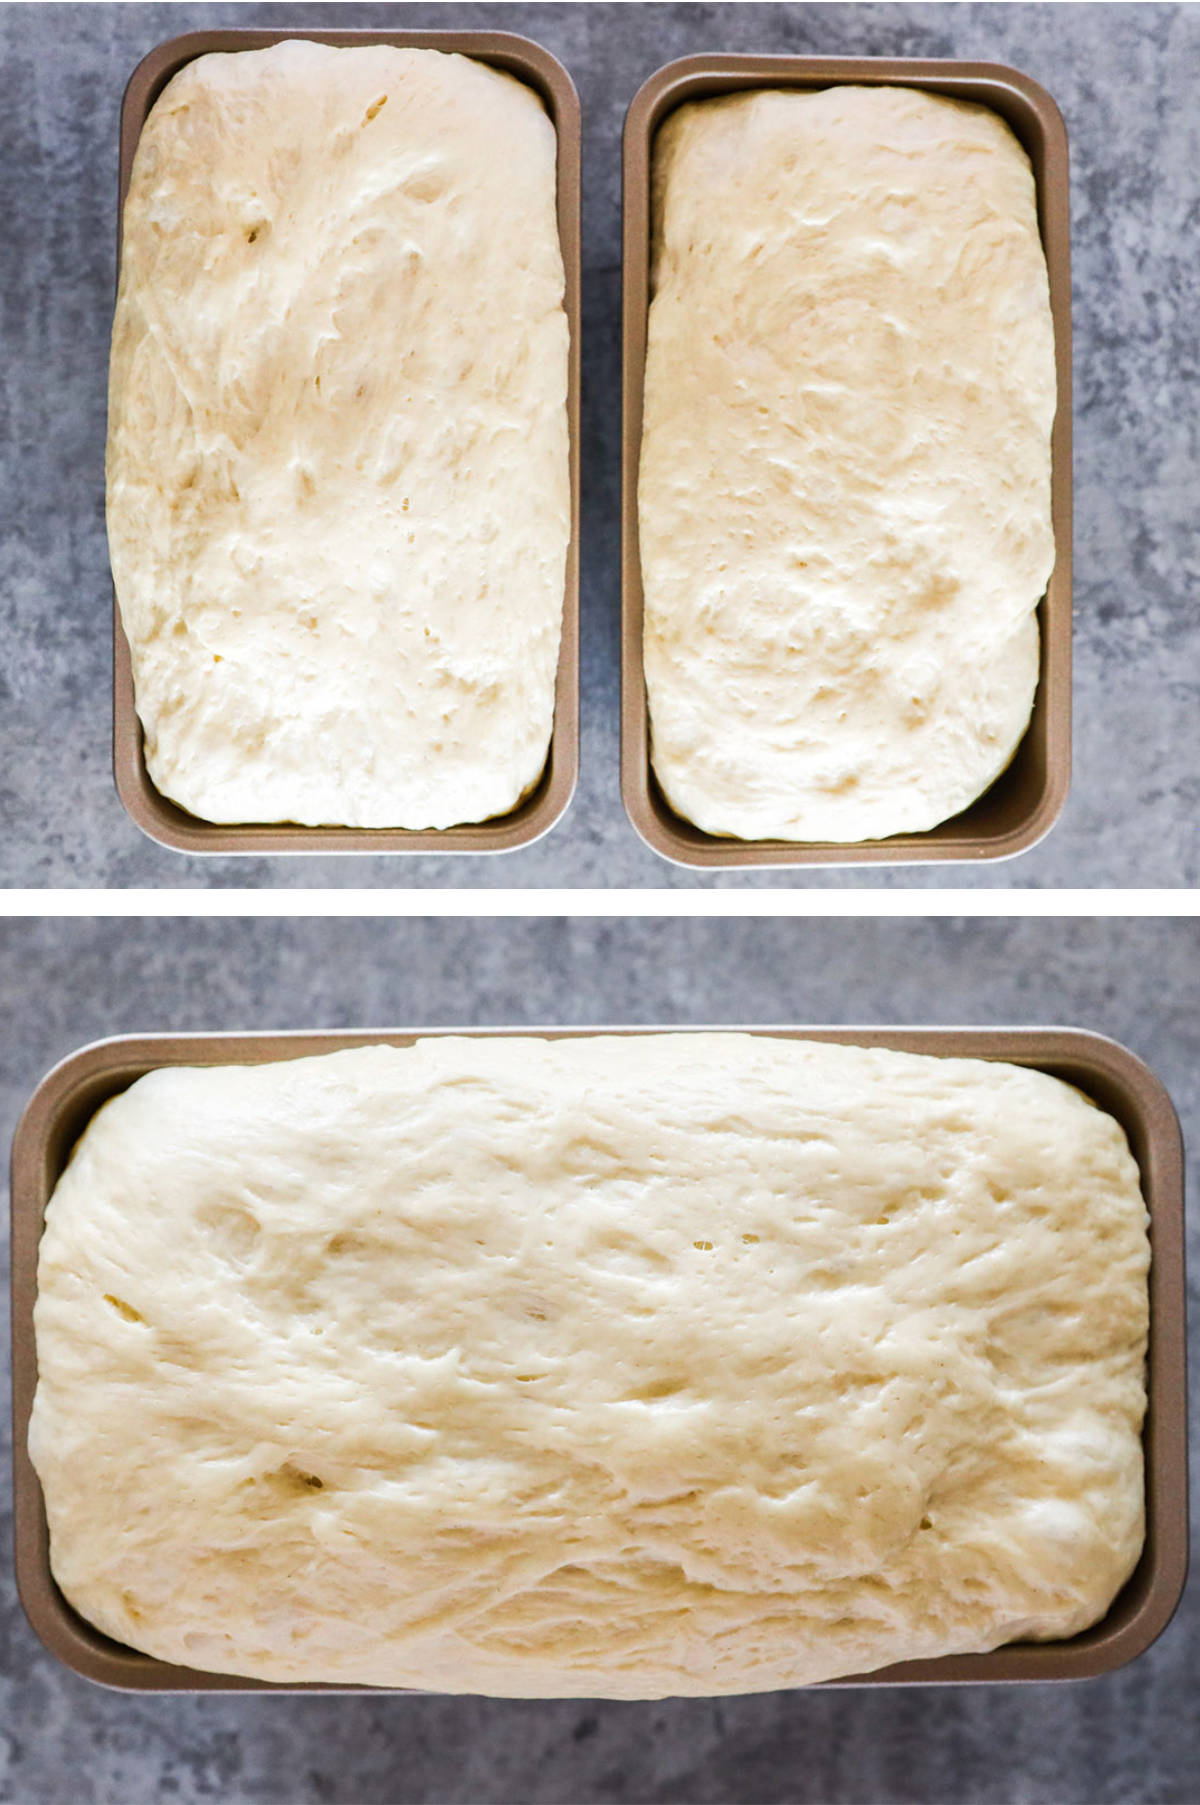
STEP 14: Let the dough rise for 45-60 mins until the dough is about 1" above the pan.
STEP 15: Preheat the oven to 350°F.

STEP 16: Bake loaves for 30-33 minutes or until the top turns golden brown and the internal temp reaches 190F with a thermometer. You will also hear a hollow sound when bread is tapped on top with a butter knife.
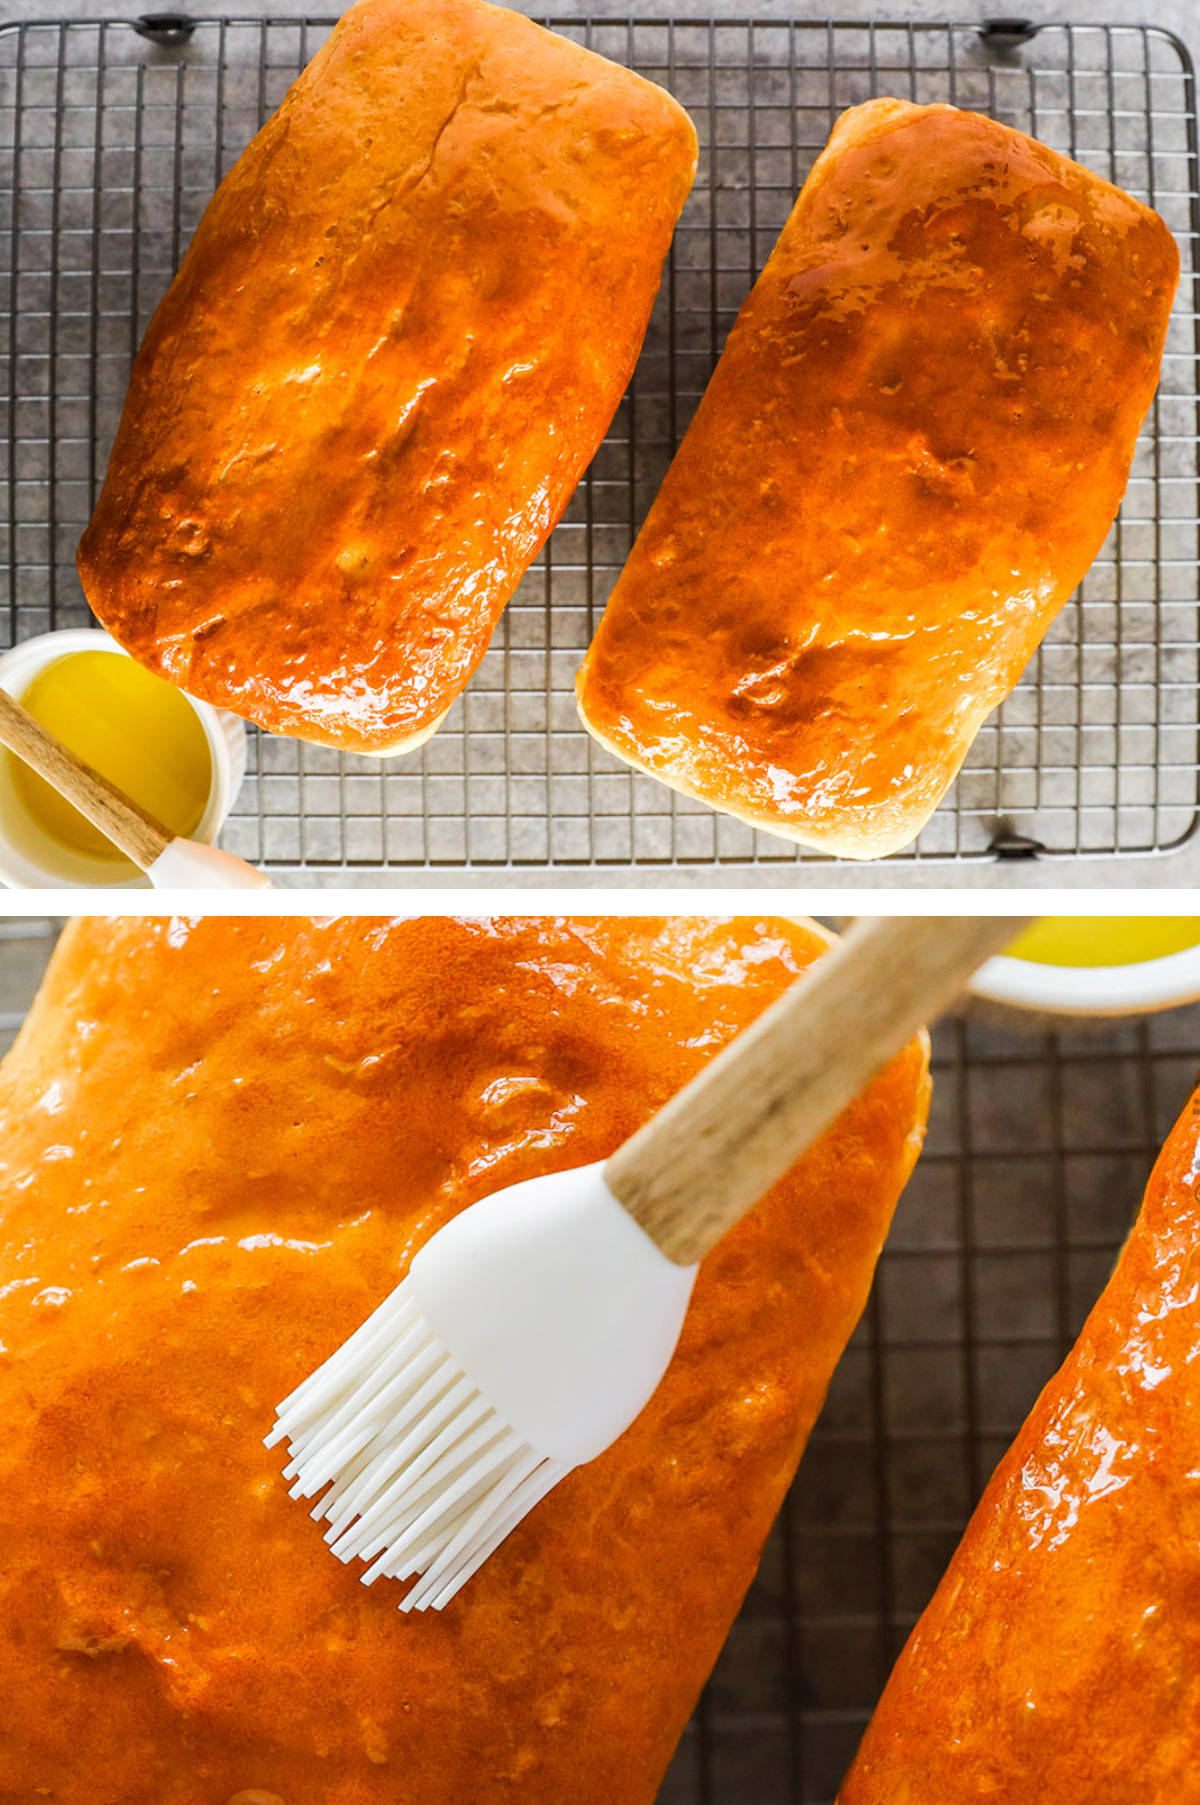
STEP 17: Let sit in pan 10 minutes then transfer the loaves to a rack to cool completely. Brush the tops with melted butter.
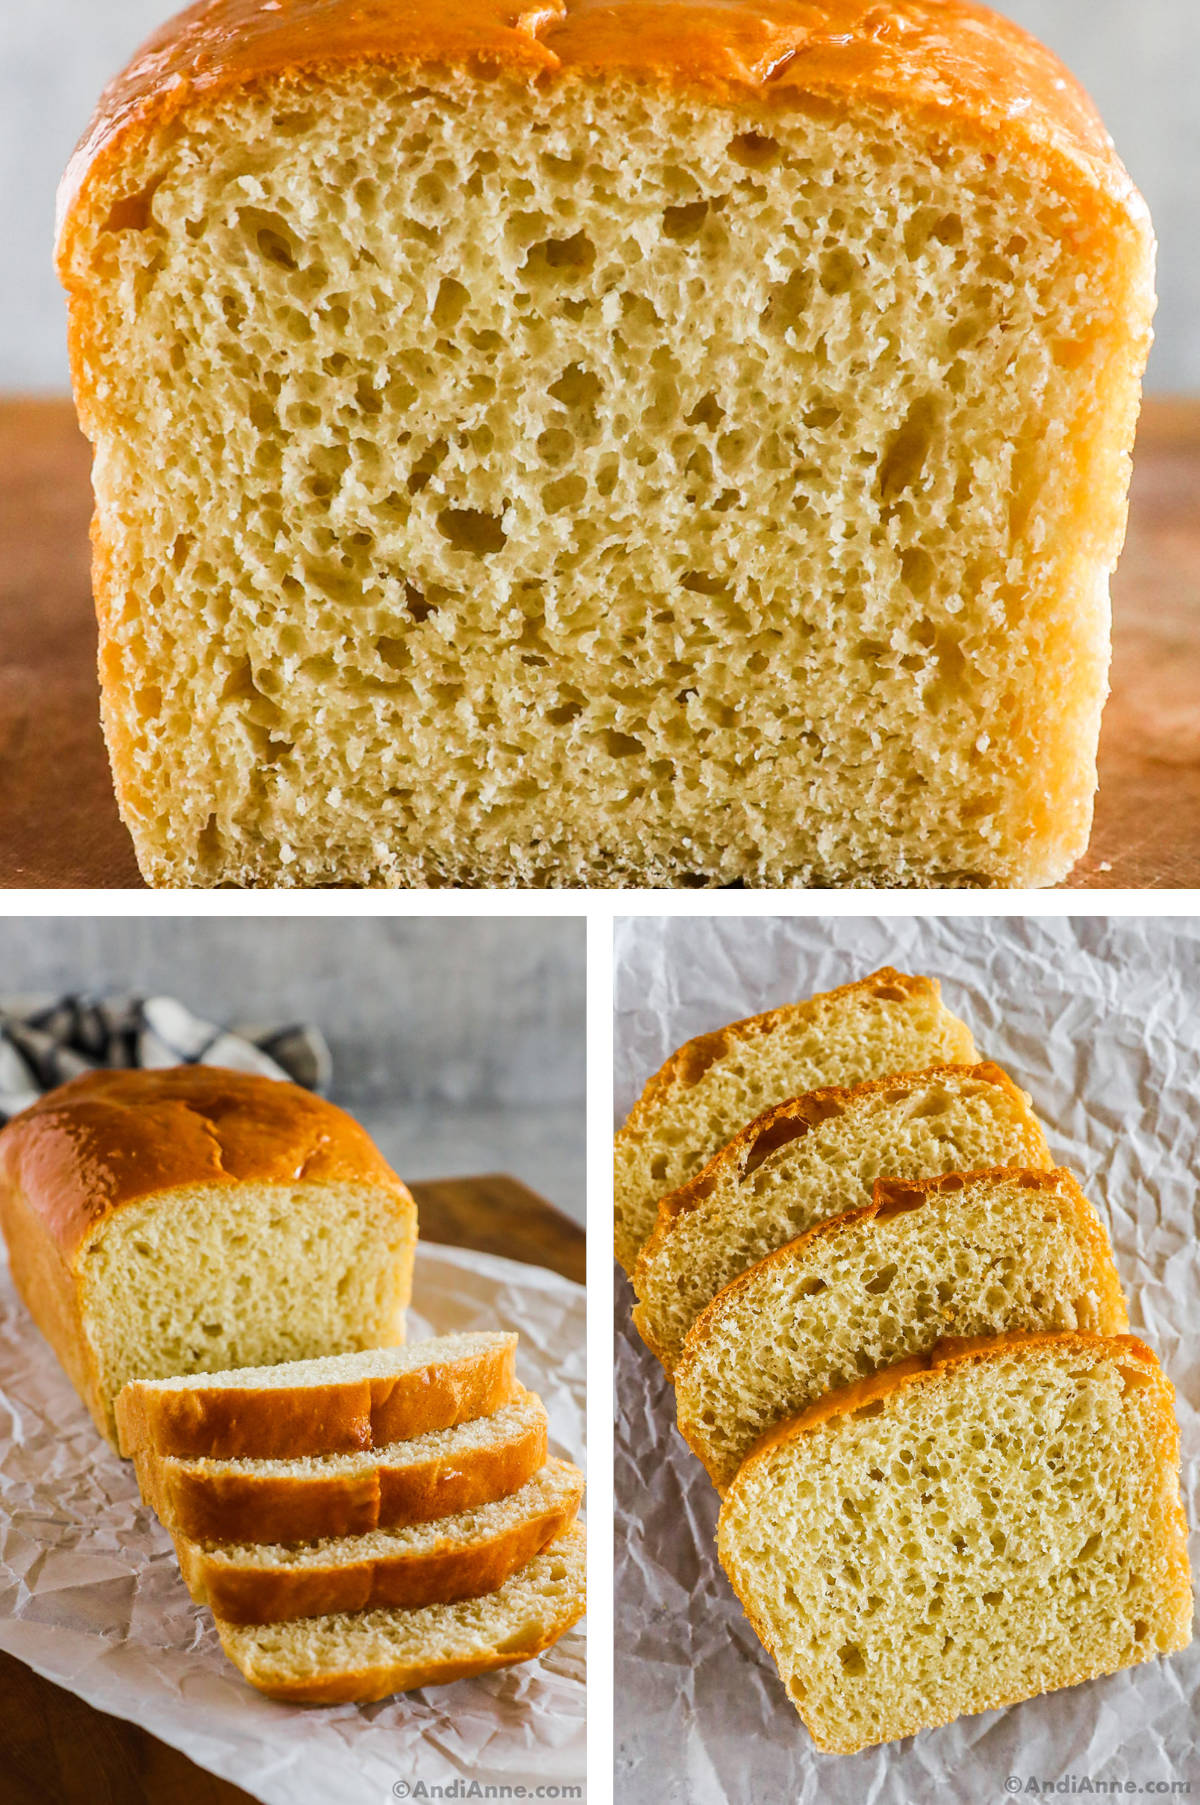
STEP 18: Let cool another 15 minutes before slicing.
Variations
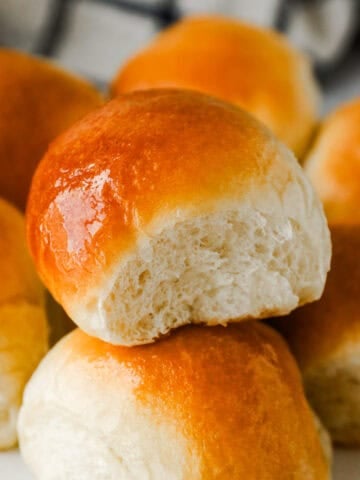
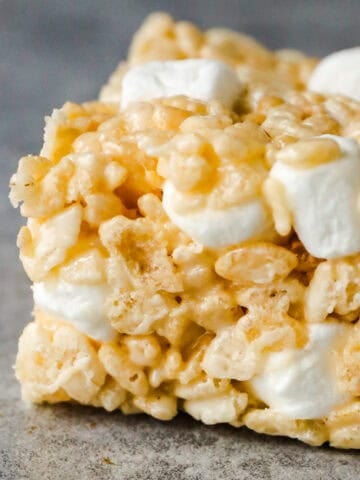
- This recipe can also be used to make dinner rolls or cinnamon buns.
- To make raisin bread, add 2 cups of raisins to the dough while mixing everything.
- To make chocolate chip bread, fold 2 cups of chocolate chips into the dough.
- I used bread flour but you can also use all-purpose white flour for this recipe. Bread flour will work the best, all-purpose flour will have a different consistency and may not rise as high.
- White sugar is the main ingredient separating Amish bread from any other bread. Feel free to reduce the amount added or substitute with honey or maple syrup. Remember that this will change the bread texture.
Recipe Tips
- Make sure your yeast has not passed the expiry date listed on the side. To test if the yeast is still active, refer to step 1.
- I used warm whole milk for this recipe which delivers a rich flavor compared to reduced-fat milk.
- Use melted butter to help brown the tops of the bread as it bakes. Brush melted butter on the tops of each loaf place on the middle rack of your preheated oven and bake for 30 minutes.
- You can let your dough rise in your oven. It's the perfect warm place. First, preheat oven to 350F for 1 minute, then turn the oven off. Add the dough in the bowl, cover it with plastic wrap, and let it sit with the light on. Just remember not to turn on your oven during this time.
- To check for doneness, lightly tap on the loaf and listen for a hollow sound. The bread is done when you hear that.
How To Store
Homemade bread goes stale quicker than commercial bread because there are no added preservatives. You can store this on the counter at room temperature for up to 2 days. Consider freezing leftovers (even half a loaf) to help preserve freshness for longer.
- FREEZE - When freezing bread, remove as much air as possible to prevent freezer burn. Then store it in a zip lock back or tightly sealed bread bag. Once frozen, your bread will last for 3 months.
- REFRIGERATE - I find that storing bread in the fridge will result in it going stale faster than freezing or leaving on the countertop.
- THAW - To thaw your frozen bread, simply leave it at room temperature while still sealed.
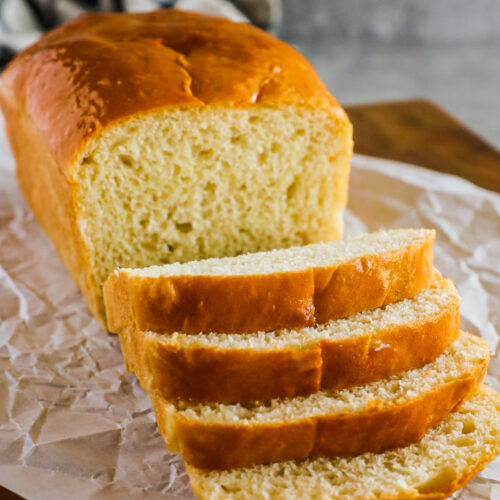
Amish Bread
Tap Stars To Rate!
Ingredients
- 1 cup warm water
- 1 ½ Tbsp active dry yeast
- 1 cup warm milk
- ⅔ cup sugar
- 1 tsp salt
- ¼ cup vegetable oil - or canola oil
- 4 ½ - 5 cups bread flour - all-purpose flour
- 1 ½ Tbsp butter - melted for brushing - optional
Instructions
- In a small bowl, mix 1 cup warm water, ⅓ cup sugar, and 1 ½ Tbsp active dry yeast. Let sit 10 minutes. The yeast will start to foam and bubble. If it doesn't the yeast is no good and you will need to start a fresh batch.
- In a large separate bowl, stir 1 cup of flour with 1 tsp salt.
- Now add the yeast mixture to the large bowl and mix.
- In a small bowl, whisk 1 cup warm milk, the remaining ⅓ cup sugar, and ¼ cup vegetable oil. Stir this milk mixture into the large bowl with the yeast & flour mixture. (you now have one main bowl with ingredients).
- Mix in 2 cups of flour. You can use a hand mixer or stand mixer with a dough hook for this step.
- Add 1 cup of flour and mix.
- At this point, add ½ cup flour at a time until the dough no longer sticks to the bowl.
- The dough shouldn't be too sticky and will be smooth and elastic.
- Add the dough to a floured surface and knead for 5-8 minutes. Sprinkle on more flour if the dough feels too sticky, alternatively, you can mix the dough at medium speed in a stand mixer.
- Grease a large bowl with cooking spray. Roll the dough into a ball. Cover loosely with plastic wrap and place it in a warm dark area preferably 75°F and 78°F (24°C and 25°C) for 60-90 mins, until that dough has doubled in size.
- Once the dough has risen to twice its size, remove it to a floured surface, and knead for 3-5 minutes.
- Grease two 9x5 loaf pans with cooking spray.
- Divide the dough in half and form each into a log shape to fit your loaf pans. Place each log-shaped dough into the pan and cover loosely with plastic wrap.
- Let the dough rise for 45-60 mins until the dough is about 1" above the pan.
- Preheat the oven to 350°F.
- Bake loaves for 30-33 minutes or until the top turns golden brown and the internal temp reaches 190F with a thermometer. You will also hear a hollow sound when bread is tapped on top with a butter knife.
- Let sit in pan 10 minutes then transfer the loaves to a rack to cool completely. Brush the tops with melted butter.
- Let cool another 15 minutes before slicing.
Notes
Nutrition
Nutrition info is auto-calculated and meant to be an approximation only.

Samantha Elliott says
This is my go-to sandwich bread recipe! I use raw milk, and substitute beef tallow for the oil. It comes out perfect every time! Even my picky eater absolutely loves it!