
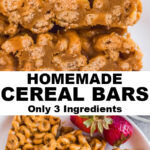
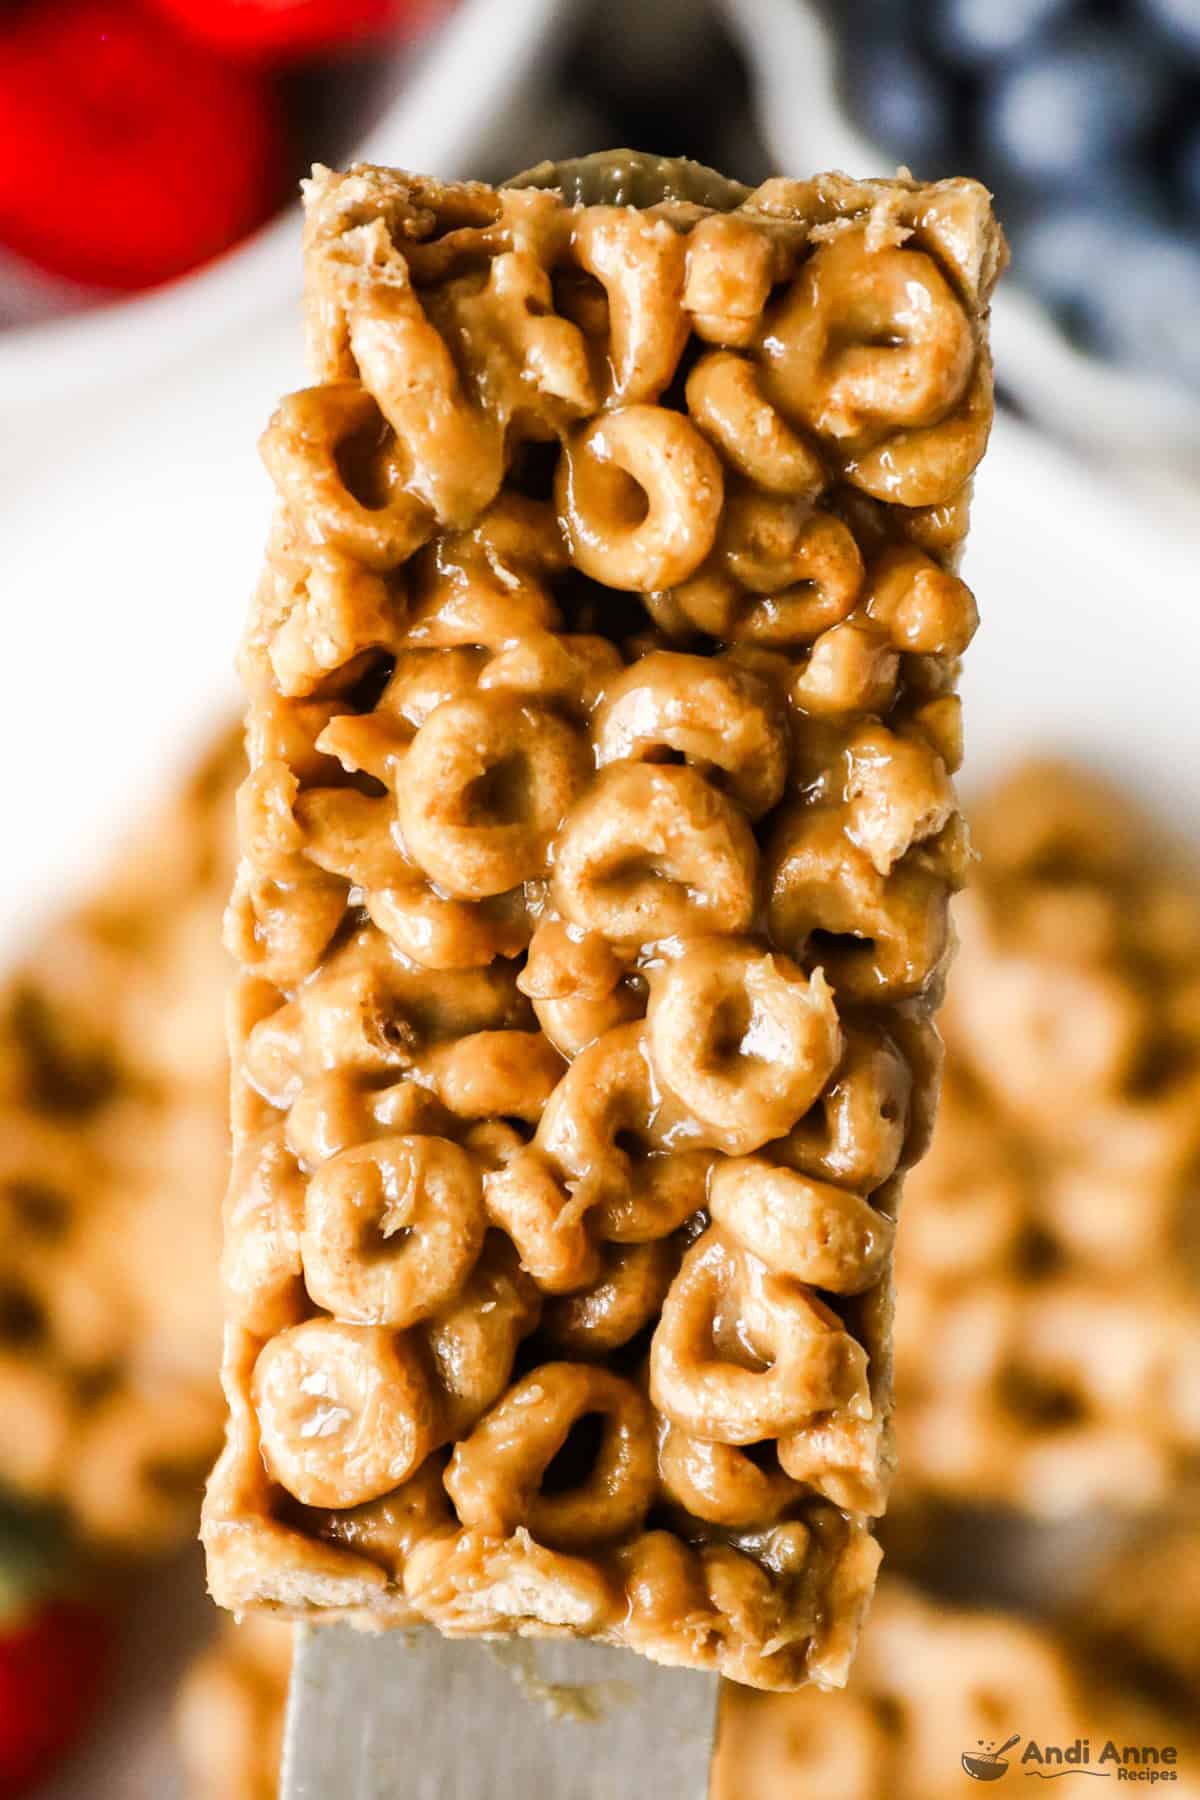
These easy homemade cereal bars (also called Cheerio bars) are one of the simplest no-bake snacks you can make using just three pantry staples and about 10 minutes of prep. 👇👇
Made with Cheerios cereal, peanut butter, and honey, these chewy homemade cereal bars are a quick snack that works perfectly for lunchboxes, after-school snacks, or grab-and-go breakfasts during busy weeks.
If you're trying to keep budget-friendly snacks on hand instead of buying packaged cereal bars every week, this simple homemade recipe is a great solution. One batch makes a full pan of bars that store well in the fridge and work beautifully for snack meal prep or quick kid friendly snacks.
Recipes like this are part of my regular kitchen routine. When you can turn a few pantry staples into a homemade snack in minutes, it makes busy weeks feel a lot easier.
Note From Andi
These bars are a staple in our kitchen-especially during busy weeks. I started making them as an easy after-school snack, and now they've become a regular request from my family.
My kid loves helping stir the mixture (and sneaking a few Cheerios). It's a quick recipe we can whip up together-and they're perfect for lunchboxes, road trips, or just when the snack cravings hit.
What holds cereal bars together?
The combination of peanut butter and honey acts as a natural glue to hold the bars in place once they're chilled. Make sure to press them firmly and chill thoroughly before slicing.
Why Are My Bars Soft?
These cereal bars have a softer texture because they're made with peanut butter and honey instead of corn syrup. That's what helps them taste more homemade, but it also means they won't be quite as firm as store-bought cereal bars.
I usually keep a batch in the freezer and grab one whenever we want a snack. My daughter actually loves eating them this way.
If you're packing one in a school lunch, it will soften a bit by lunchtime, but we've never had any complaints about that.
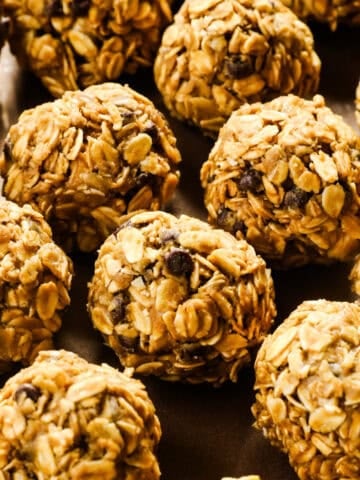
Another option is to roll the mixture into snack balls instead of bars. They hold together a little better if you plan to store them outside the freezer.
Why I Recommend This Recipe
- Only three simple ingredients - Cheerios cereal, peanut butter, and honey come together in minutes.
- No baking required - Just melt, mix, press, and chill.
- Perfect for meal prep snacks - Make a batch once and keep cereal bars ready for lunchboxes or after-school snacks all week.
- Budget-friendly alternative to packaged cereal bars - Much cheaper than buying boxed snack bars from the grocery store.
- Kid-friendly recipe - Kids love helping stir the mixture and press the bars into the pan.
If you enjoy easy snack recipes like this, you might also like my peanut butter oat balls, or these no-bake granola bars, and I also share energy ball recipes that work great for snack meal prep.
Recipe Ingredients
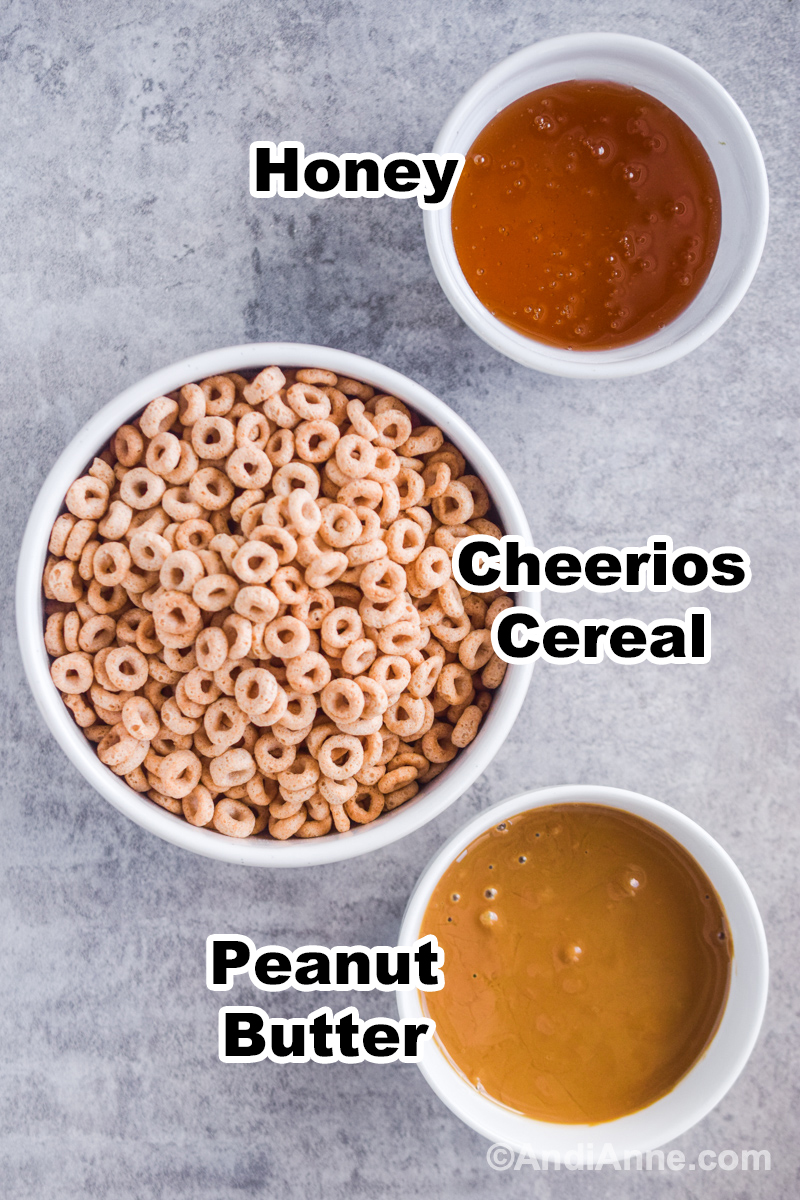
- 3 cups Cheerios cereal - classic O-shaped cereal that gives the bars structure.
- ¾ cup peanut butter - creamy peanut butter works best for binding the bars together.
- ¾ cup honey - acts as the sweet binder that holds the cereal together once chilled.
Optional flavor additions:
- ½ tsp vanilla extract - adds extra flavor depth.
- Pinch of salt - balances sweetness if using natural peanut butter.
These ingredients are easy to keep stocked in the pantry, which makes this recipe perfect when you need a quick homemade snack using pantry staples.
Watch How To Make Cheerio Bars 👇👇
These chewy homemade cereal bars come together in minutes with just a quick stir and chill.
Tip: Use natural peanut butter for a slightly less sweet, more wholesome bar.
Common Mistakes to Avoid
Avoid these small mistakes so your cereal bars turn out perfectly chewy every time.
- Overheating the honey - Honey can burn quickly and make the bars taste bitter. Warm it gently over medium-low heat and stir constantly.
- Not pressing the mixture firmly enough - If the cereal mixture isn't packed tightly, the bars won't hold their shape. Use a spatula or the bottom of a measuring cup to press it firmly into the pan.
- Skipping the chill time - If you slice the bars too soon, they can fall apart. Chill for at least 1 hour so the bars fully set.
- Adding too many mix-ins - Extra ingredients are fun, but too many can prevent the bars from sticking together. Try to keep add-ins to about ¼-½ cup total.
- Using very thick nut butter - Some natural nut butters are very thick or dry, which can make the bars crumbly. If needed, stir in 1-2 teaspoons oil to loosen the mixture.
Cheerio Bars Step By Step Instructions 👇👇
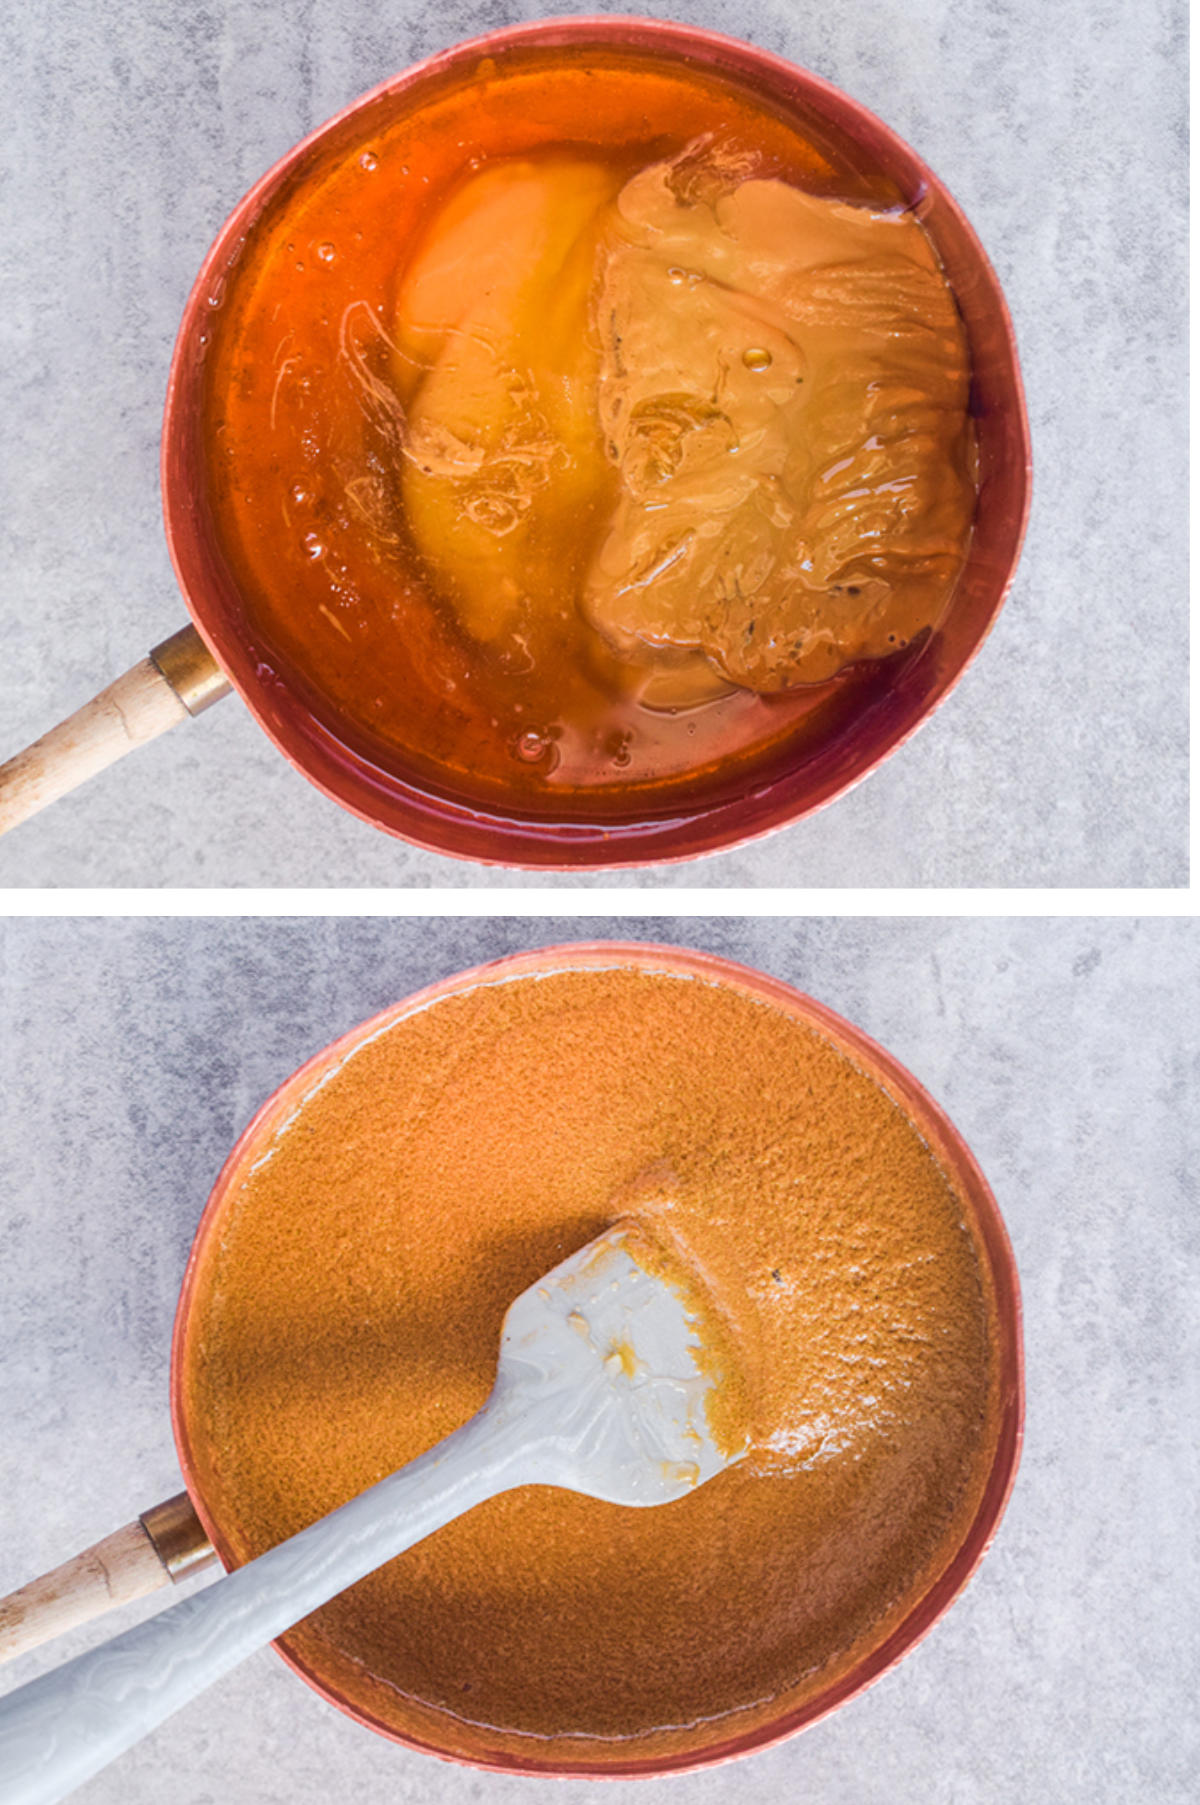
STEP 1: Melt the wet ingredients
Add ¾ cup peanut butter and ¾ cup honey to a small saucepan.
Warm over medium-low heat for 2-3 minutes, stirring constantly until the mixture is smooth and fully combined. Remove from heat and stir in vanilla extract and a pinch of salt if using.
NOTE: You can also melt the mixture in the microwave in 30-second increments, stirring between each round.
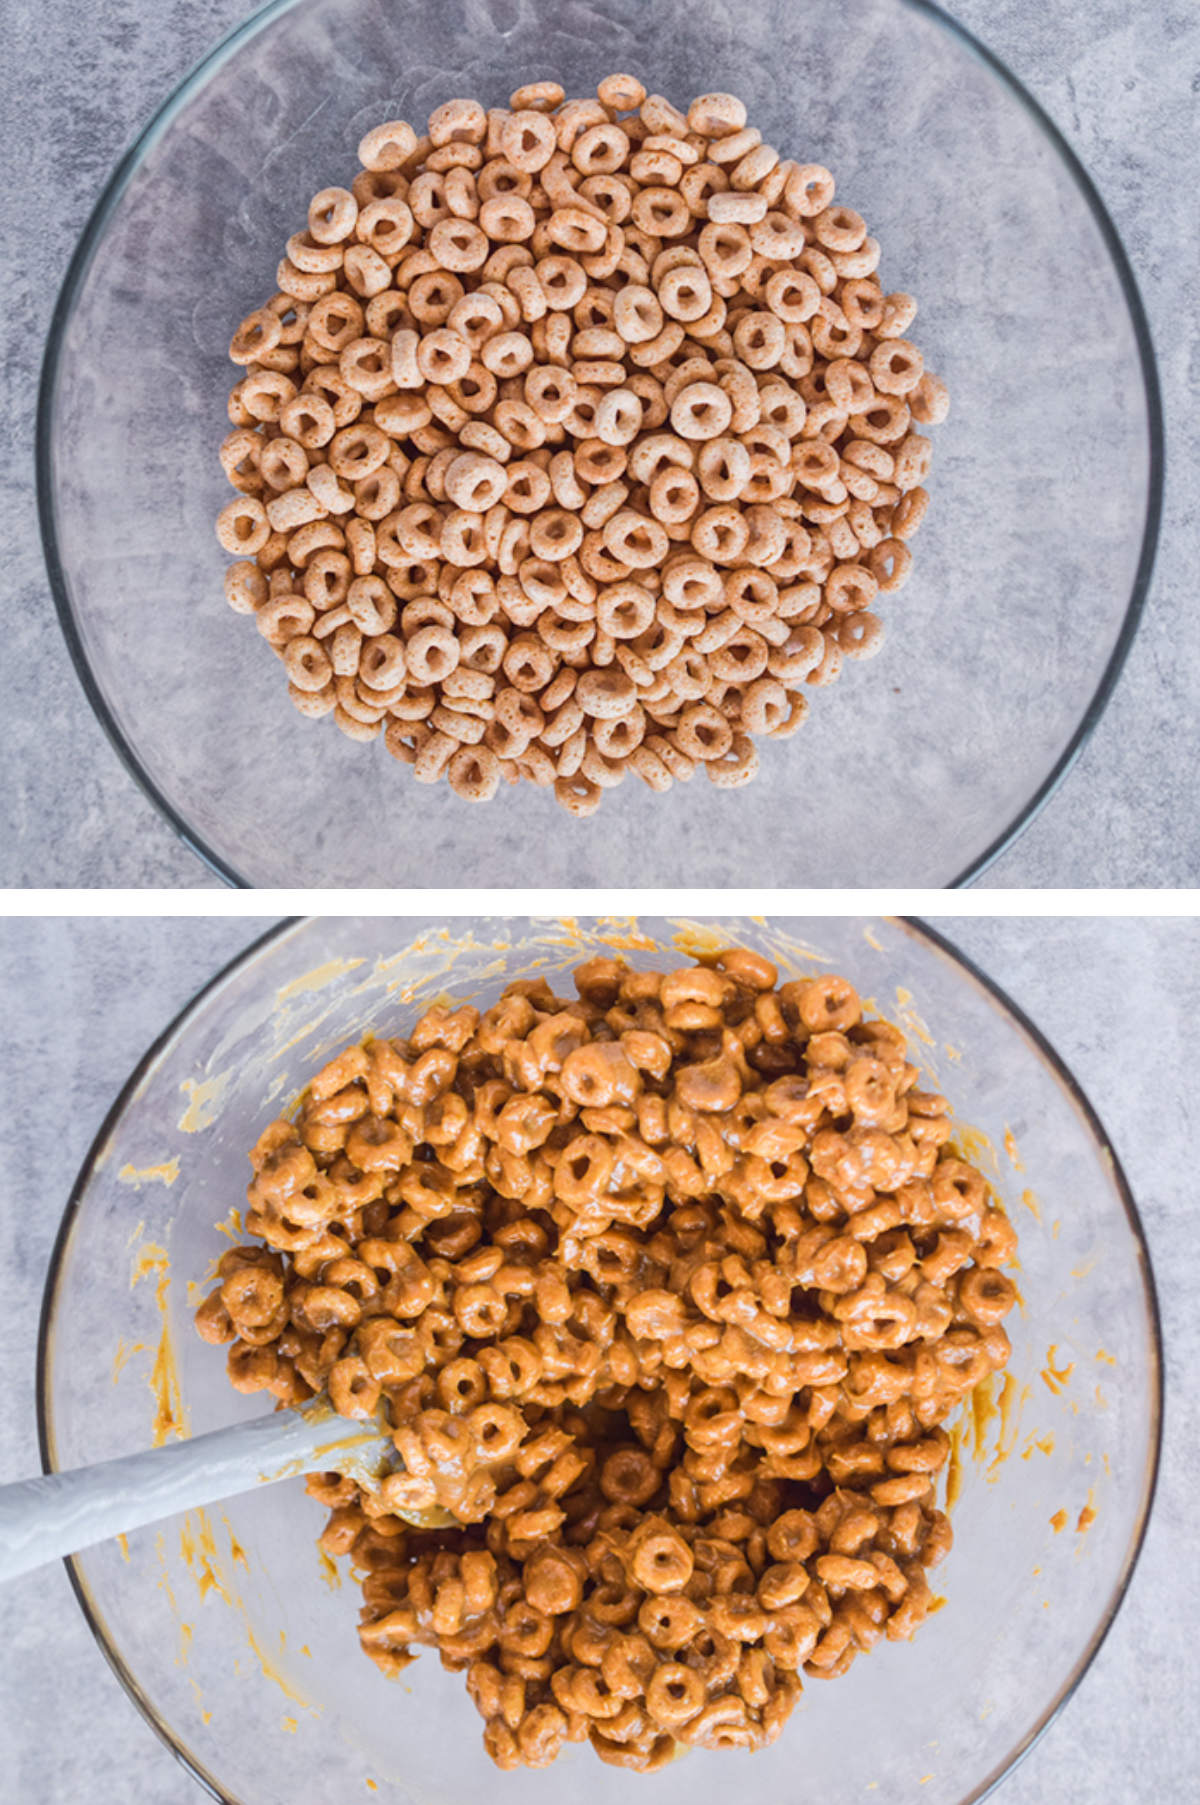
STEP 2: Mix with cereal
Now add 3 cups Cheerios cereal to a large mixing bowl.
Pour the warm peanut butter mixture over the cereal and stir until every piece of cereal is evenly coated.
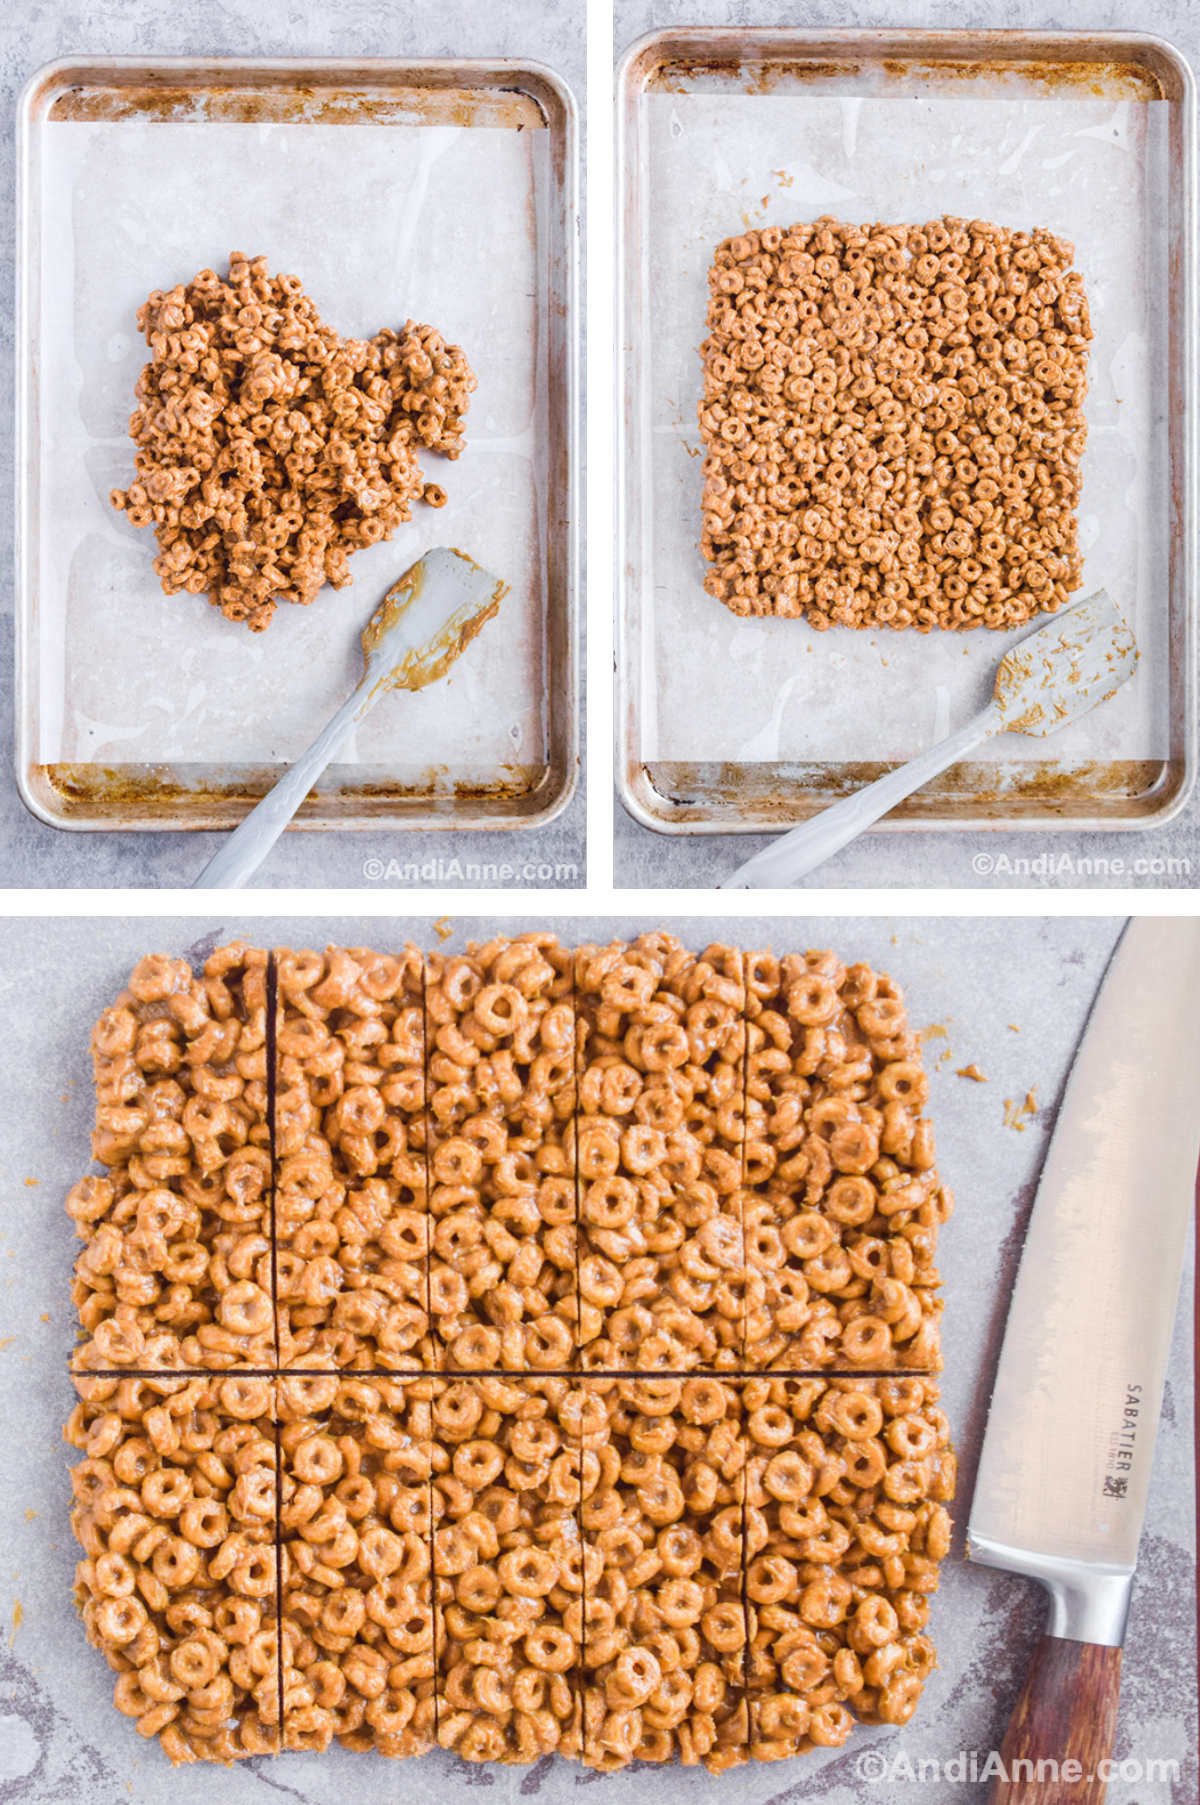
STEP 3: Press and chill
Transfer the mixture to a parchment-lined baking sheet or square 8x8 baking dish.
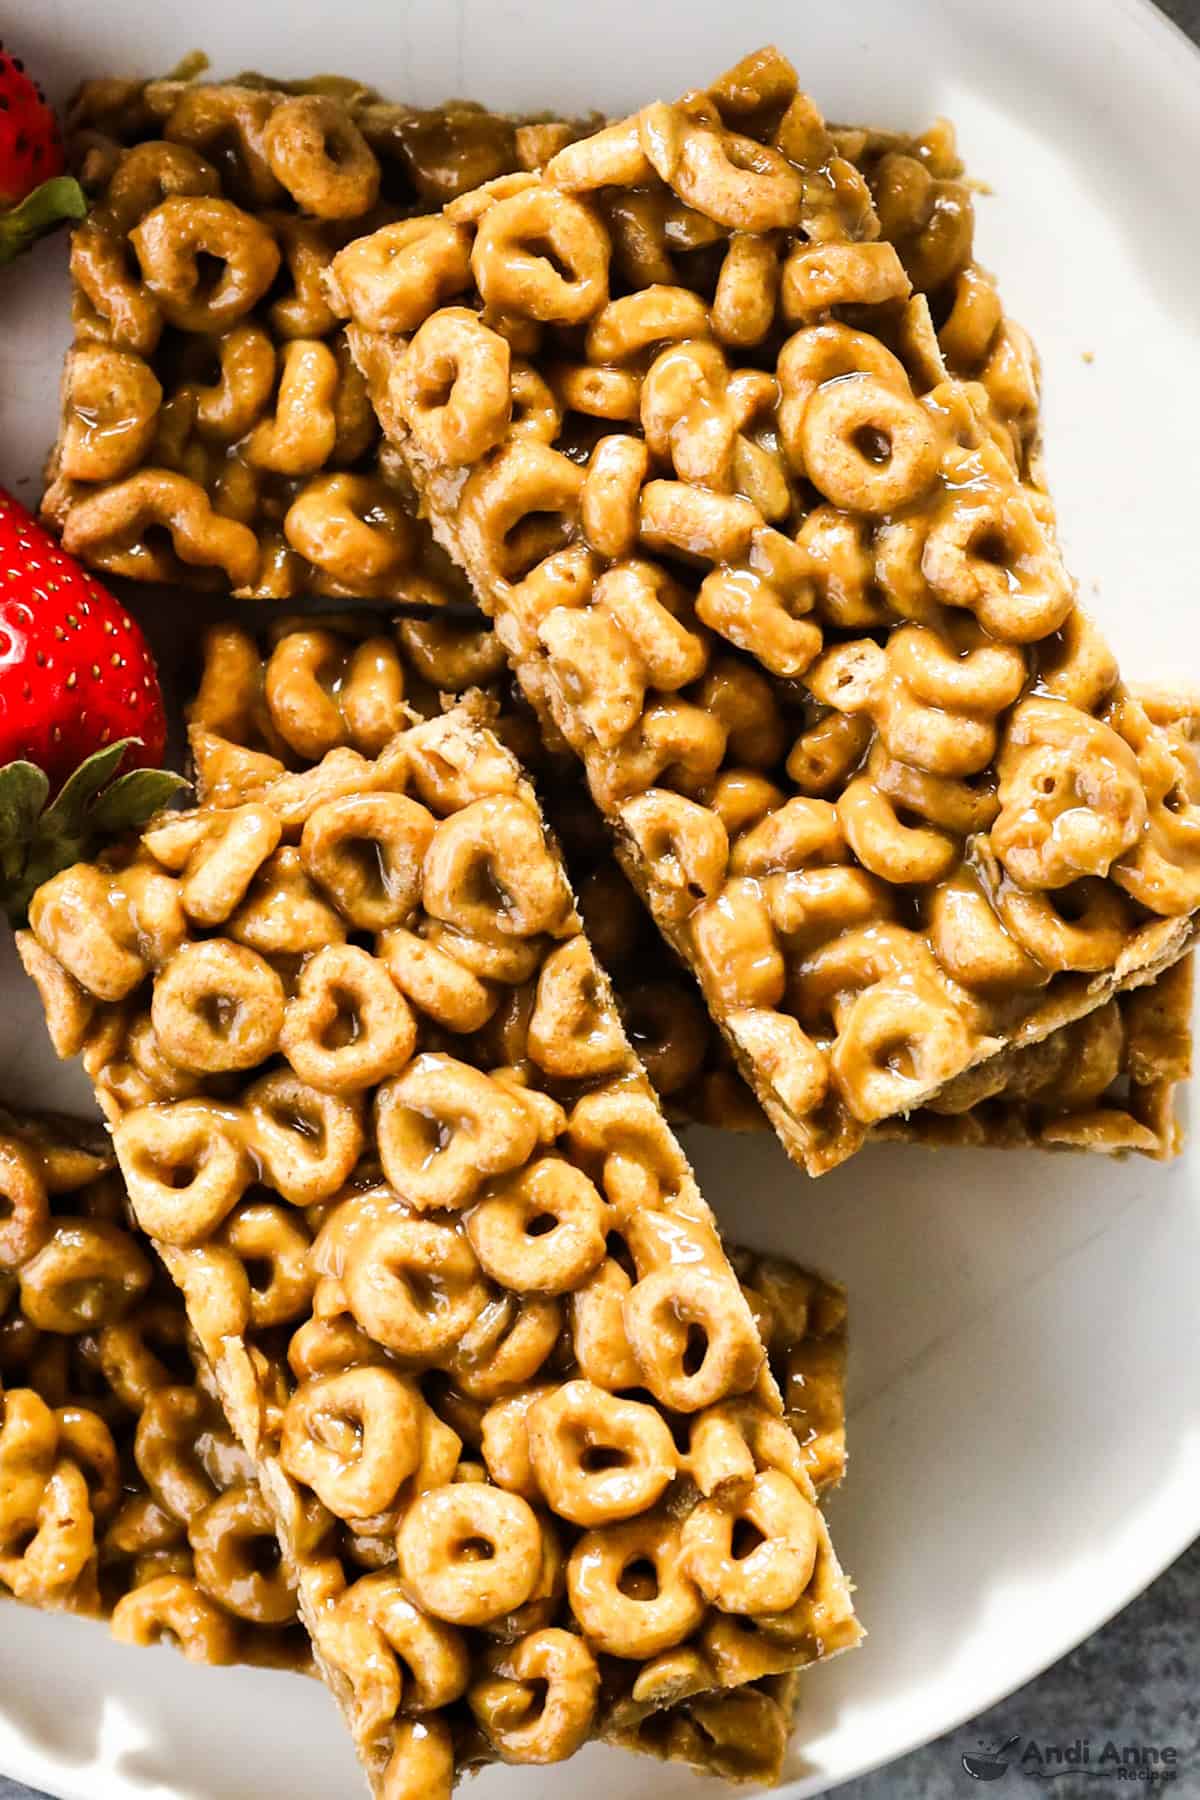
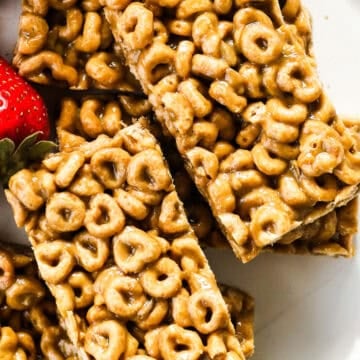
Use a spatula to press the mixture firmly into an even layer. Refrigerate for at least 1 hour until firm. Then you can slice into bars and serve. These bars are naturally gooey and sticky! Kids love them!
Optional: Roll the mixture into snack balls instead of bars for a fun lunchbox option.
Why Homemade Cereal Bars Are Worth Making
- Most grocery stores sell packaged cereal bars, but making them at home is easier and more affordable. This recipe costs about $0.53 per bar, making it a budget-friendly homemade snack.
- Homemade cereal bars use simple pantry ingredients like cereal, peanut butter, and honey, which means you can make a fresh batch anytime without a special grocery trip.
- They also work great for snack meal prep, since one batch makes enough bars for several days of lunches, quick breakfasts, or after-school snacks.
Best Cereals For Cereal Bars
Cheerios are the classic cereal for this recipe, but many cereals work well. You can also try
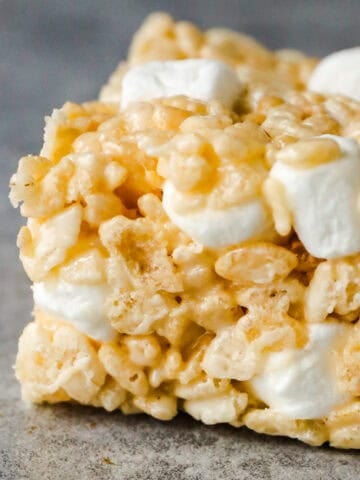
- Rice Krispies ( Try my homemade rice krispie treats next!)
- Puffed wheat
- Shreddies
- Multigrain O's
- Lucky Charms
- Fruity Pebbles
Different cereals create slightly different textures, but the same peanut butter and honey mixture will hold them together into chewy cereal bars.
How to Store
I highly recommend storing these in the freezer. They stay more solid this way and honestly taste great frozen. It's our favorite way to keep them on hand for quick snacks.
If you're packing them in school lunches, you can roll the mixture into balls or cut the bars into smaller squares. They'll soften by lunchtime but still taste great.
- TO FREEZE: Place the bars in a single layer and freeze for about 2 hours. Once firm, transfer them to a container or freezer bag and store for up to 2 months.
Recipe Variations
- Make it nut-free: Use sunflower seed butter or tahini as an alternative to peanut butter.
- Boost nutrition: Add 1-2 Tbsp of ground flaxseed, chia seeds, or hemp hearts to the mixture.
- Make it sweeter: Drizzle melted chocolate overtop before chilling.
Flavor Variations for Cereal Bars
These cereal bars are easy to customize depending on what you have in the pantry. Just keep add-ins to about ¼-½ cup total so the bars still hold together well.
- Chocolate Cereal Bars: Add ¼ cup cocoa powder and 1 tsp vanilla extract to the peanut butter mixture. Finish with a drizzle of melted chocolate.
- Strawberry Cereal Bars: Stir in ⅓ cup freeze-dried strawberries and drizzle with melted white chocolate.
- Nutella Cereal Bars: Swap the peanut butter for Nutella or another chocolate-hazelnut spread.
- Marshmallow Cereal Bars: Mix in ½ cup mini marshmallows for a fun cereal-treat style bar.
- Chocolate Chip Cereal Bars: Stir in 2-3 Tbsp mini chocolate chips after the peanut butter mixture cools slightly so they don't melt.
- Dried Fruit Cereal Bars: Add ¼ cup raisins, chopped dates, or dried cranberries for extra sweetness and texture.
Want more fun snack ideas? Try these carrot cake energy balls or my homemade popcorn seasoning blends. Both are great for making snack time a little more exciting.
Fun Serving Ideas
• Pack bars in school lunchboxes
• Cut into squares for snack trays
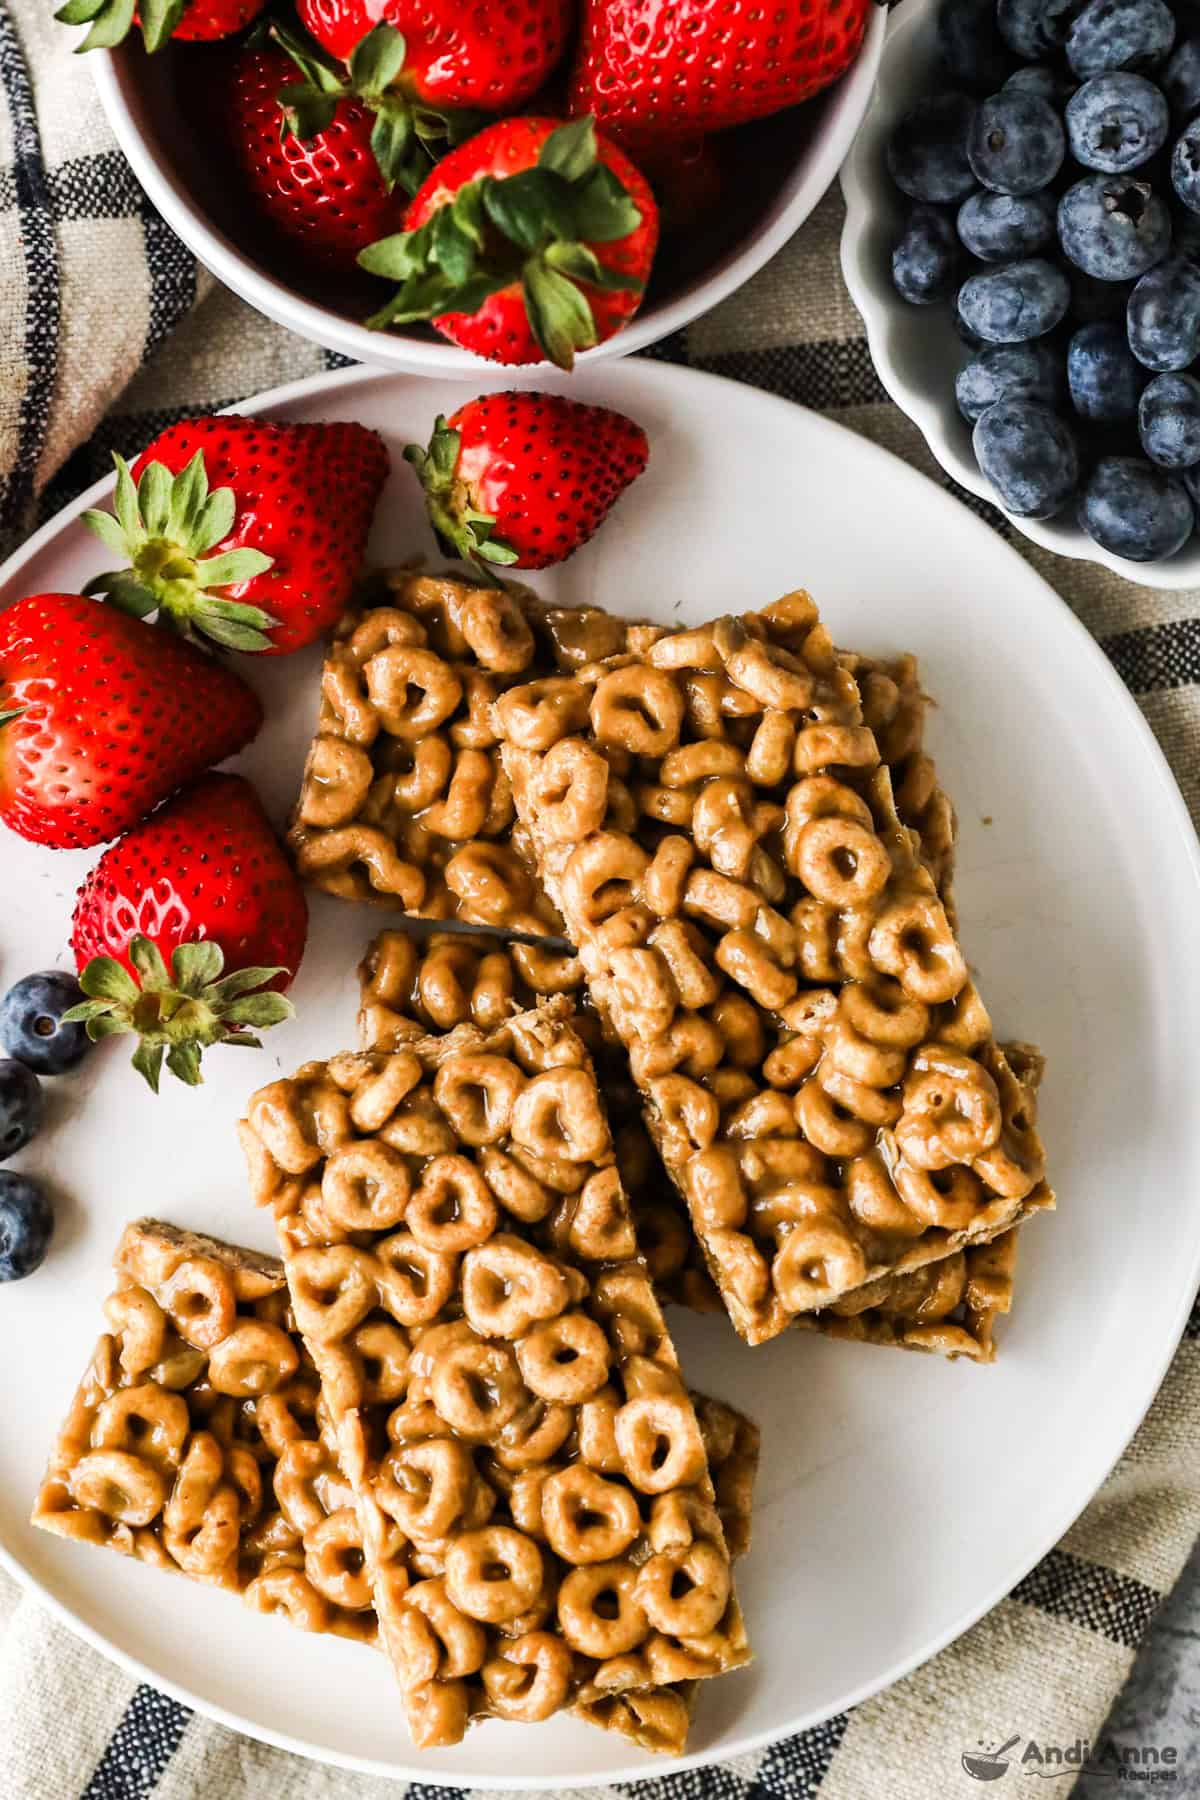
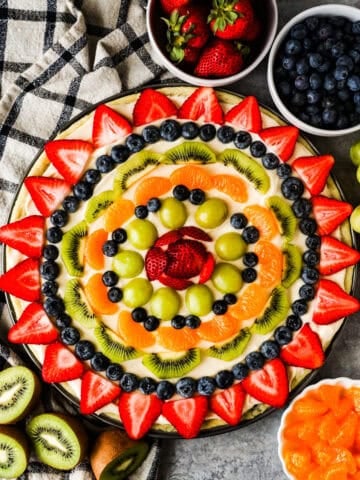
• Serve with fruit for quick breakfasts
• Wrap individually for road trip snacks
FAQs
No, I recommend using honey because it's sticker which helps to hold the bars together.
That depends on your ingredients! These bars are made with just three wholesome ingredients-no preservatives or added refined sugar. You can easily make them more nutrient-dense with add-ins like seeds or dried fruit.
3 Ingredient No-Bake Cereal Bars Recipe
Tap Stars To Rate!
Ingredients
- 3 cups Cheerios cereal
- ¾ cup peanut butter - almond butter, or Sunbutter
- ¾ cup honey - or maple syrup
Instructions
- In a small pot over medium-low heat, stir together peanut butter and honey until smooth (2-3 minutes).
- Pour the mixture over cereal in a large bowl. Stir to coat evenly.
- Spread into a square on a parchment-lined baking sheet. Press firmly.
- Chill in the fridge for 1 hour. Slice into bars and serve.
Notes
- Press the mixture firmly so bars hold their shape
- Let the mixture cool slightly before adding chocolate chips
- Chill fully before slicing
- Store bars in the fridge for best texture
Nutrition
Nutrition info is auto-calculated and meant to be an approximation only.

Leave a Reply