

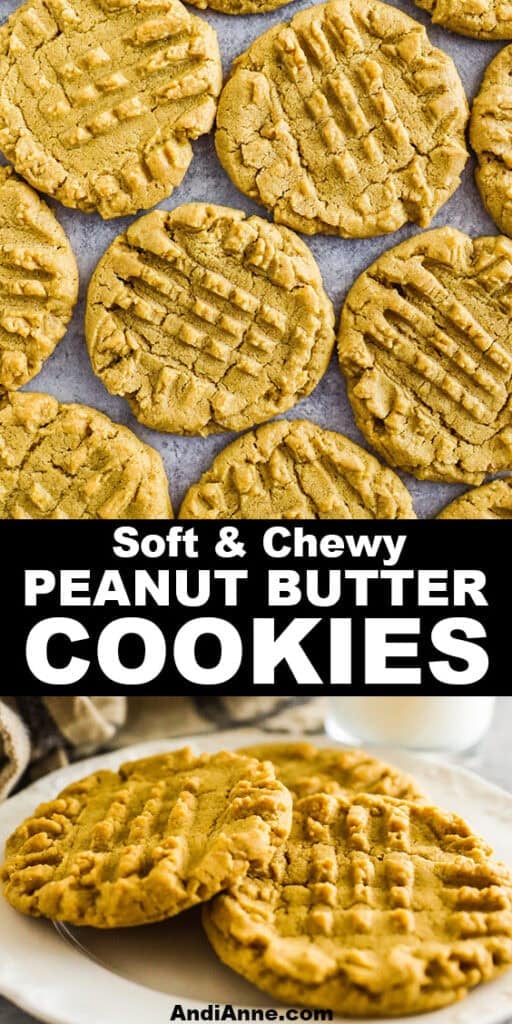
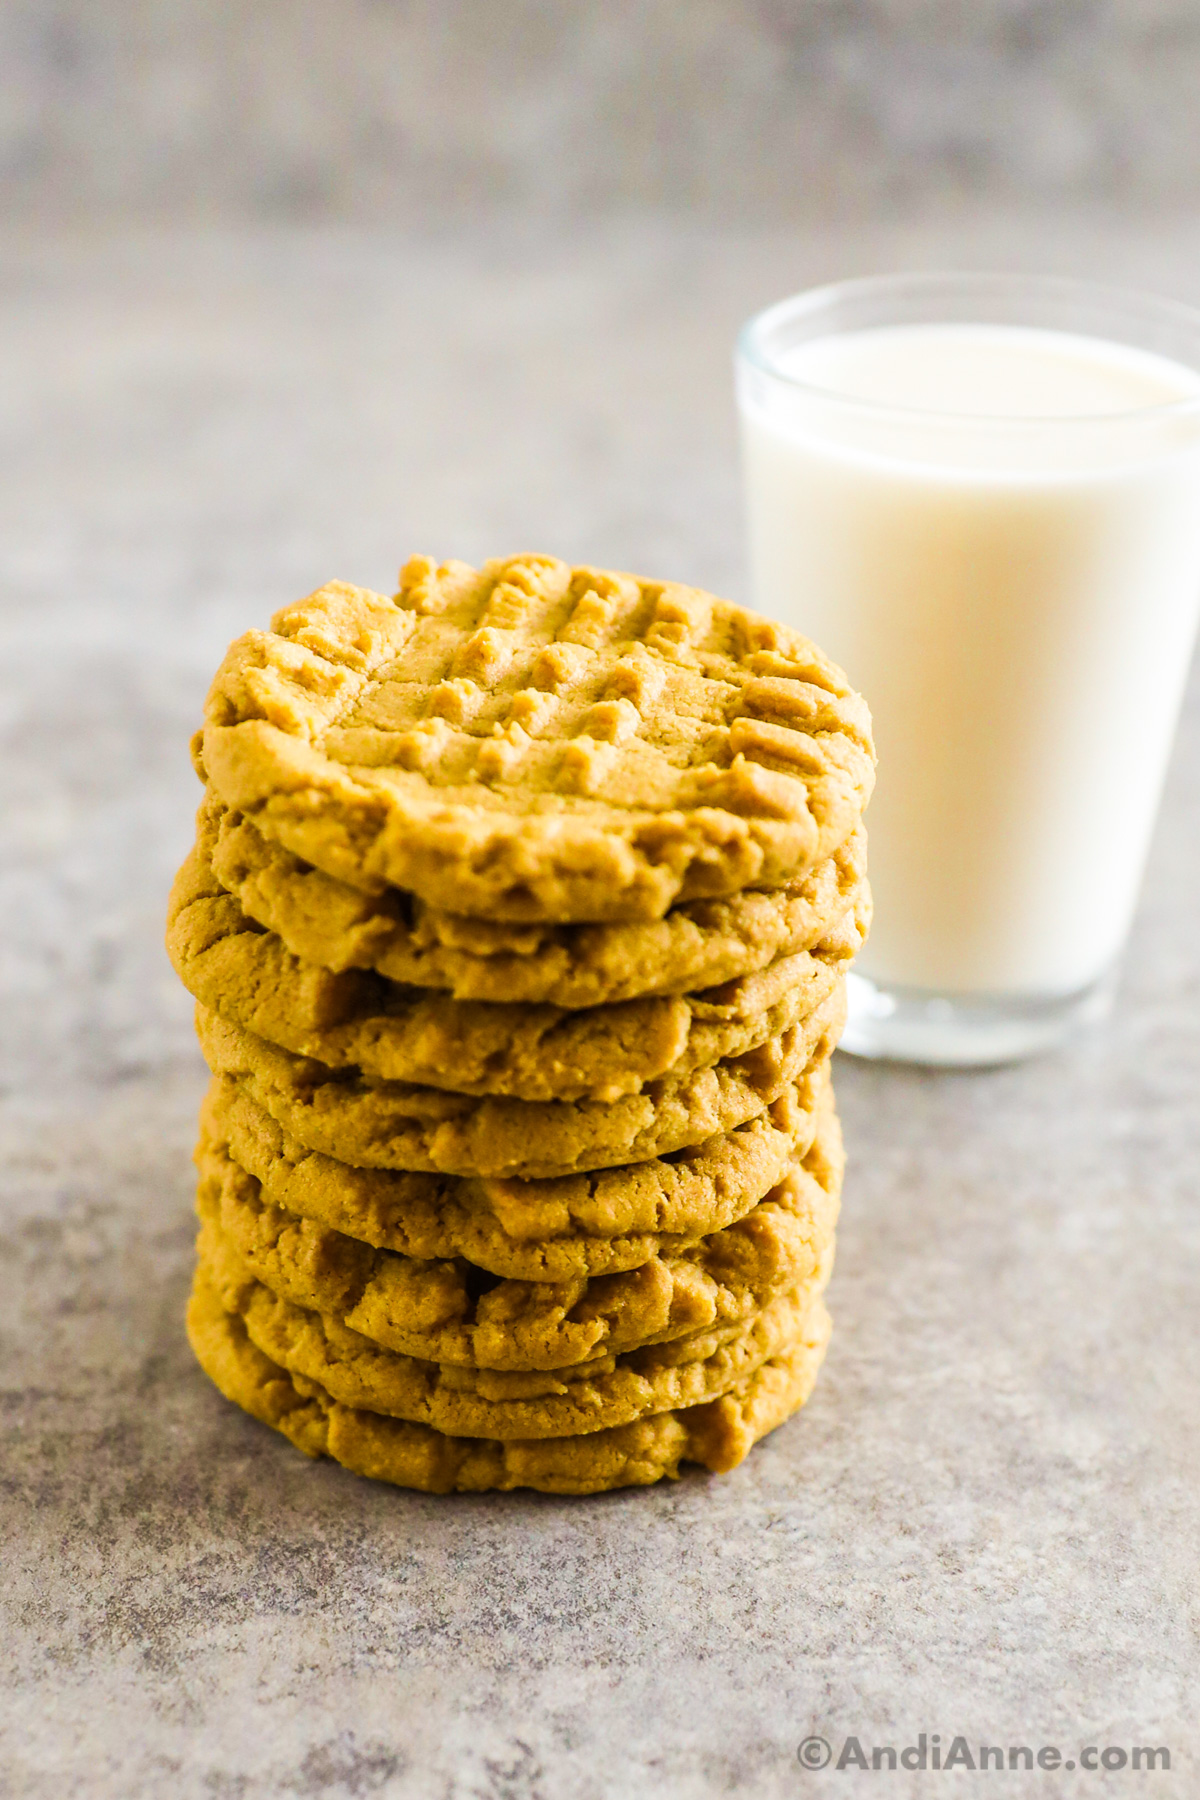
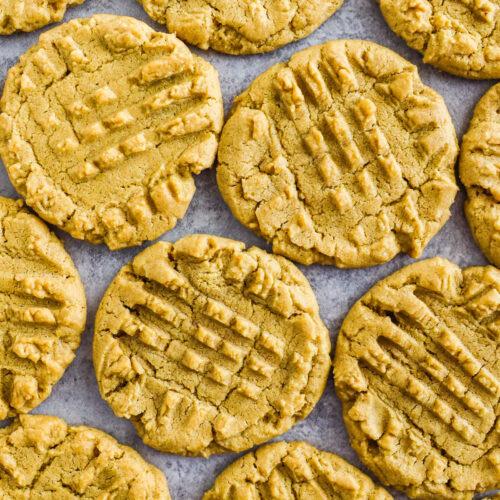
These homemade peanut butter cookies are made with creamy peanut butter, brown sugar, and vanilla to recreate that classic, chewy peanut butter cookie flavor.
Peanut Butter Cookies Overview
These cookies are easy to make with simple inexpensive ingredients. Have them prepped in 10 minutes, another 9 in the oven and they're done!
Mix the butter, peanut butter, sugar, and egg, in a large bowl, then in a separate bowl, mix the dry ingredients. Combine the wet and dry ingredients, line up the dough in balls on a cookie sheet, press them with a fork, bake and you're done!
Recipe Ingredients
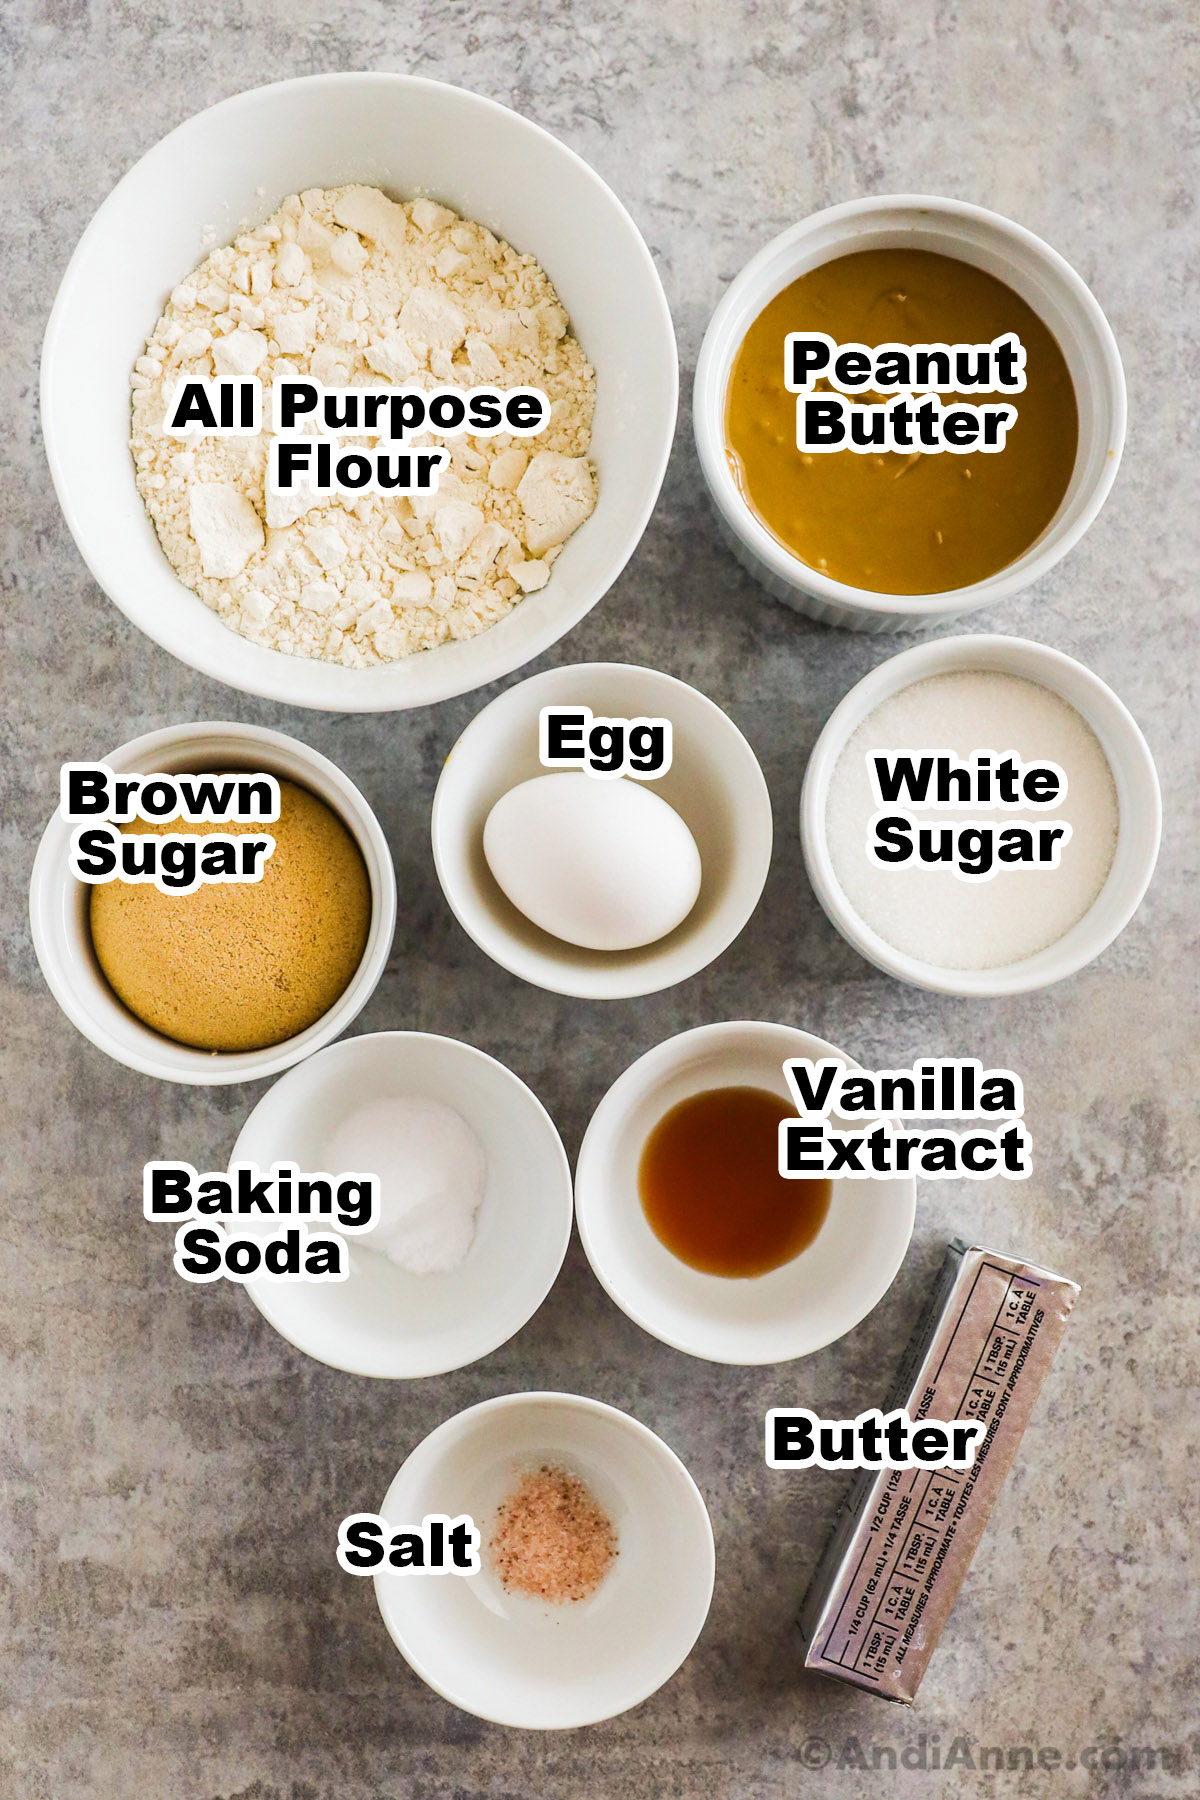
- ¾ cup smooth creamy peanut butter (not chunky)
- ½ cup unsalted butter - softened at room temperature
- ½ cup white sugar
- ½ cup brown sugar
- 1 large egg
- 1 tsp vanilla extract
- 1 ¼ cups all-purpose flour
- 1 tsp baking soda
- ¼ tsp salt
How To Make Peanut Butter Cookies
Full ingredients and instructions are also in the recipe card at the bottom of this blog post.
STEP 1: Preheat the oven to 350°F. Line a baking sheet with parchment paper and set aside.
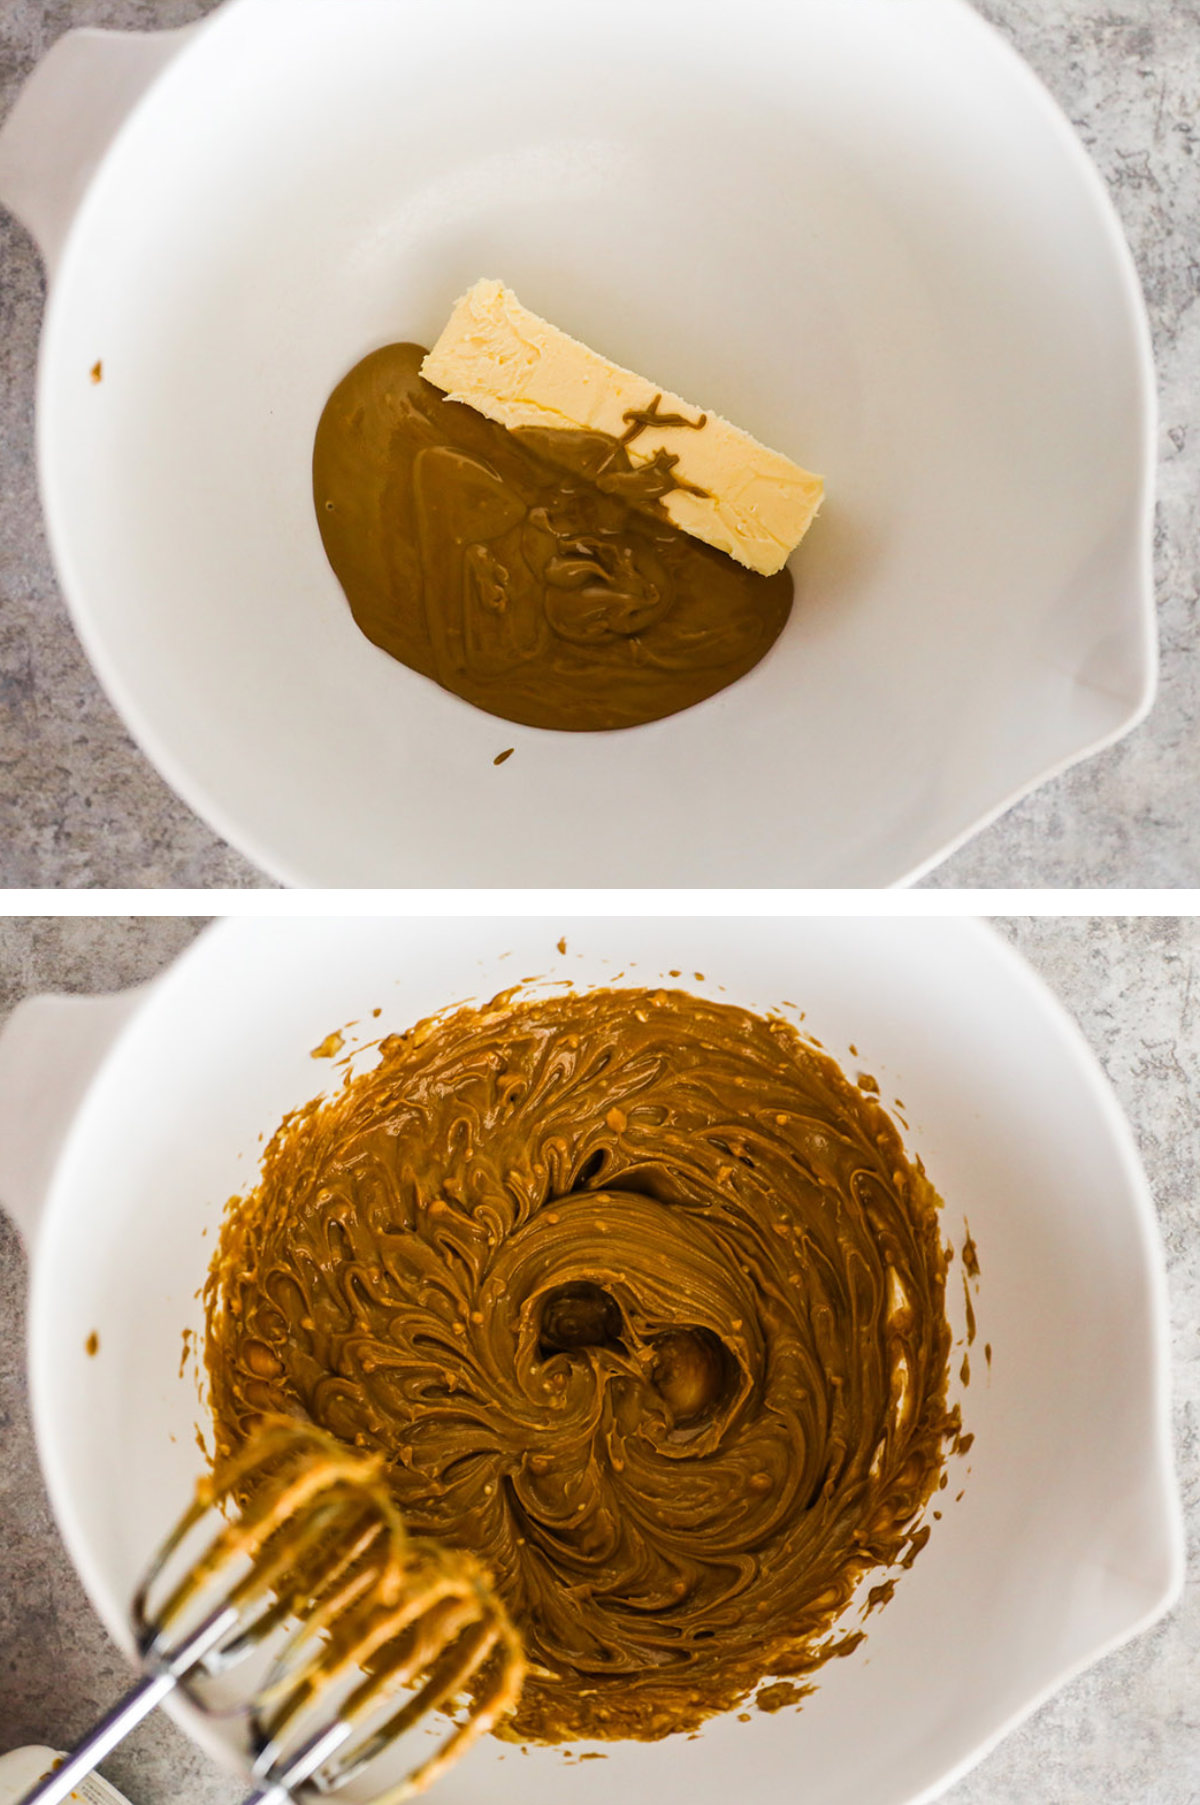
STEP 2: In a large bowl, mix ¾ cup smooth creamy peanut butter and ½ cup unsalted butter with an electric mixer until smooth and creamy.
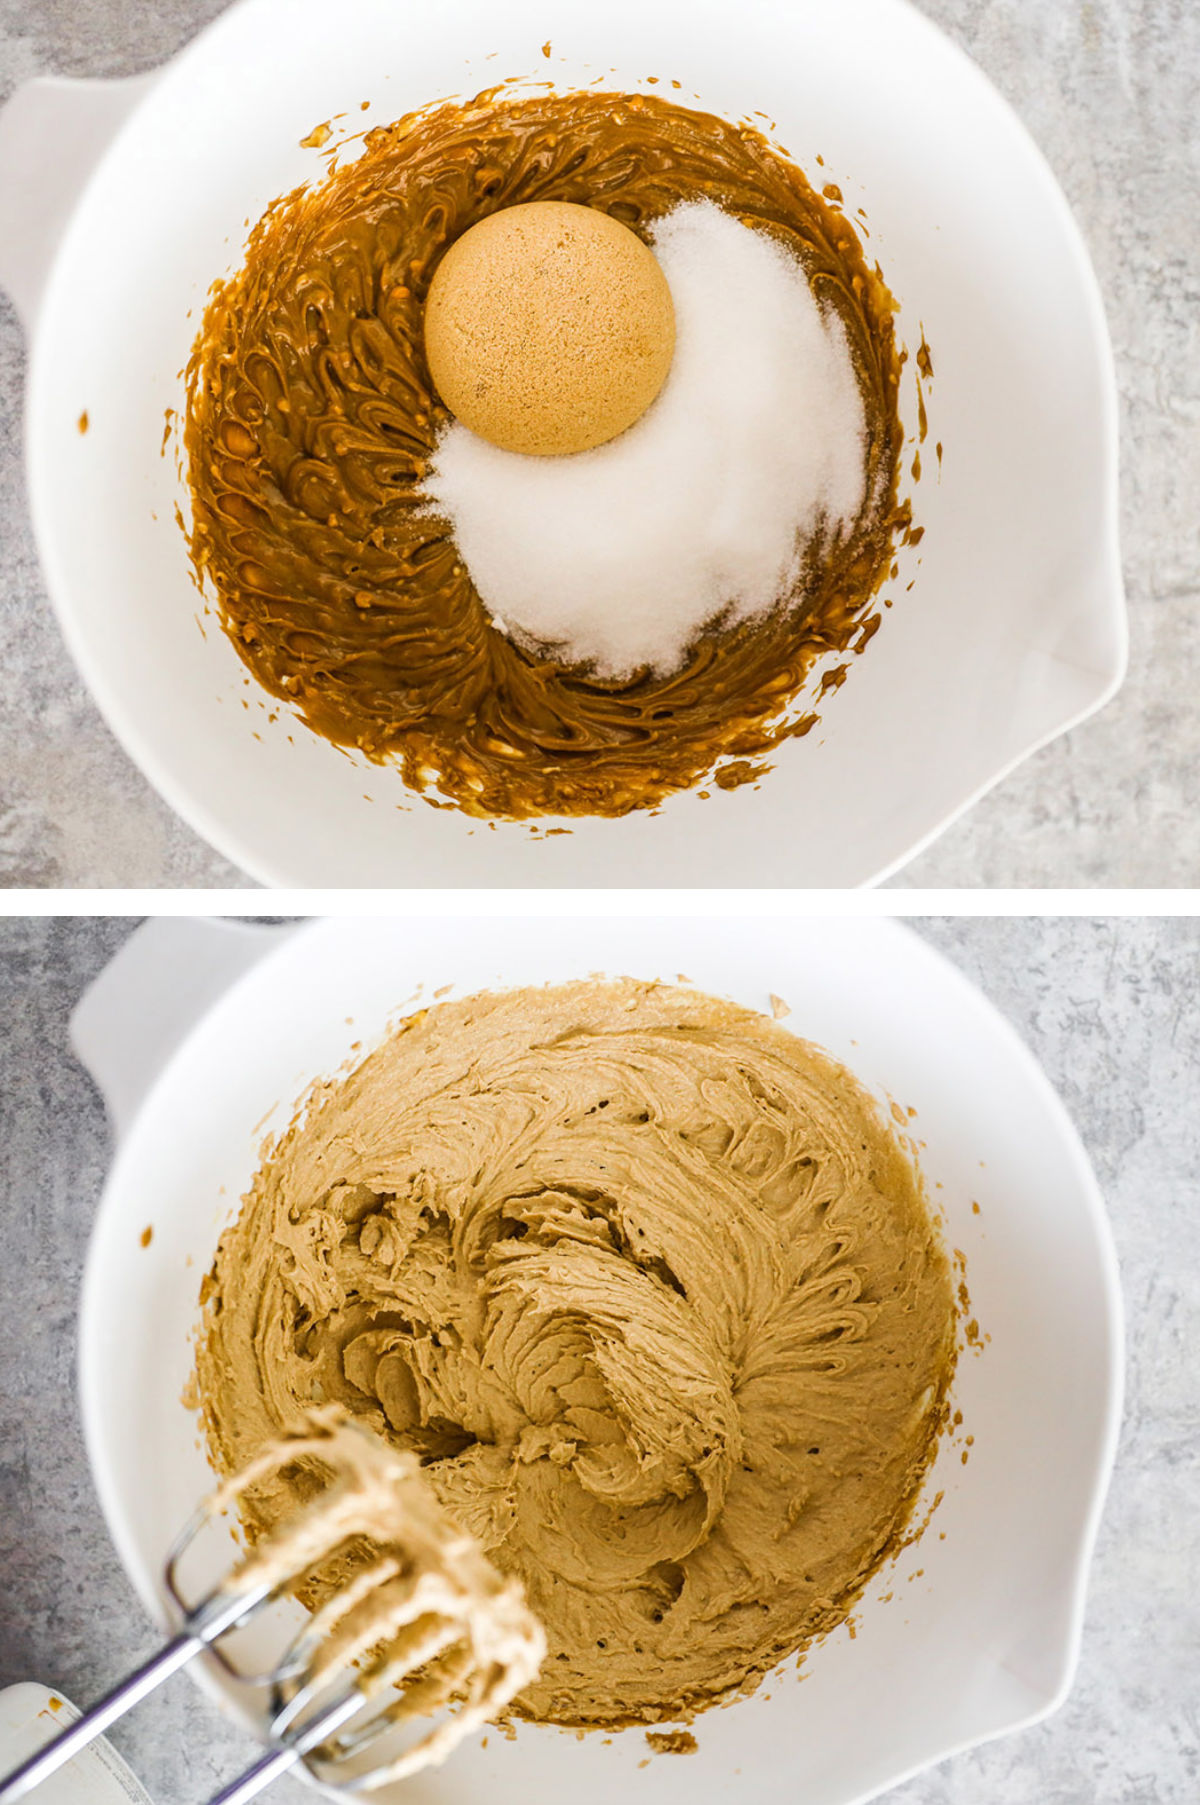
STEP 3: Add the ½ cup white sugar, and ½ cup brown sugar and mix for 2 minutes using the electric mixer.
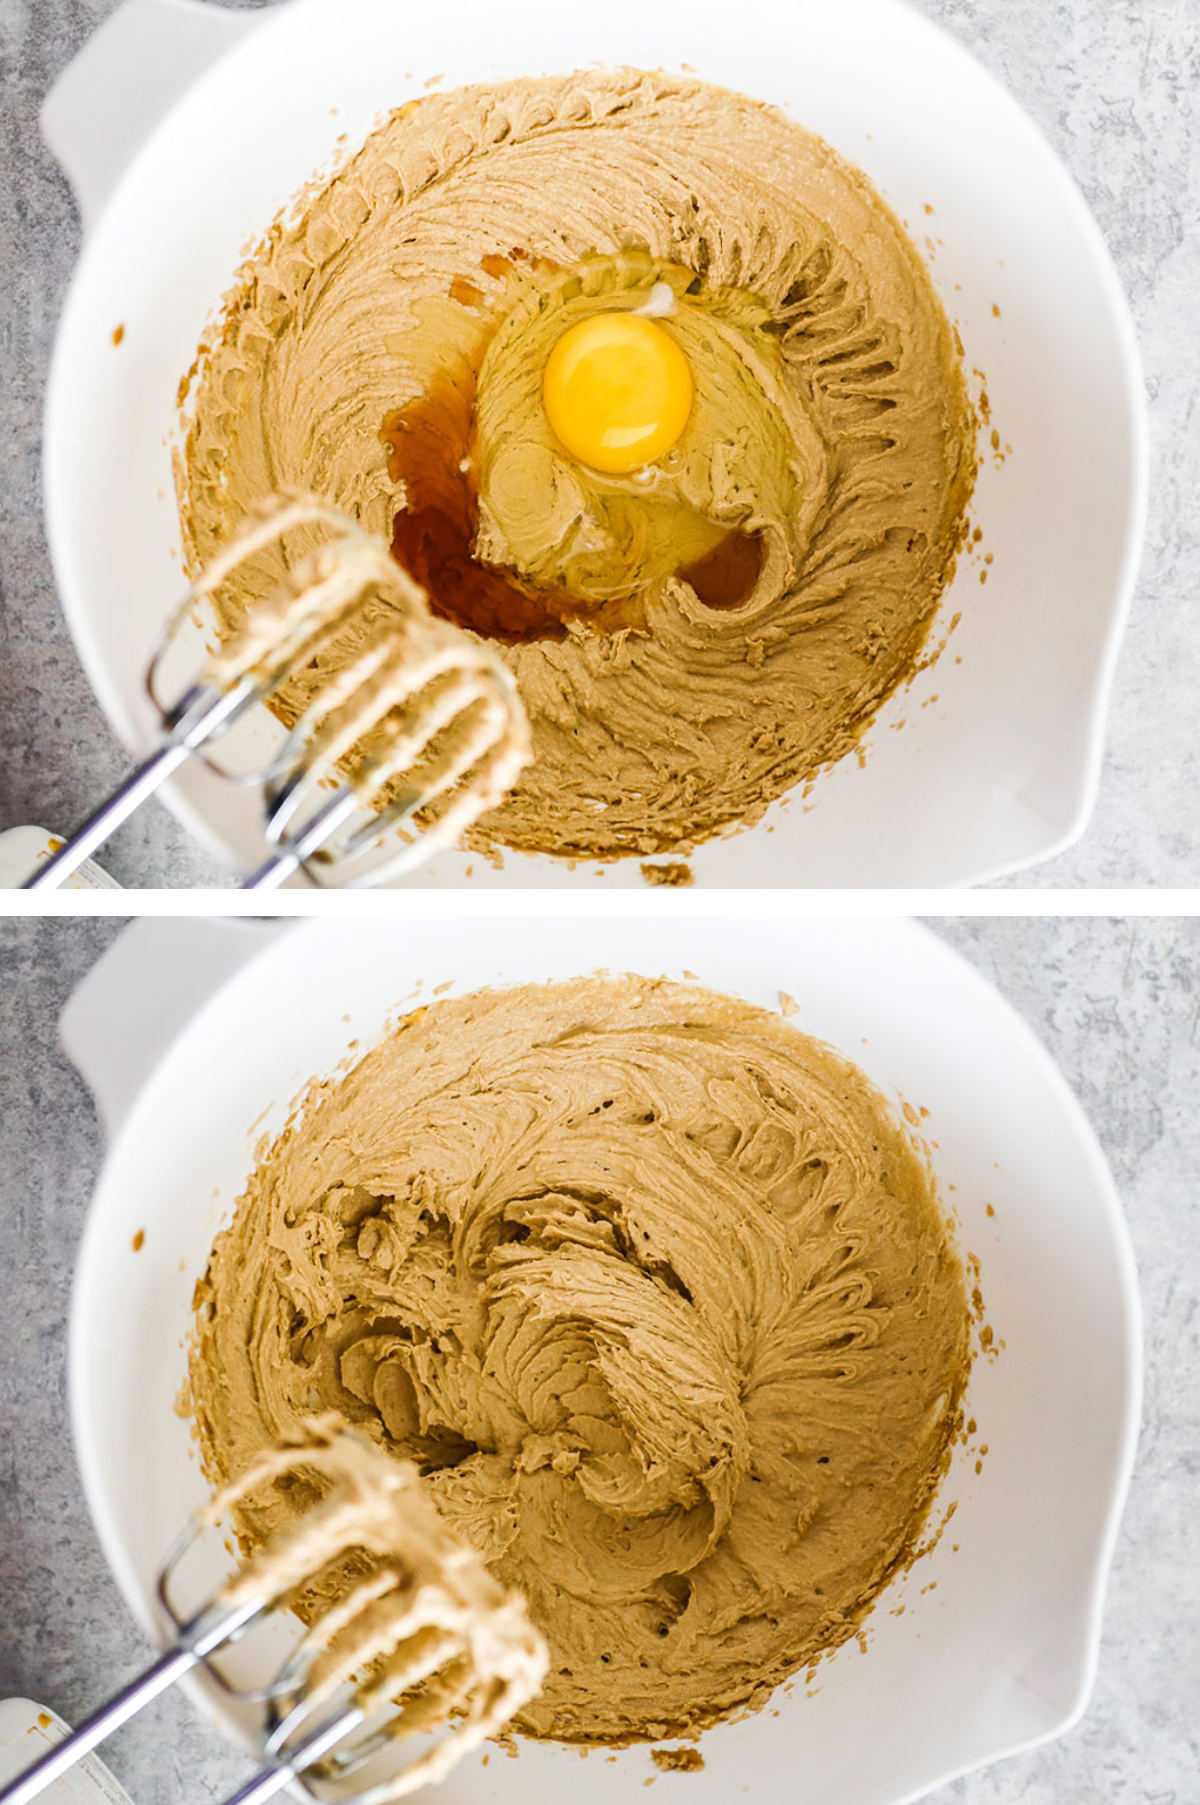
STEP 4: Now add 1 large egg and 1 tsp vanilla extract.
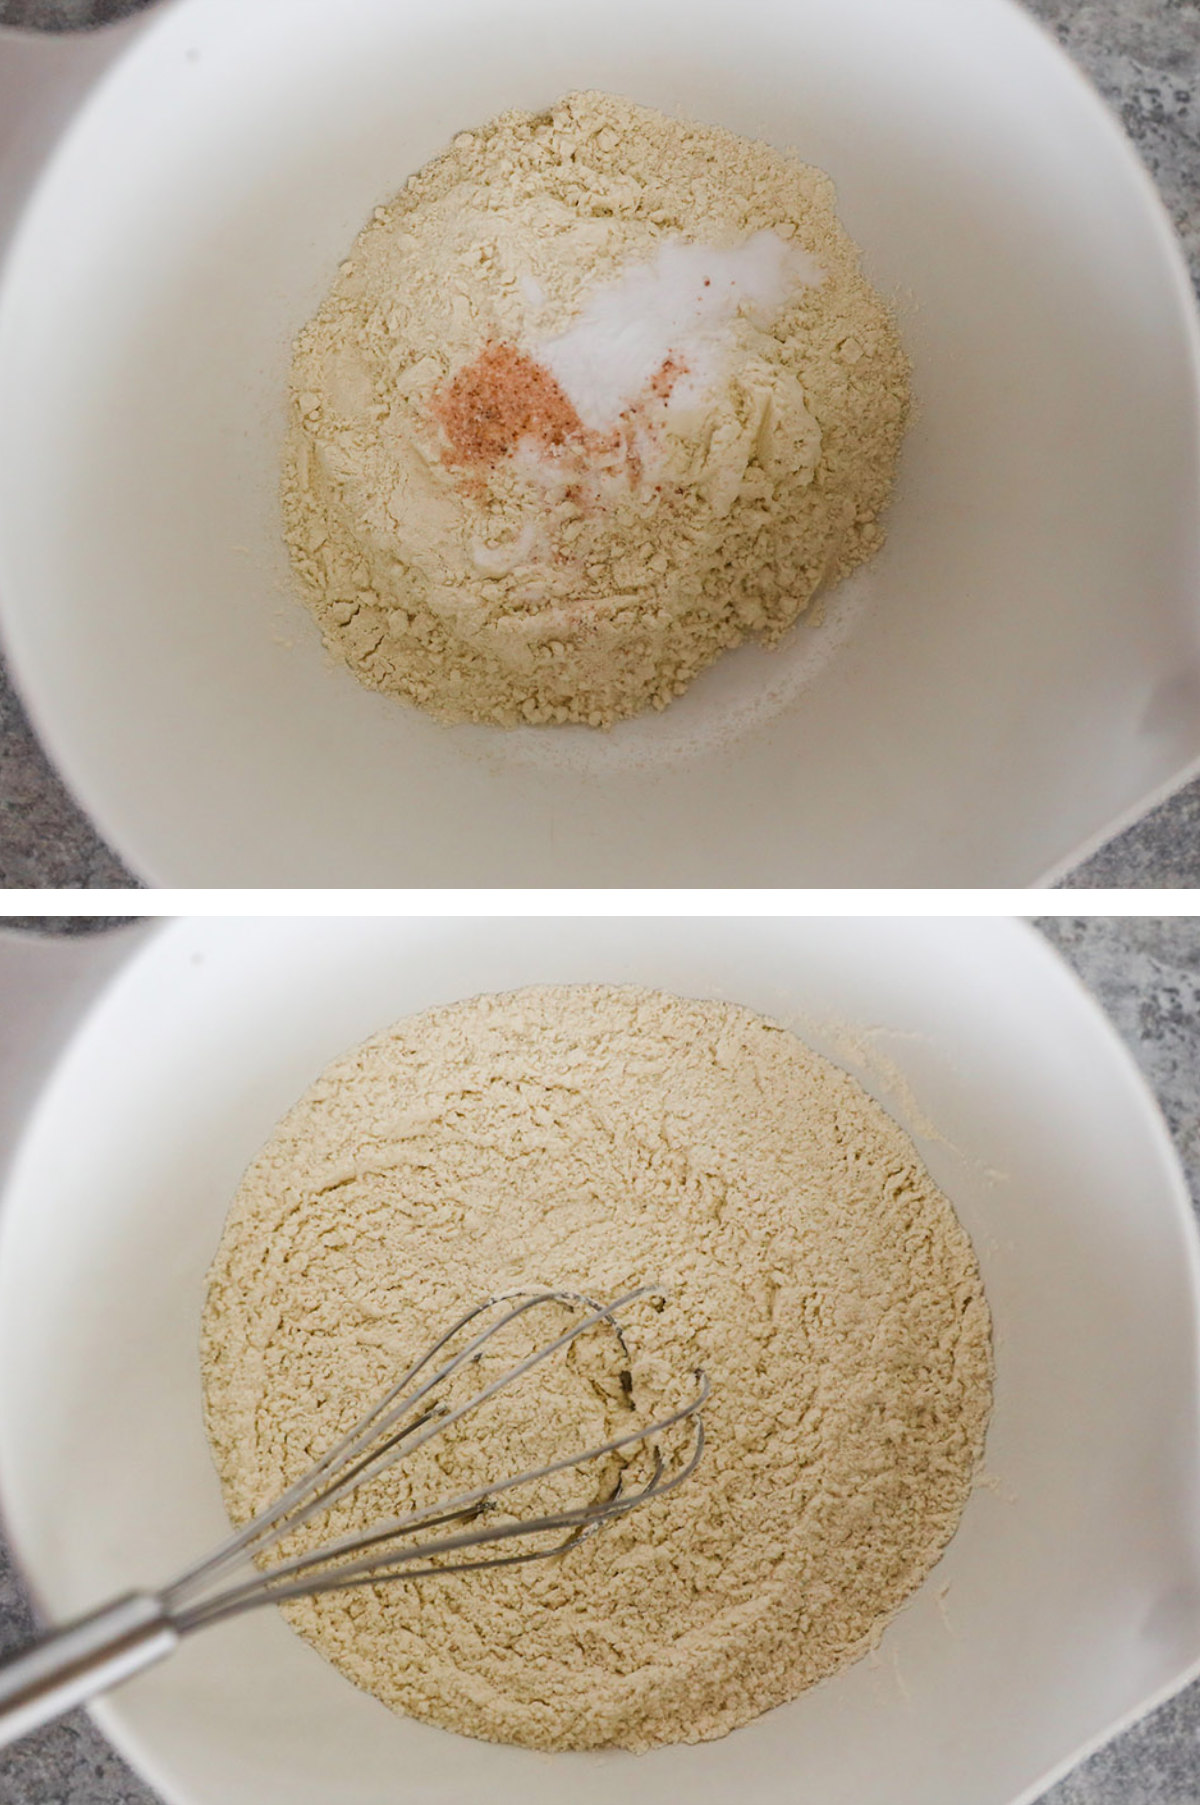
STEP 5: In a separate bowl, whisk the 1 ¼ cups all-purpose flour, 1 tsp baking soda, and ¼ tsp salt.
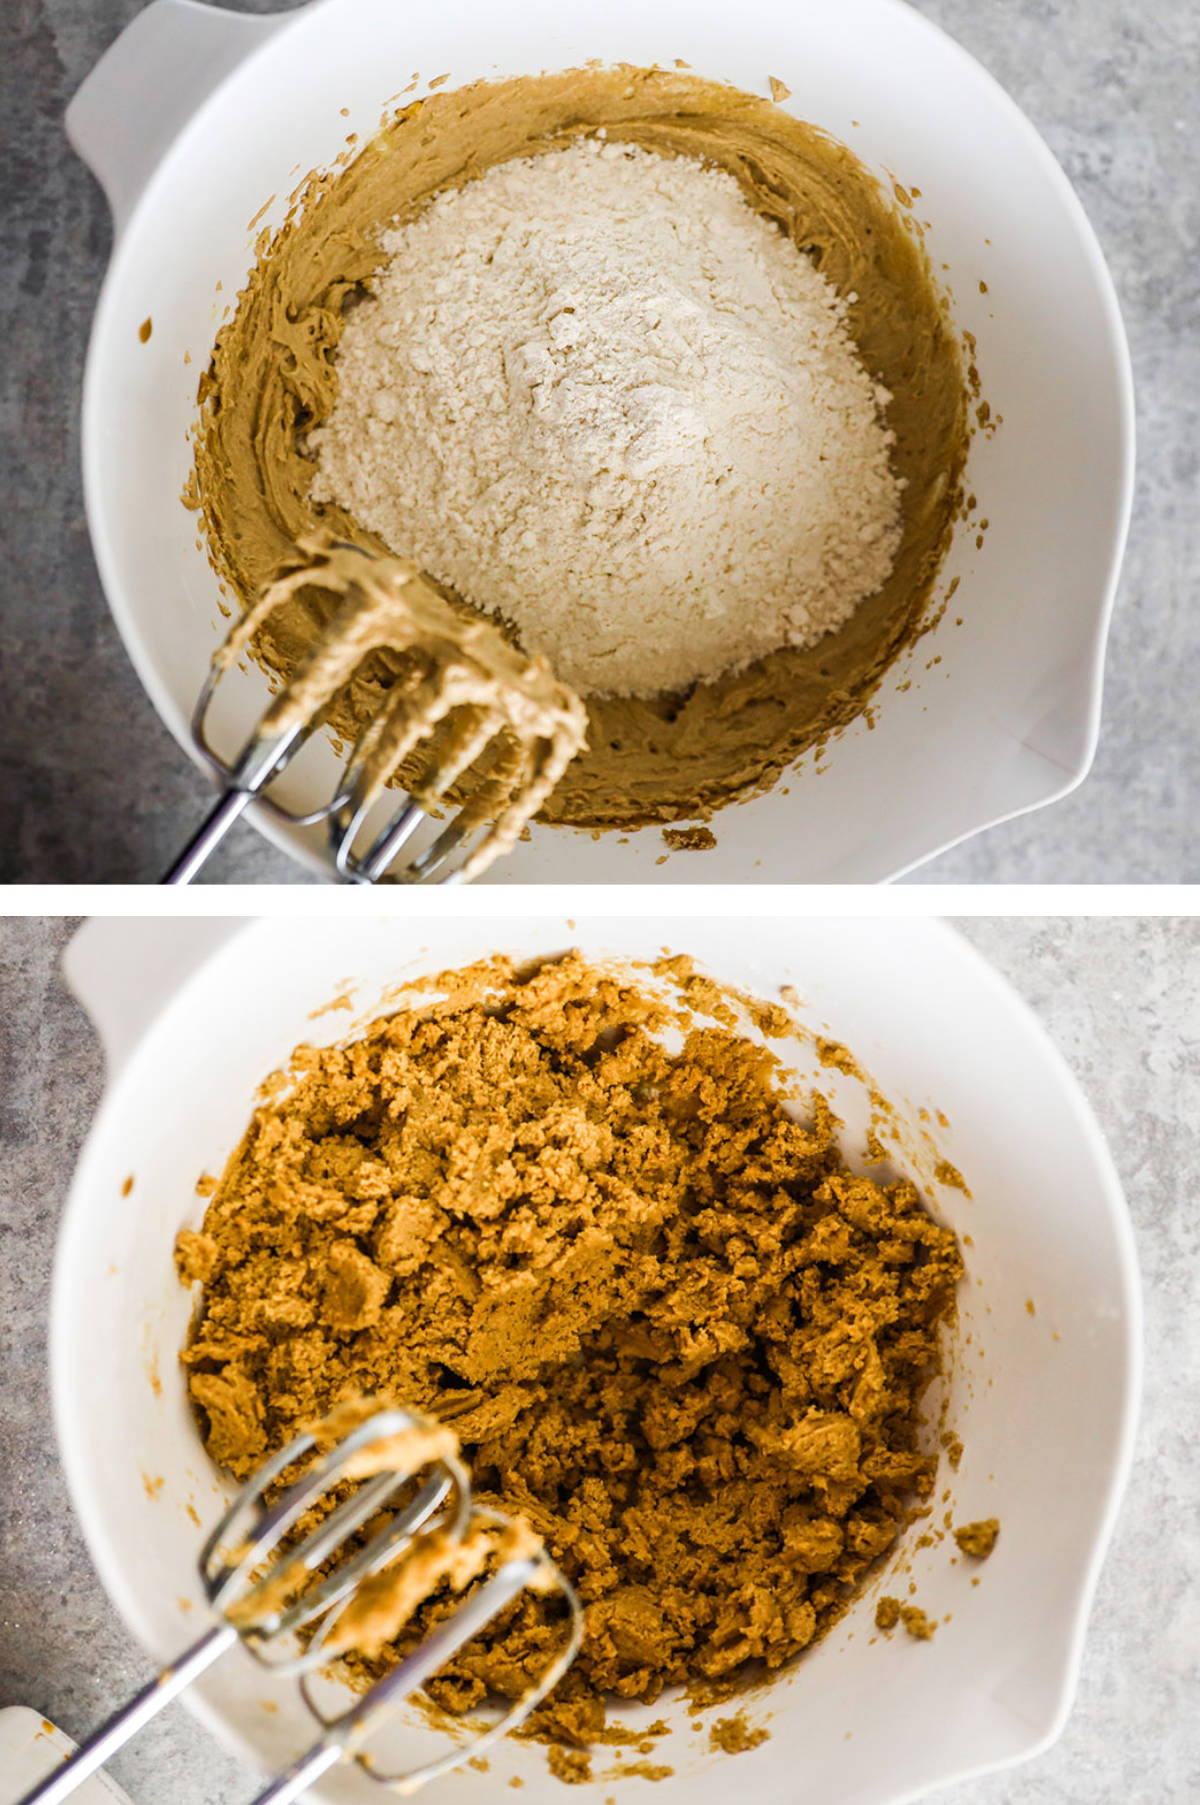
STEP 6: Add the dry ingredients to the wet and mix until just combined. Do not overmix.
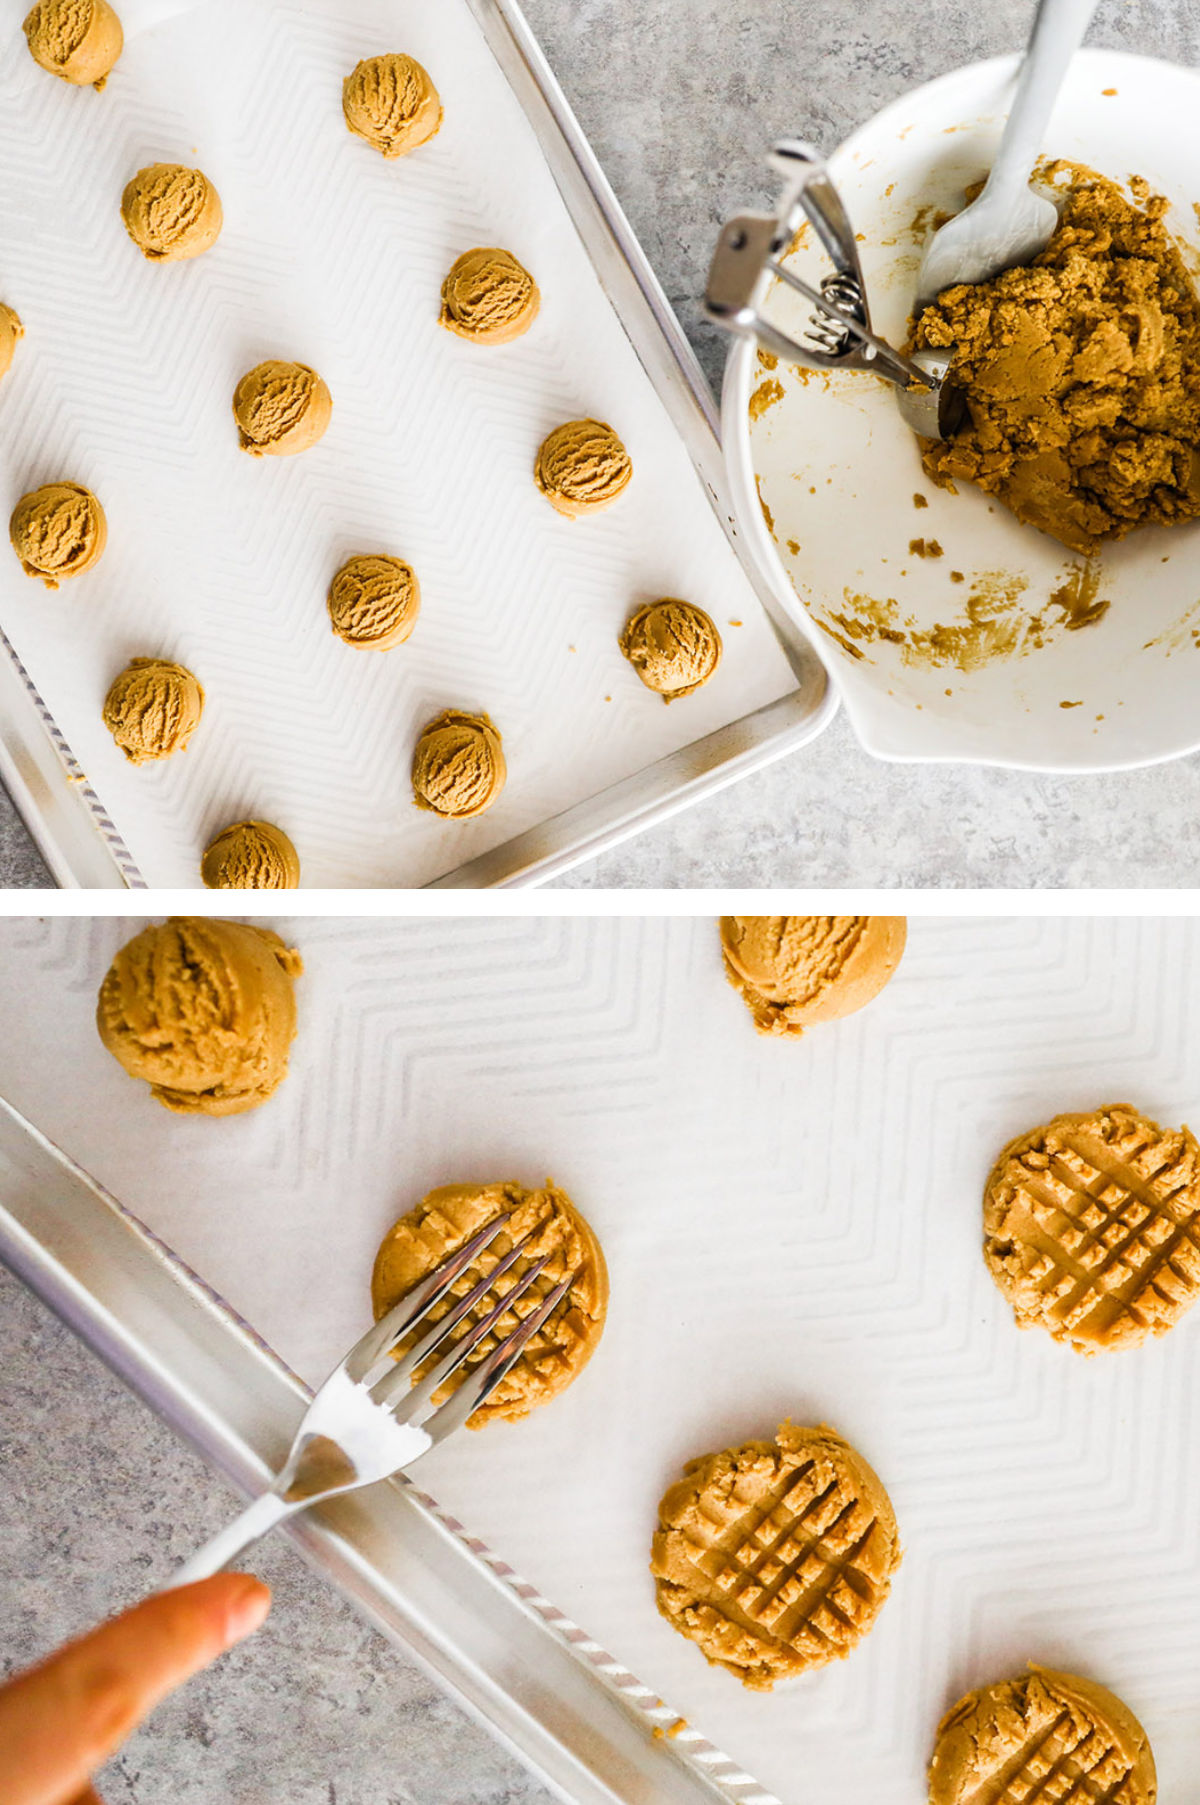
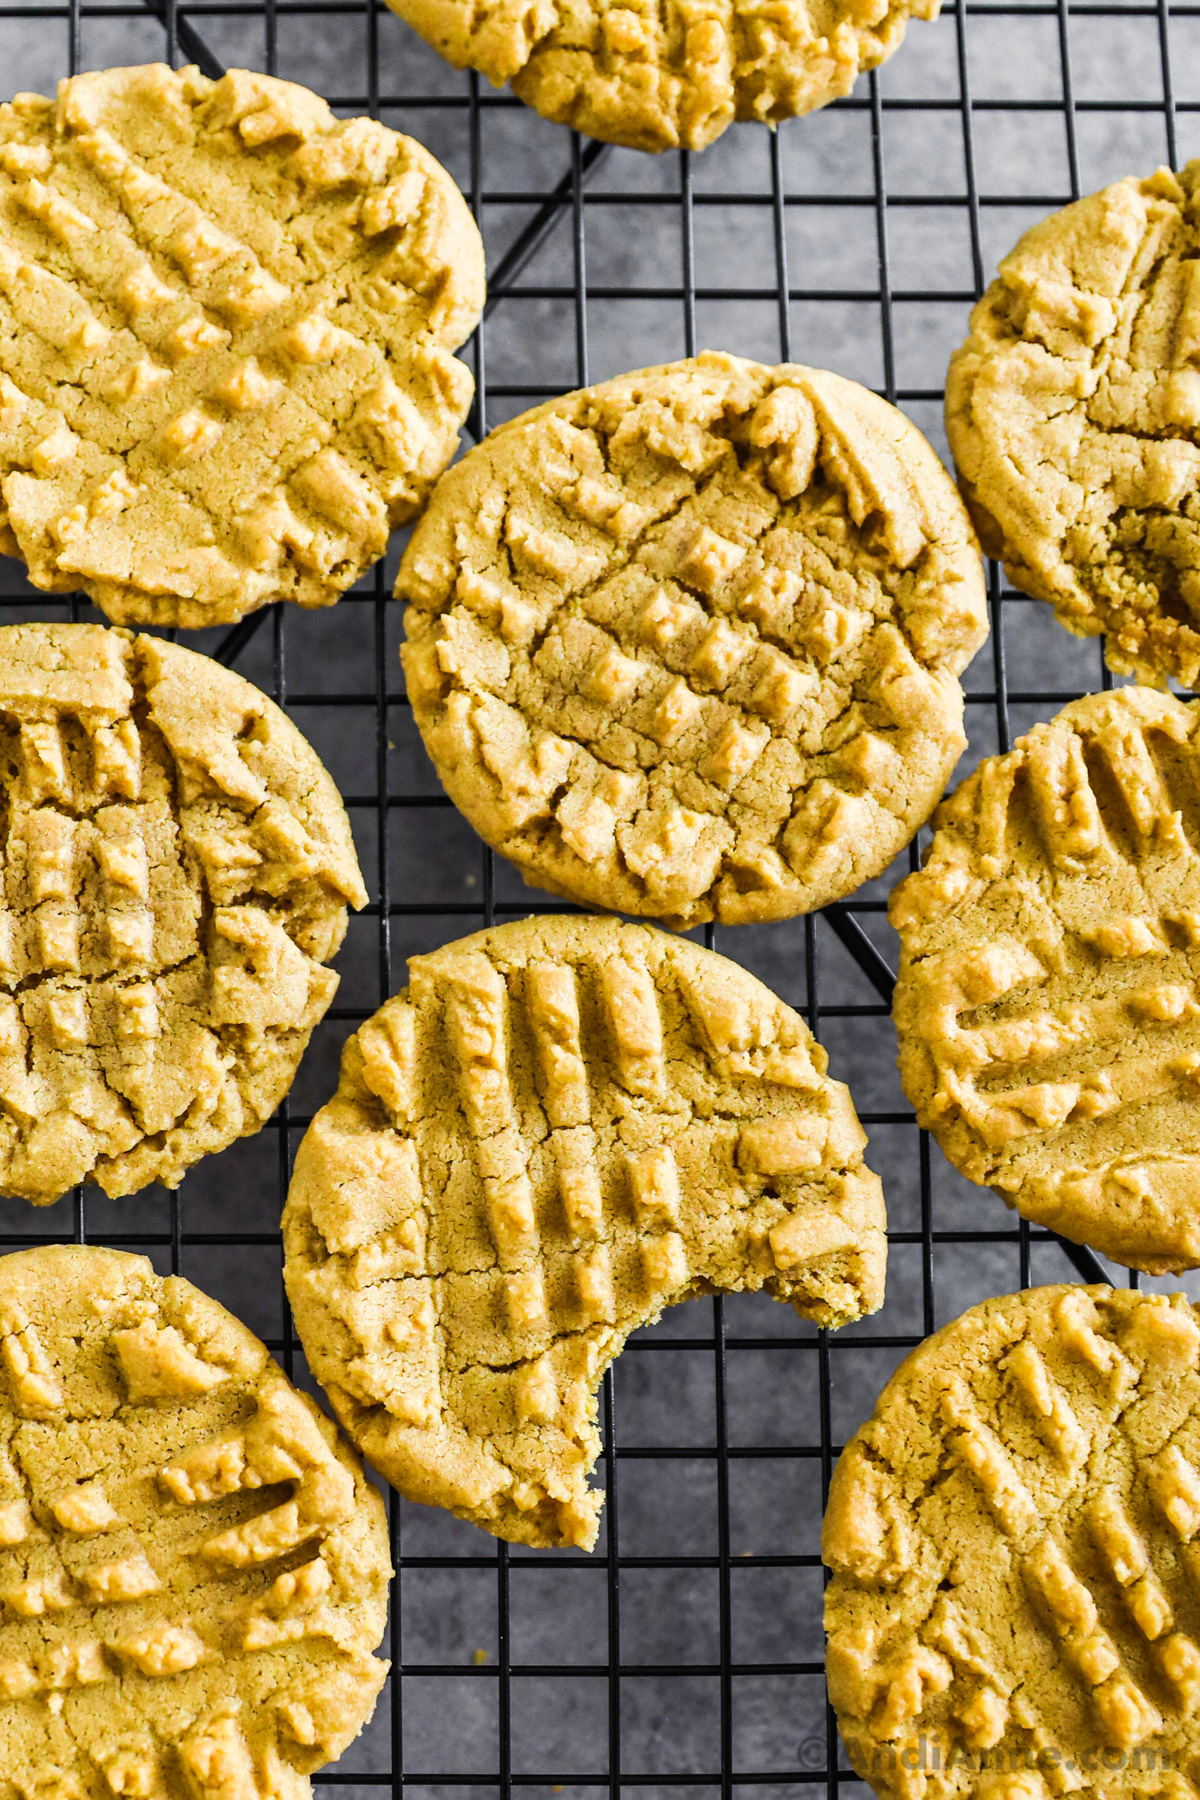
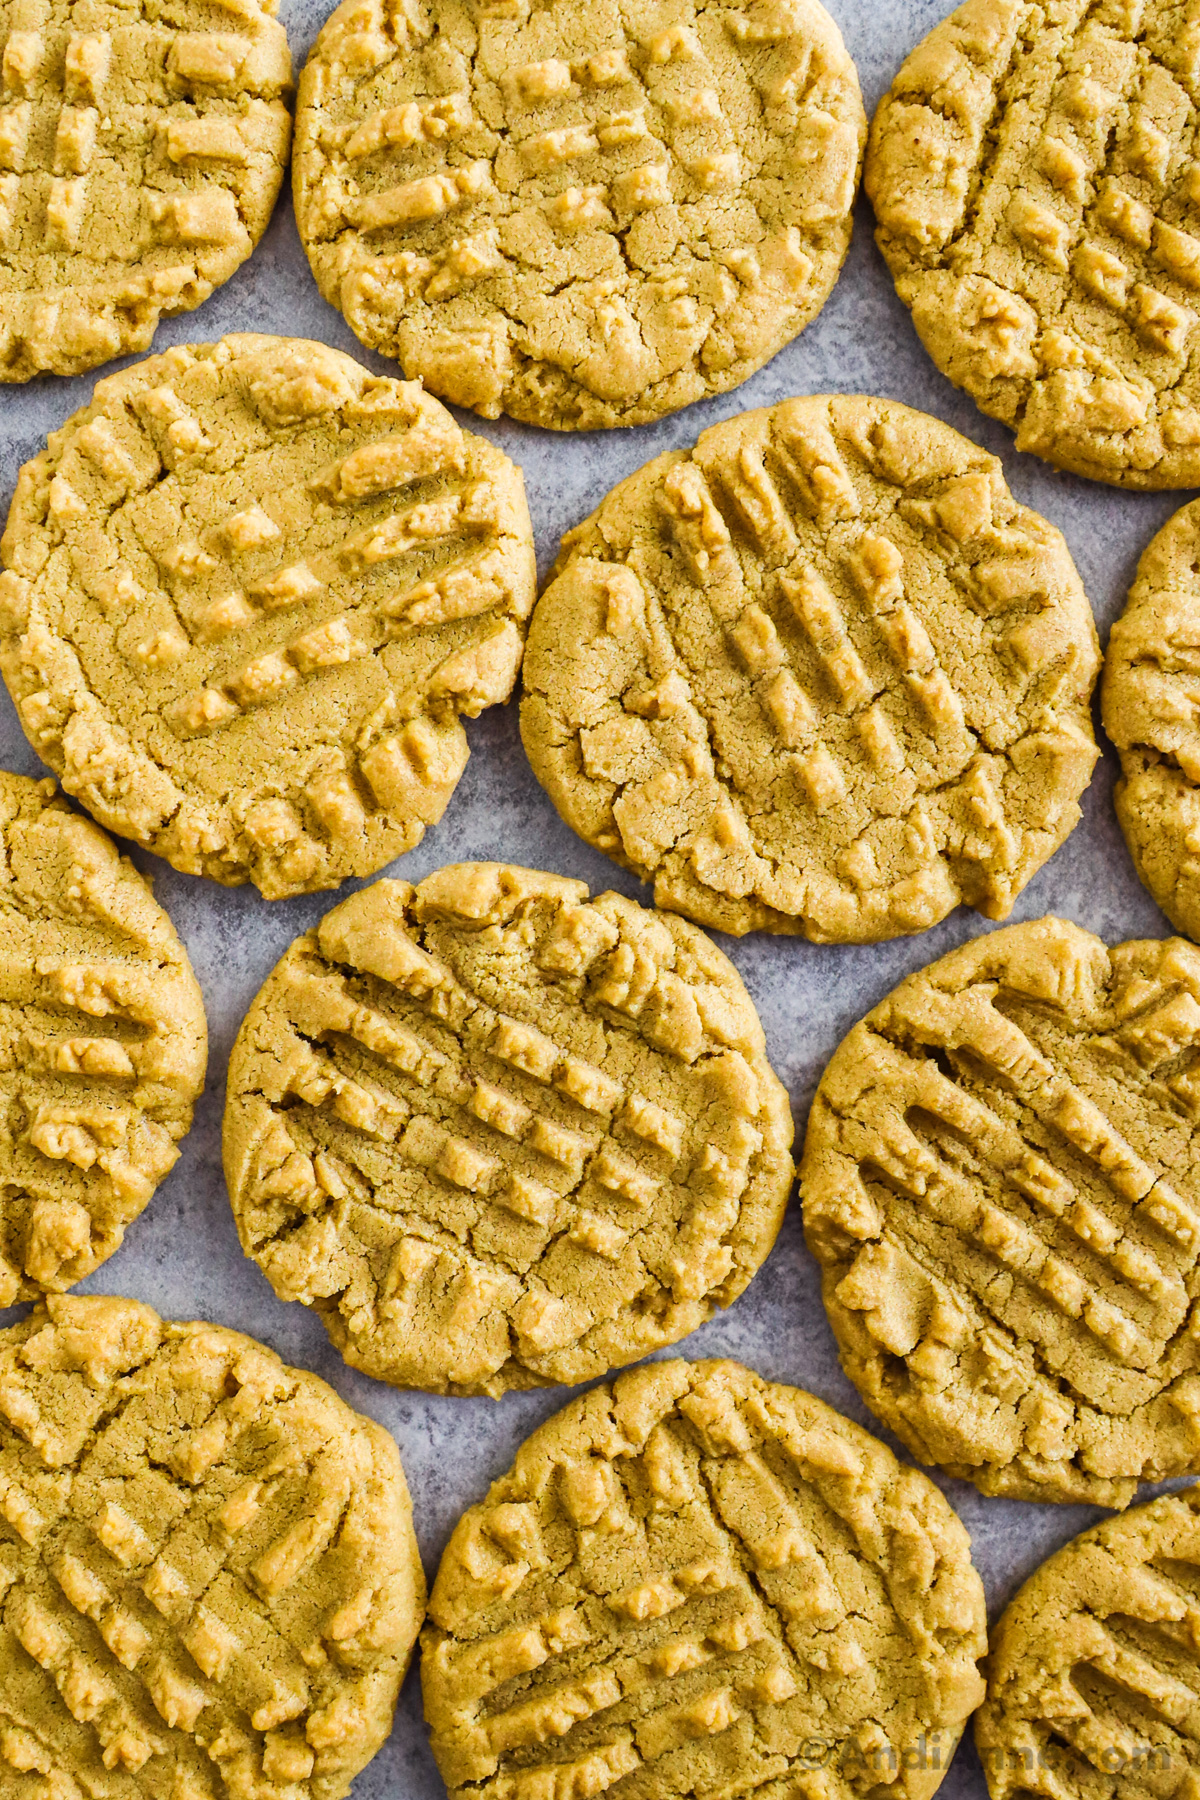
STEP 7: Roll into 1 Tbsp balls. Place them on the baking sheet about 2" apart. Press each one down using the back of a fork. Change directions to create the crisscross pattern.
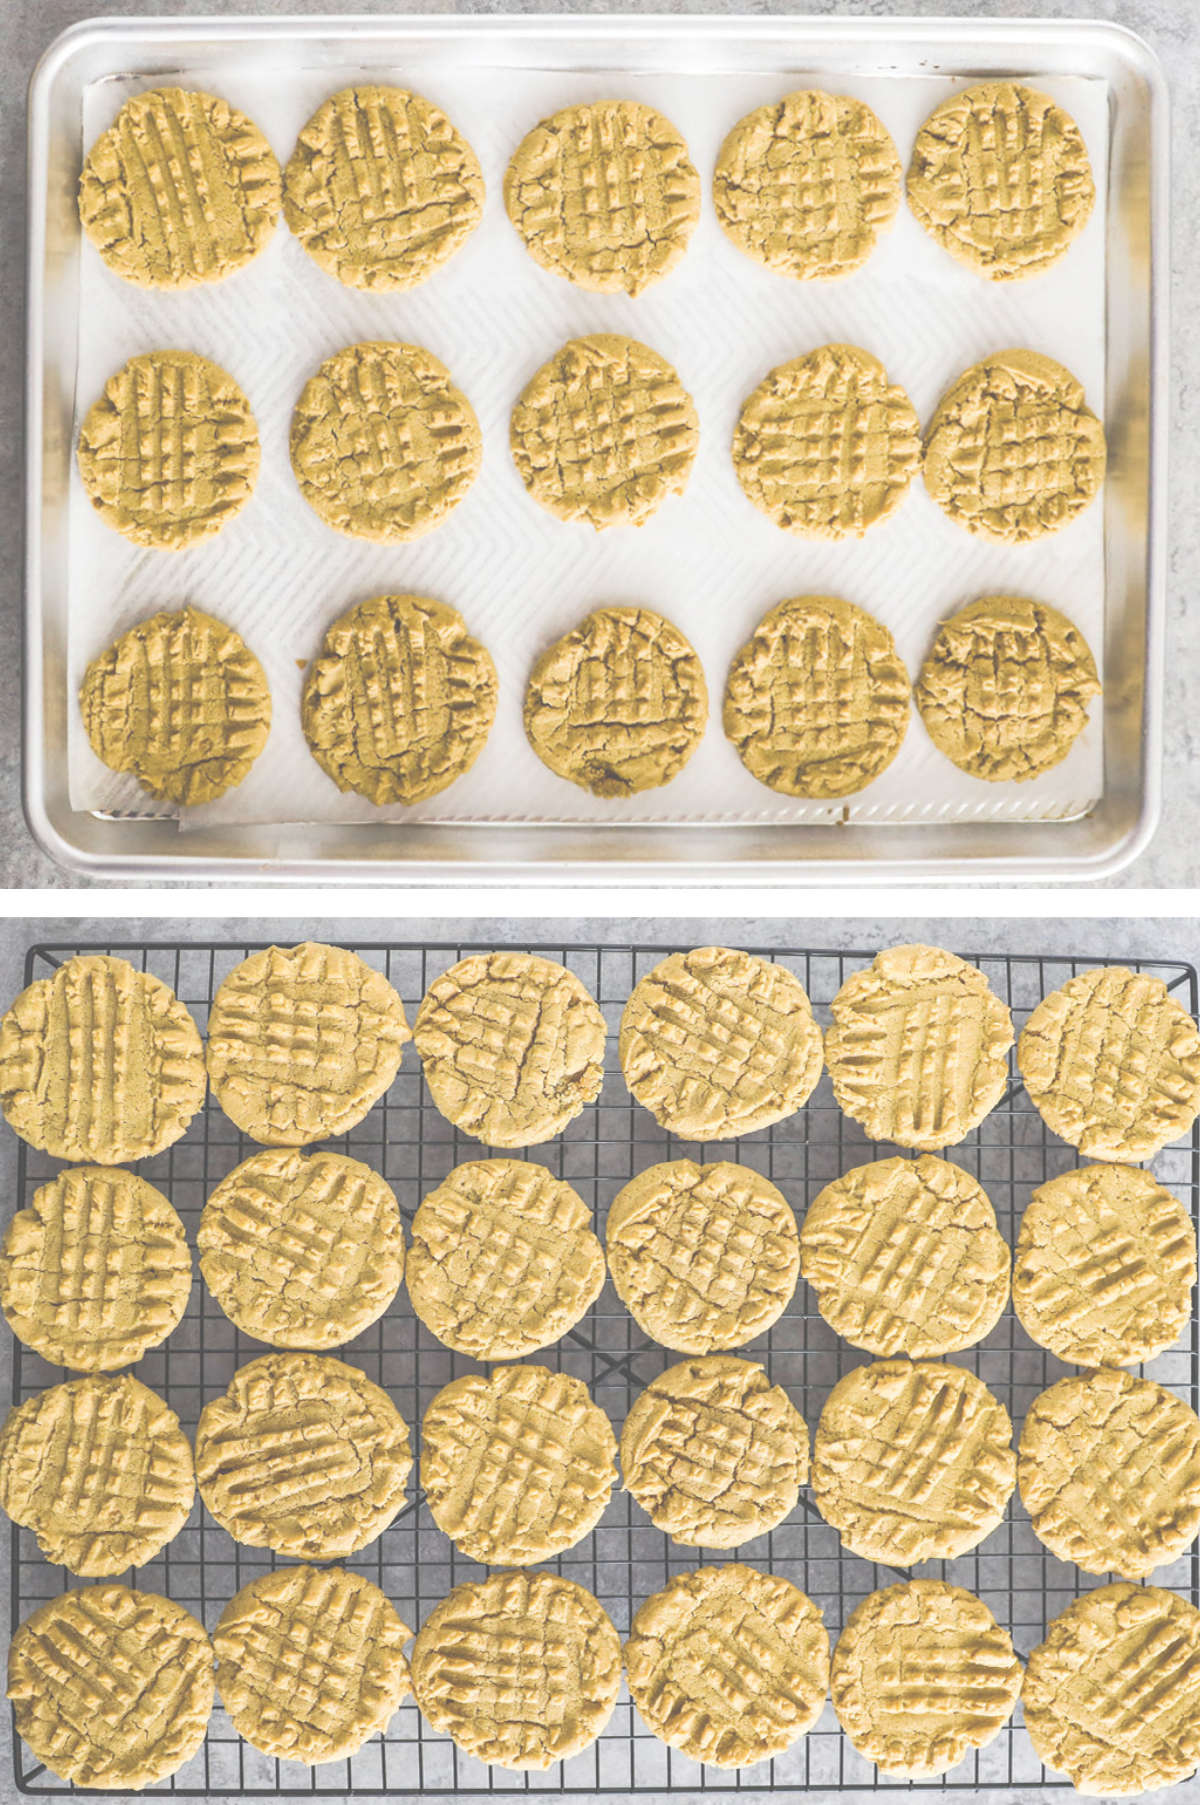
STEP 8: Bake for 8-9 minutes. Remove from oven and let sit for 5 minutes. Use a metal spatula to scoop under cookies and transfer to a rack to cool completely.
Recipe Tips
- Before making these cookies, soften unsalted butter to room temperature for a few hours.
- For crisper cookies, press the cookies down to flatten more.
- Sometimes the fork can stick while making the crisscross pattern. This is easily solved by dipping the fork into granulated sugar before each press.
- Don't grease the pan, this recipe already has a good amount of fat with the addition of peanut butter and a greased pan will cause the cookie to spread too much.
How To Store
Store in an airtight container on the counter for up to 3 days. After this, the cookies will start to turn stale. You can also store in the fridge up to 1 week, or in the freezer up to 6 months.
Peanut Butter Cookies
Tap Stars To Rate!
Ingredients
- ¾ cup smooth creamy peanut butter
- ½ cup unsalted butter - softened at room temperature
- ½ cup white sugar
- ½ cup brown sugar
- 1 large egg
- 1 tsp vanilla extract
- 1 ¼ cups all purpose flour
- 1 tsp baking soda
- ¼ tsp salt
Instructions
- Preheat the oven to 350°F. Line a baking sheet with parchment paper and set aside.
- In a large bowl, mix ¾ cup smooth creamy peanut butter and ½ cup unsalted butter with an electric mixer until smooth and creamy.
- Add the ½ cup white sugar, and ½ cup brown sugar and mix for 2 minutes using the electric mixer.
- Now add 1 large egg and 1 tsp vanilla extract.
- In a separate bowl, whisk the 1 ¼ cups all-purpose flour, 1 tsp baking soda and ¼ tsp salt.
- Add the dry ingredients to the wet and mix together until just combined. Do not overmix.
- Roll into 1 Tbsp balls. Place them on the baking sheet about 2" apart. Press each one down using the back of a fork. Change directions to create the criss cross pattern.
- Bake for 8-9 minutes. Remove from oven and let sit 5 minutes exactly. Use a metal spatula to scoop under cookies and transfer to a rack to cool completely.
Notes
- Counter - Store in an airtight container up to 3 days. After this the cookies will start to turn stale.
- Freeze - These cookies freeze well! Add them to a freezer bag and store them for up to 3 months.
Nutrition
Nutrition info is auto-calculated and meant to be an approximation only.


Leave a Reply