

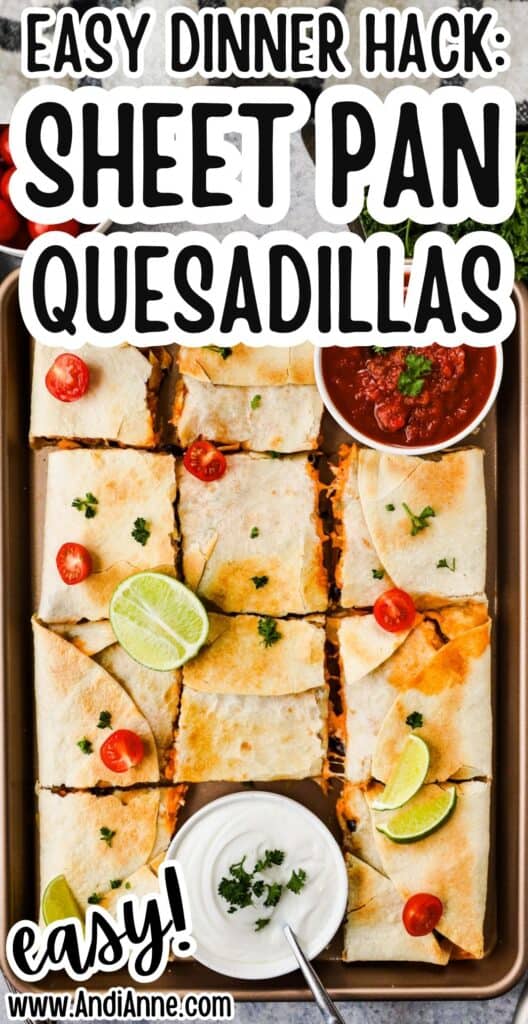
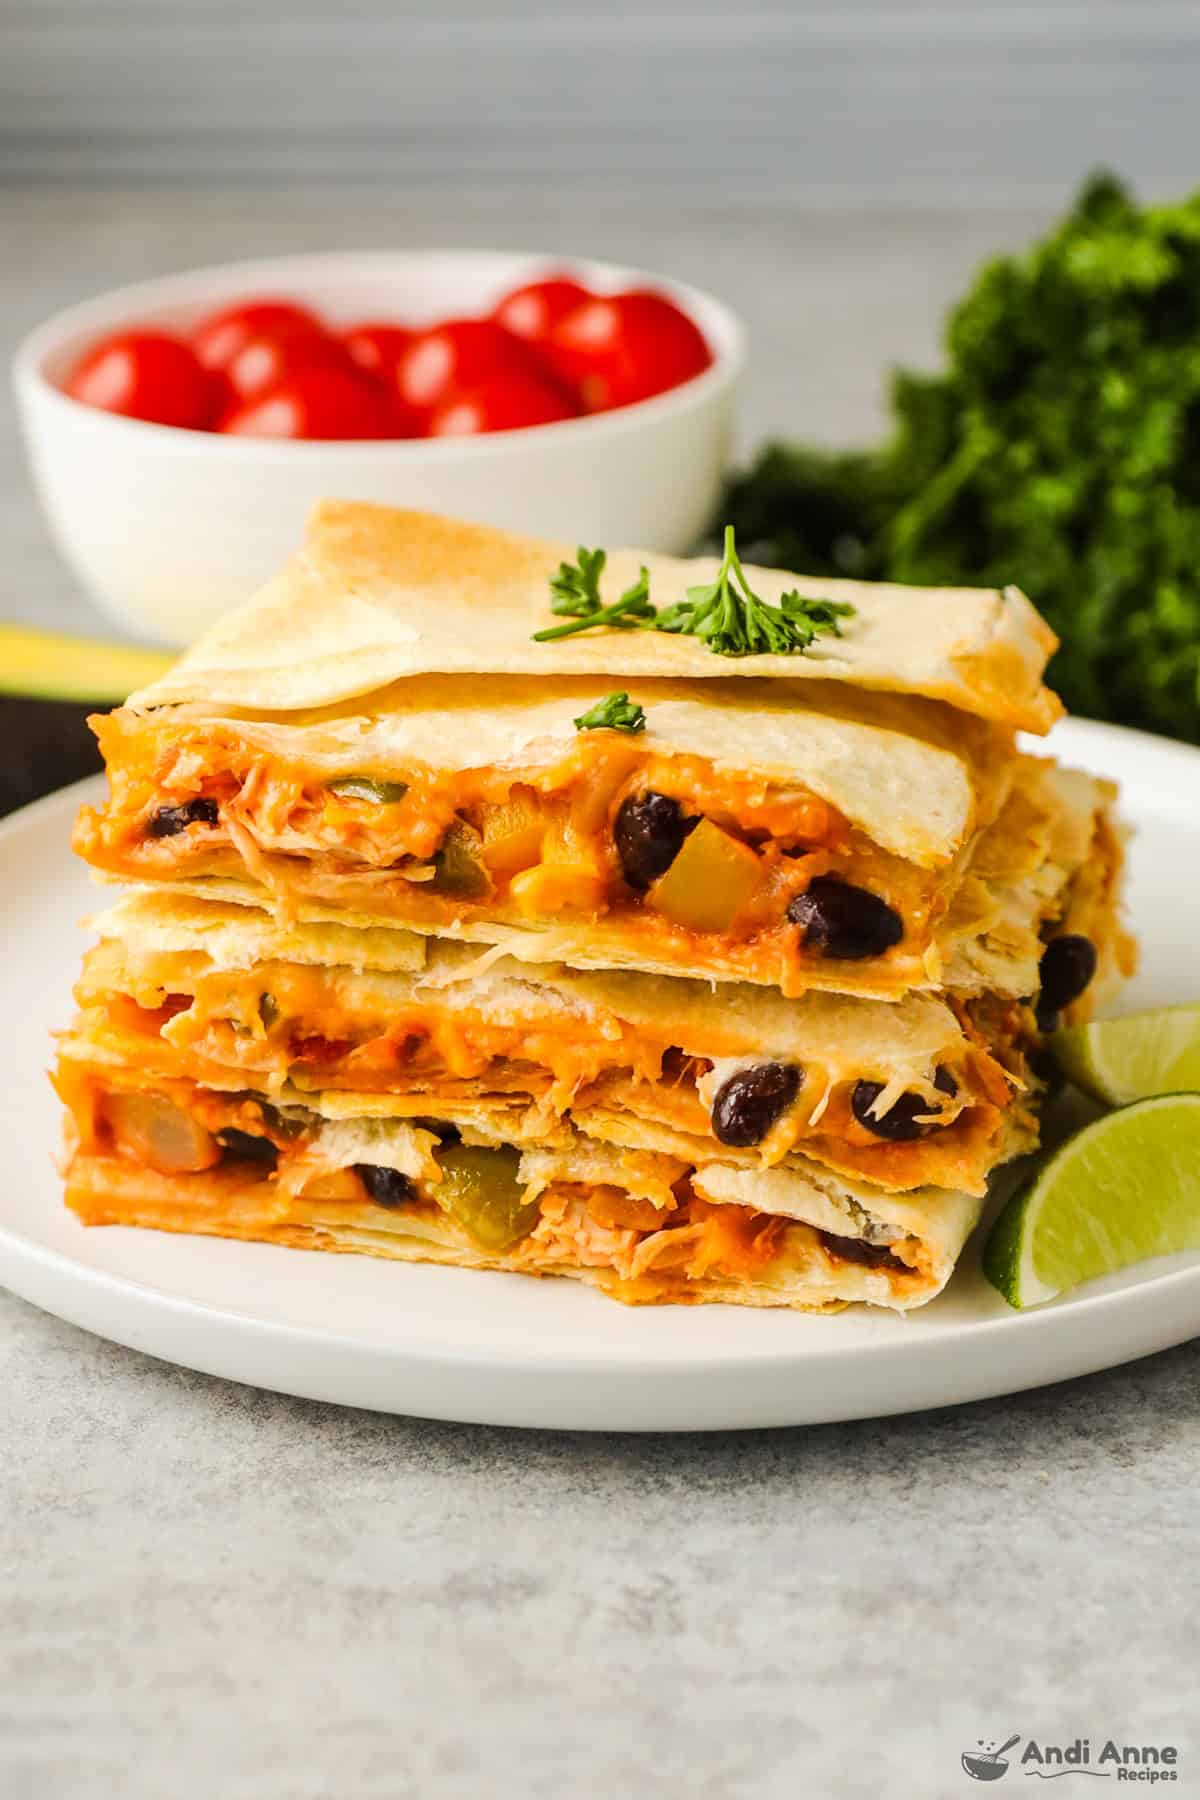
This sheet pan quesadilla is my go-to when I want something fast and filling that the whole family will actually eat. The outside gets golden and crispy, while the inside is melty and packed with chicken, beans, peppers and cheese. Bonus: everything cooks on one pan, and you can slice it like a pizza-so fun!
👉 NOTE: You will need TWO large 18×13 baking sheets for this recipe.

Why I Love This Recipe
- One-pan ease. No flipping quesadilla after quesadilla. Everything bakes together.
- Crowd-pleaser. Chicken, beans, cheese - even picky eaters go back for seconds.
- Fast & satisfying. Ready in about 30 minutes, perfect for busy nights.
- DIY fun. Slicing it like pizza adds fun and gets everyone excited.
- Fits my Dinner Rhythm Blueprint. This recipe works beautifully for a Grace Night when dinner needs to be simple but satisfying.
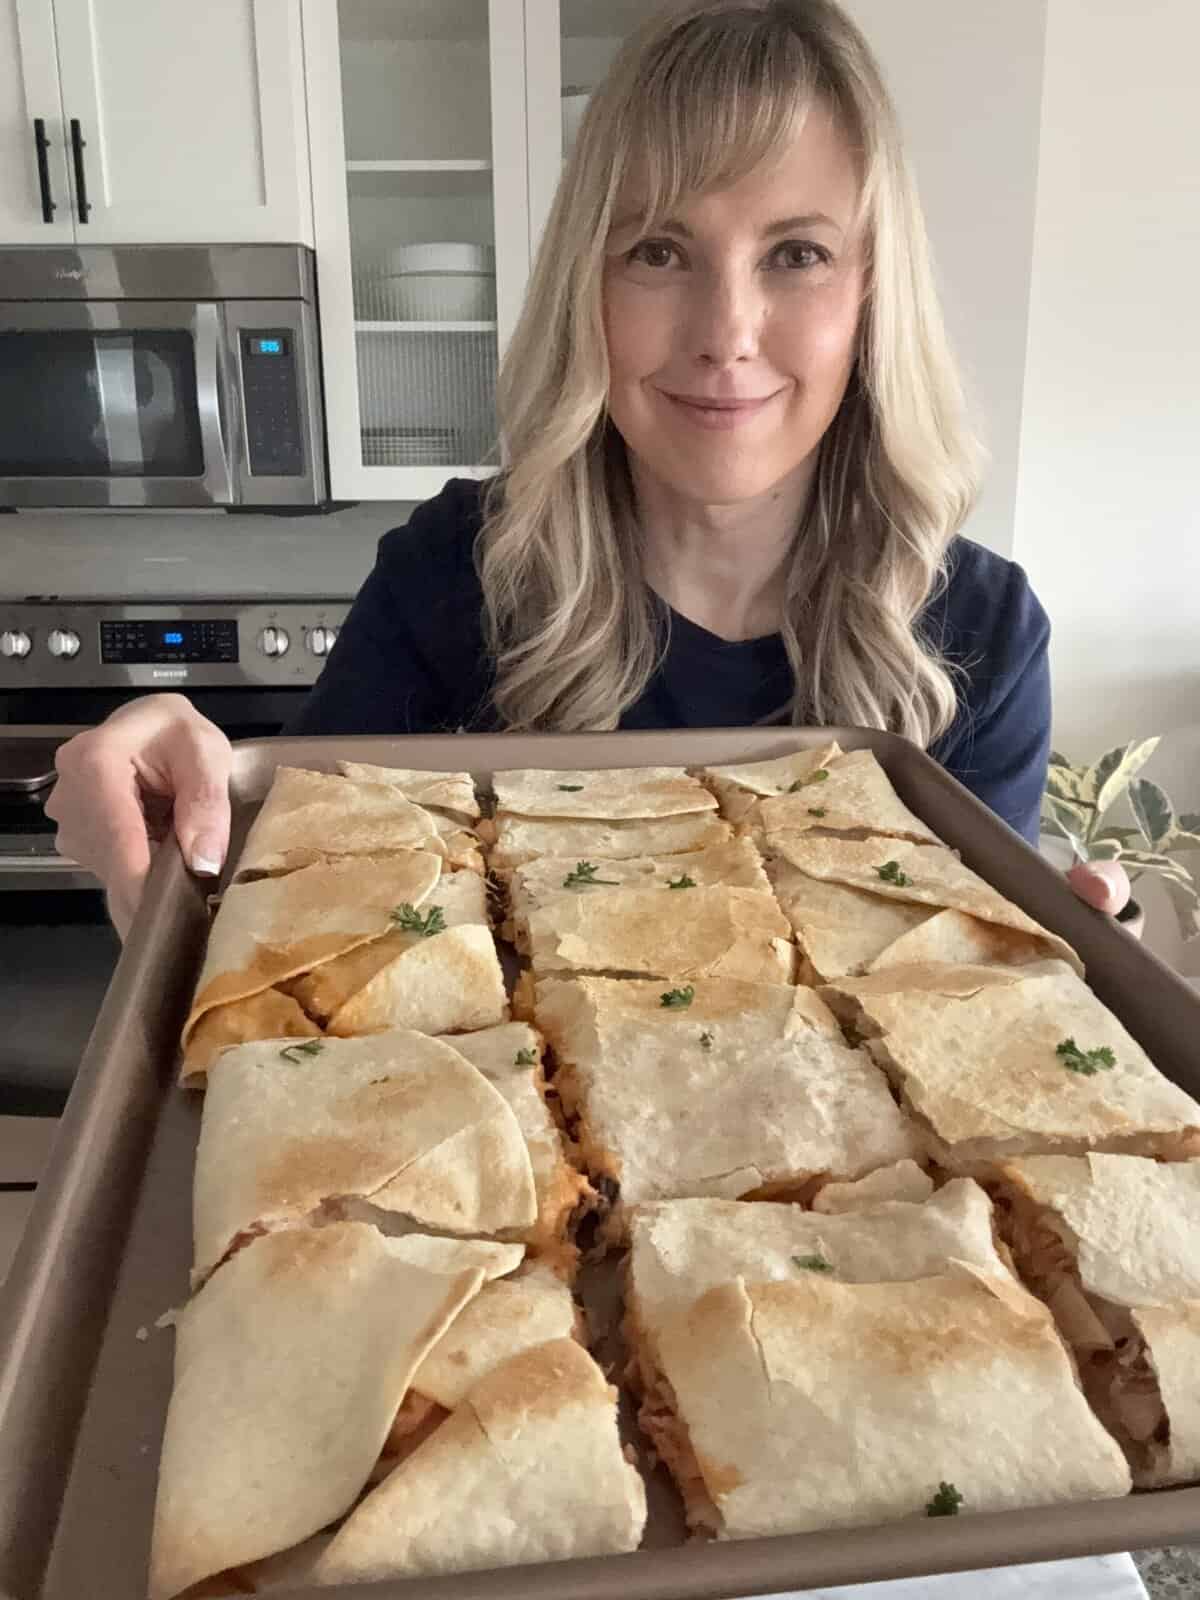
Andi's Note
On those hectic nights when I'm juggling homework, errands, and a million to-dos, this sheet pan quesadilla feels like a cheat-yet still looks and tastes like I cared. I'll usually pull out rotisserie chicken or leftover cooked chicken, toss in beans and peppers, and dump it all into one sheet. Then within 30 minutes we're eating and I'm able to actually sit down too. Win.
Recipe Ingredients 👇👇
Yields: 6 servings
- 9 large flour tortillas
- Non-stick cooking spray (or a bit of oil)
- 2 cups shredded cooked rotisserie chicken - or make your own
- 1 cup black beans (rinsed & drained)
- 2 cups chopped bell peppers (red, green or yellow)
- ½ cup diced yellow onion
- ½ cup salsa
- 2 cups shredded cheese (cheddar or Mexican blend)
- Optional to serve: salsa, sour cream or guacamole
What Is a "Sheet Pan Quesadilla"?
A sheet pan quesadilla takes the classic skillet quesadilla concept-cheese, tortilla, fillings-and scales it up so you bake it in the oven on one large sheet tray. It's ideal for families, feeding a crowd, or nights when you don't want to stand at the stove flipping. This is such an easy "weeknight dinner hack" for shaping dinners into simpler, one-pan routines.
How To Make This Sheet Pan Quesadilla 👇👇
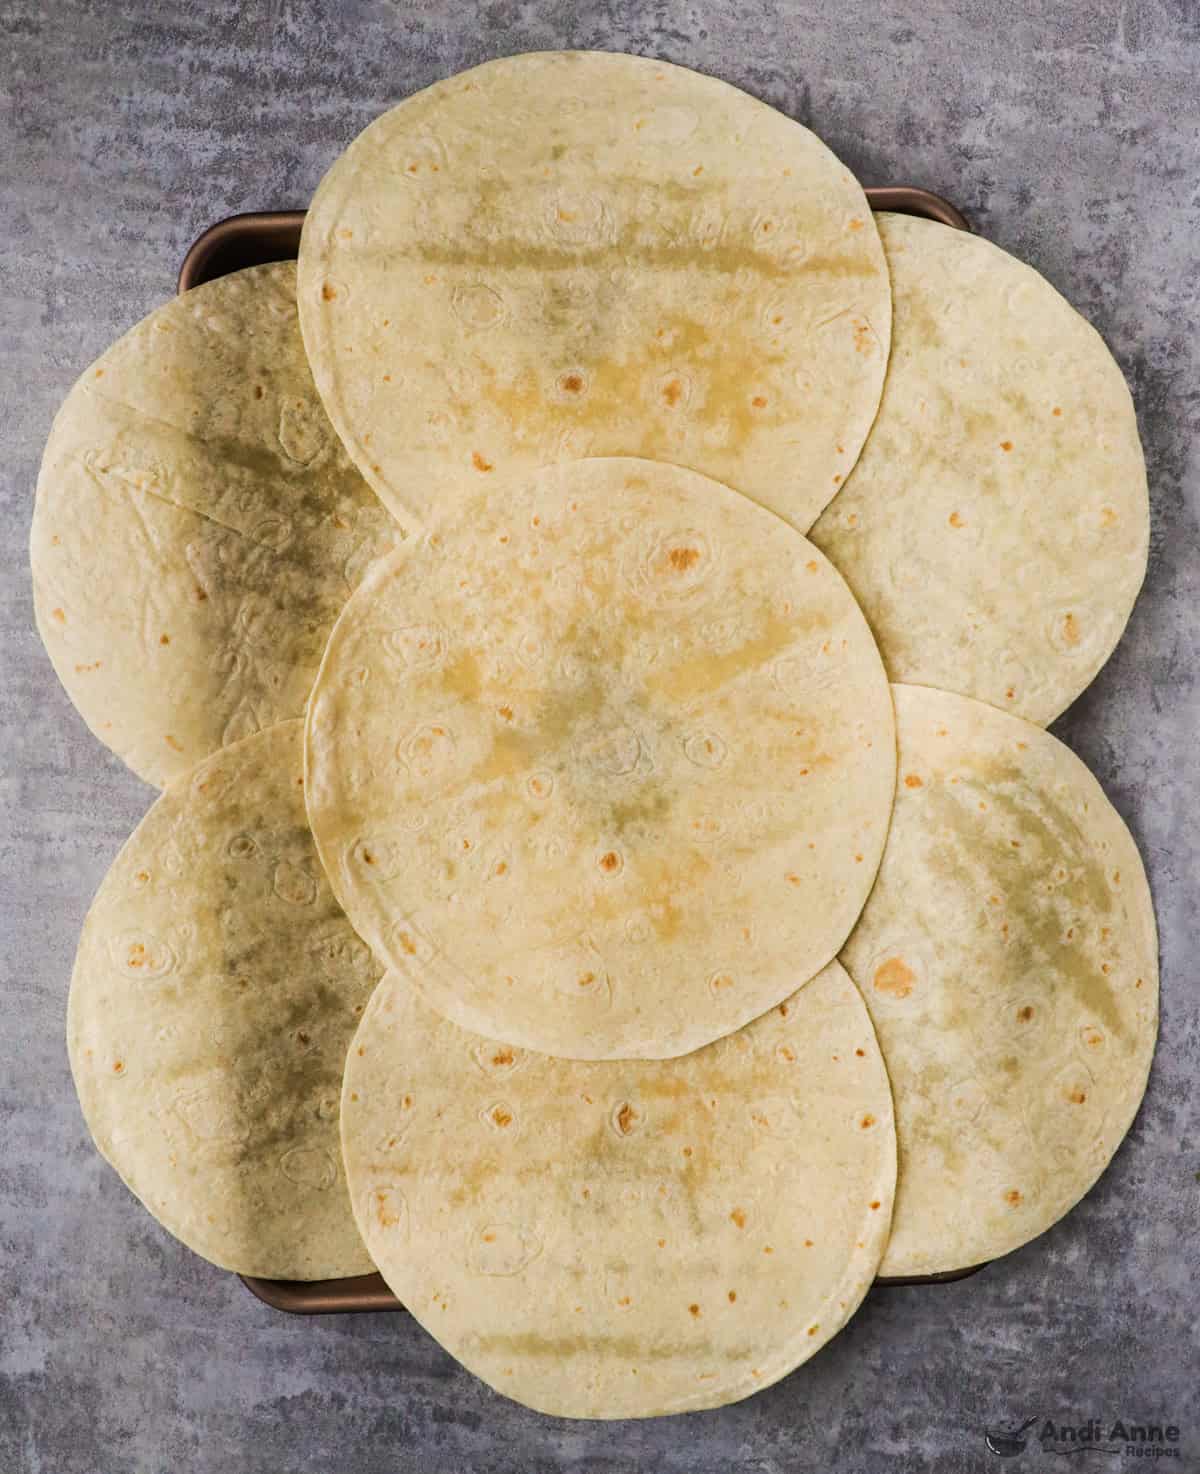
STEP 1: Preheat & Prep
Preheat your oven to 425 °F. Lightly grease TWO large 18×13-inch baking sheets with non-stick cooking spray or drizzle a bit of olive oil.
Lay 6 of the flour tortillas on one baking sheet, letting the edges hang over the sides slightly. This "overhang" allows you to fold them over later for a sealed quesadilla build. Set aside.
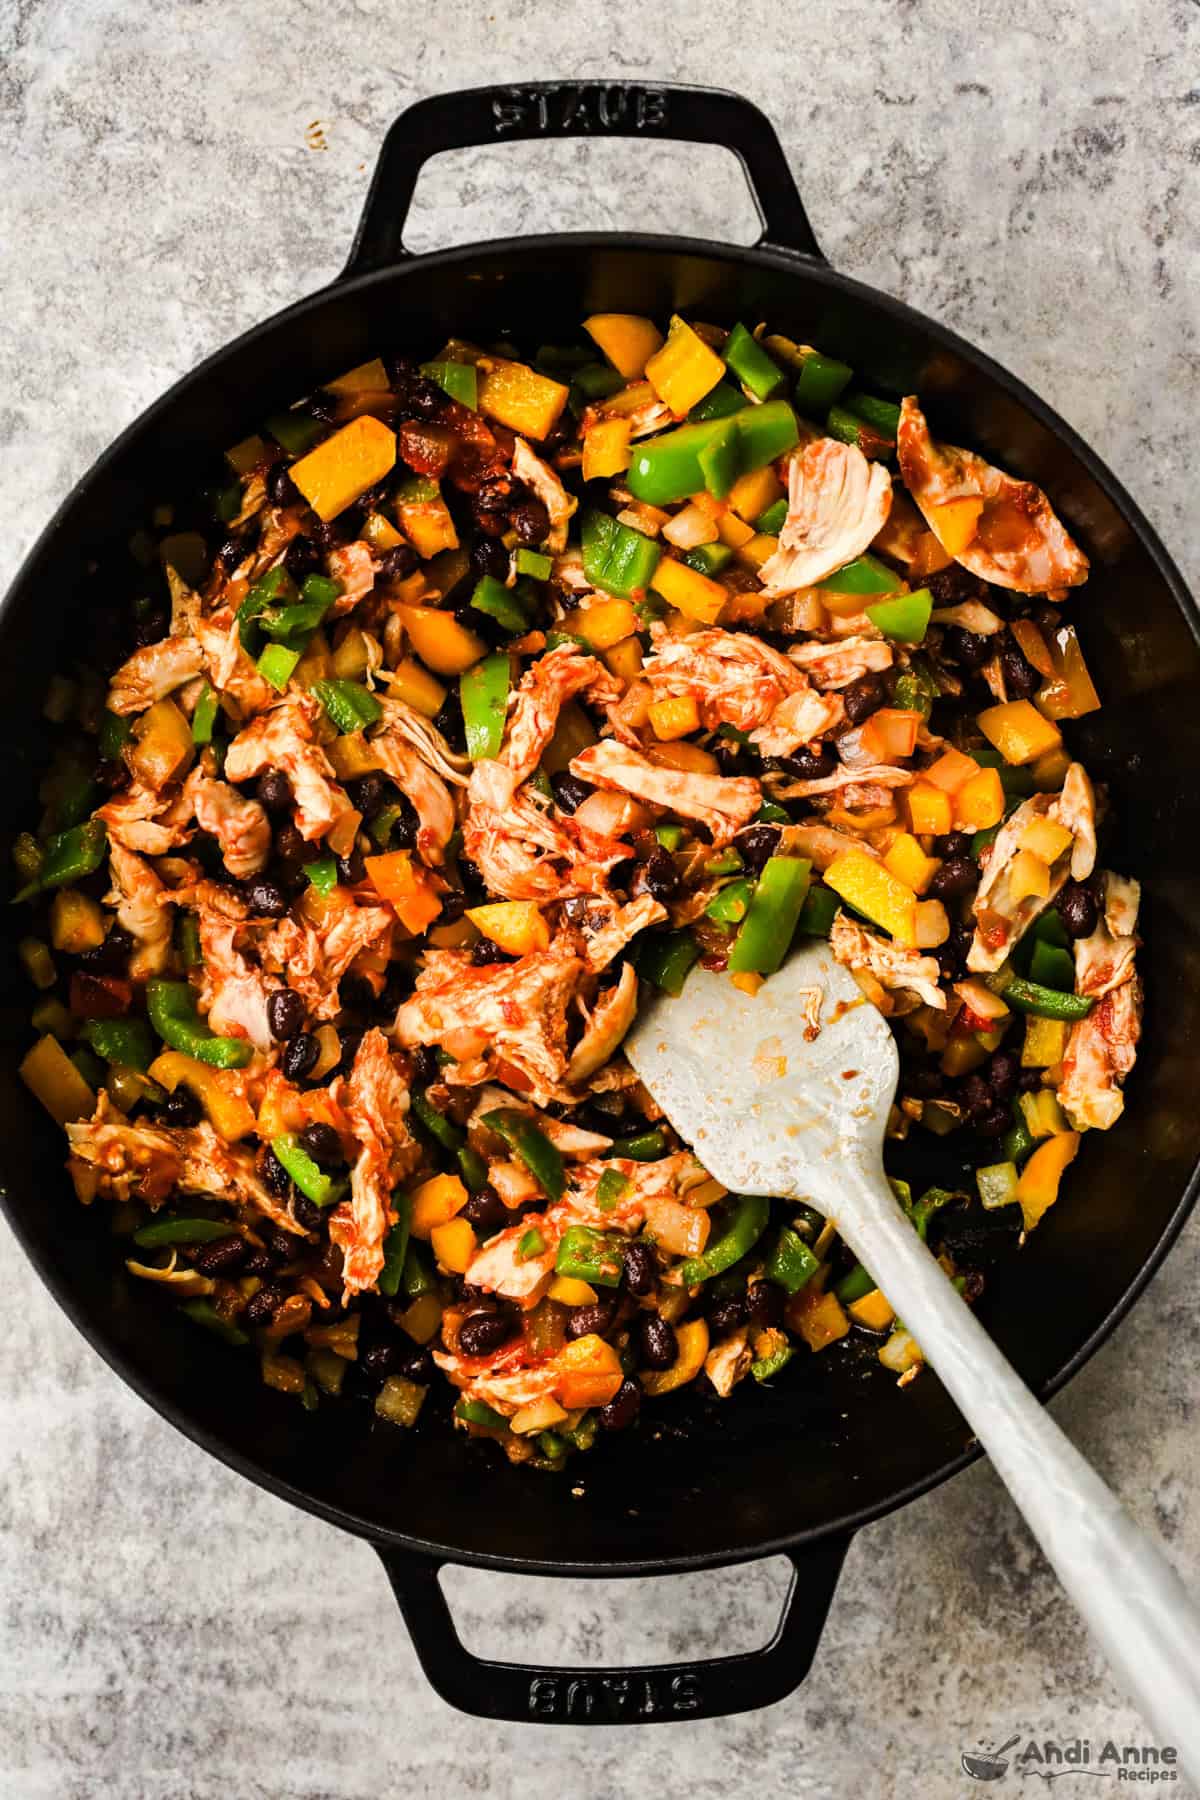
STEP 2: Sauté the Veggies & Mix Filling
In a large skillet over medium heat, add a bit of olive oil. Sauté the ½ cup diced yellow onion and 2 cups chopped bell peppers until just soft, about 3-5 minutes.
Stir in the 2 cups shredded cooked chicken, 1 cup black beans, and ½ cup salsa. Cook another 2 minutes to combine flavors and heat through.
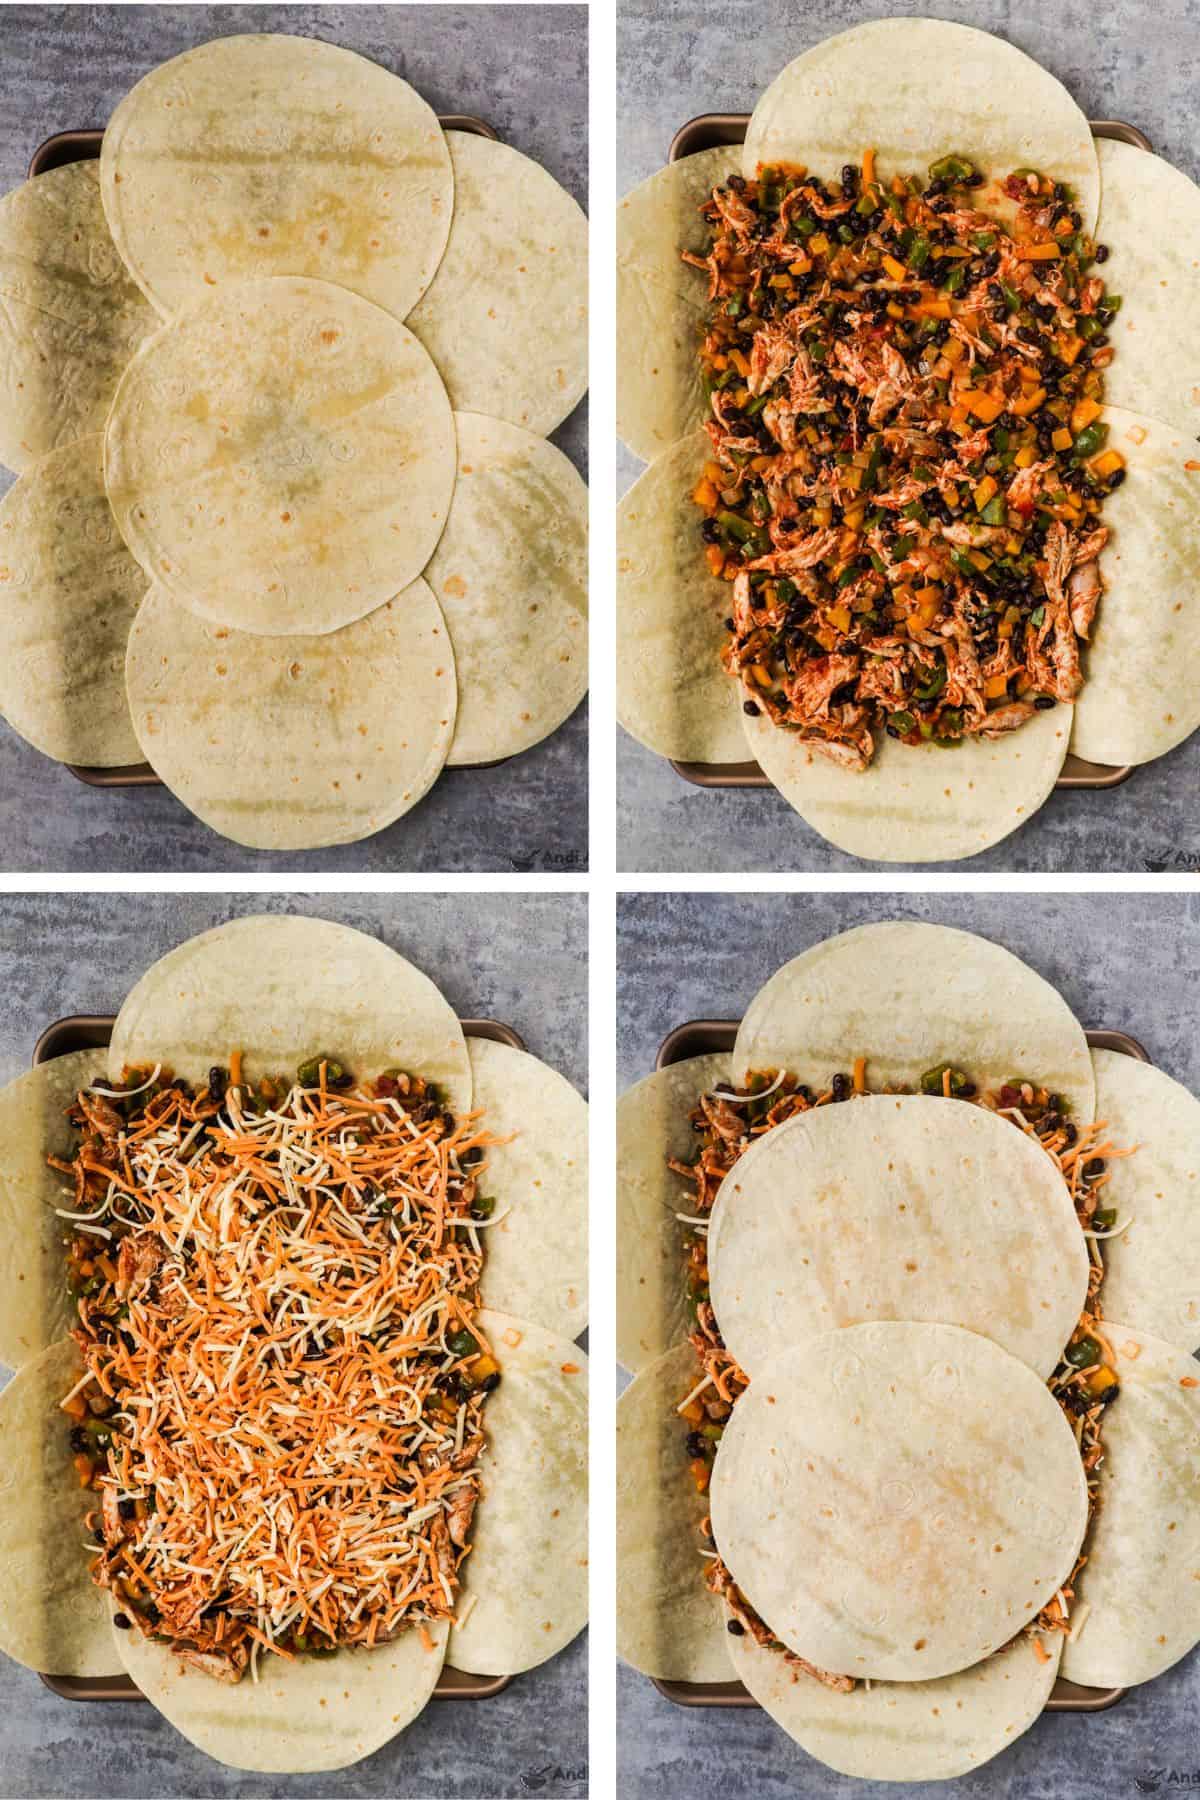
STEP 3: Layer & Build
Evenly spread the chicken filling mixture over the tortillas arranged on the sheet pan. Then sprinkle 2 cups shredded cheese over the top.
Take the remaining 3 tortillas and place them across the center of the pan to cover the filling.
STEP 4: Press & Bake
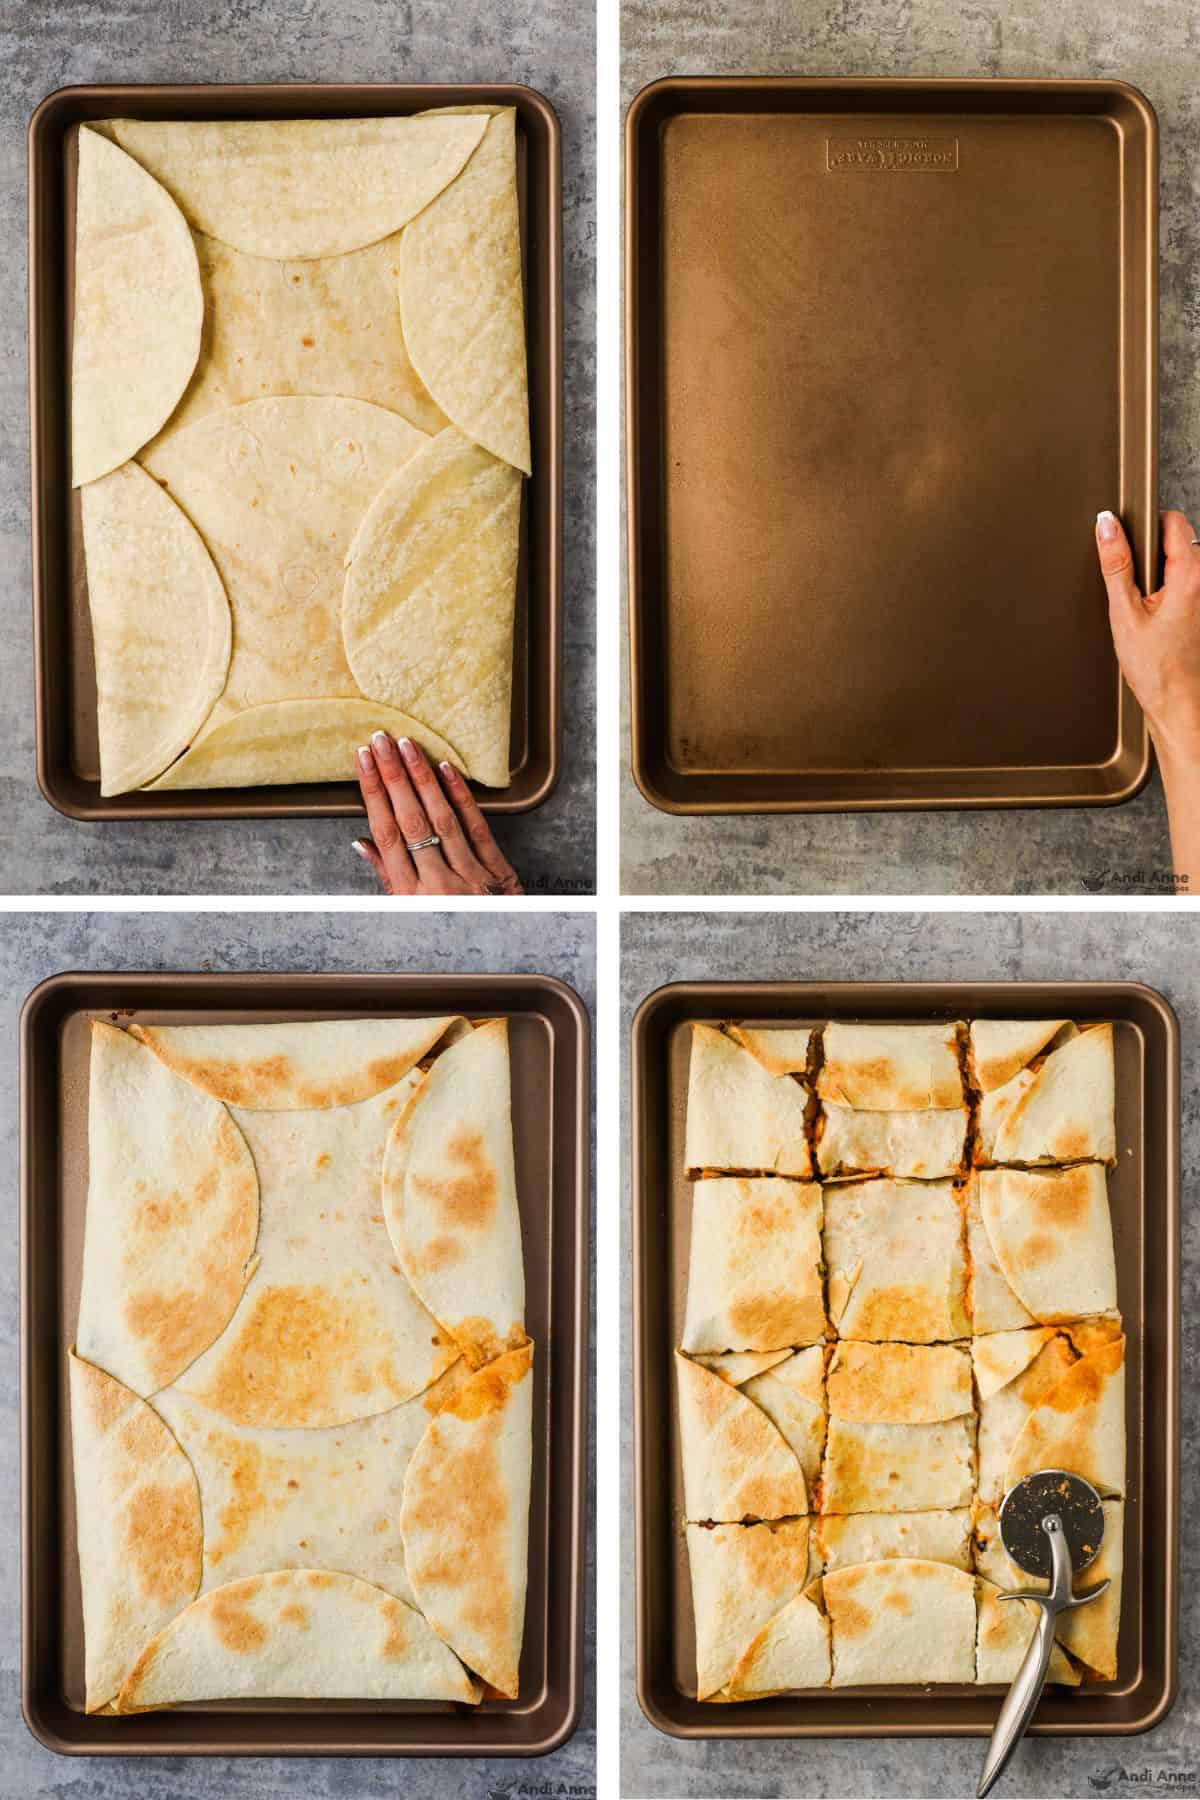
Now carefully fold the overhanging edges of the bottom tortillas inward toward the center to "seal" the quesadilla.
Place a second large 18×13-inch baking sheet on top of your tortilla build (this presses everything down, helping the bottom crisp and the layers hold together). Bake for 20 minutes with the top sheet in place, or until the edges are golden and crisp.
If you like extra crisp, remove the top tray in the last 3-5 minutes of bake. Let the whole pan rest for 2-3 minutes after baking so it sets. Then slice into squares or wedges.
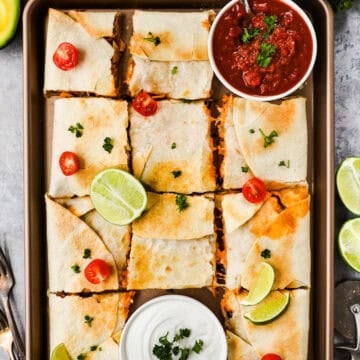
STEP 5: Serve with Toppings
Serve hot, with optional sides: salsa, sour cream, or guacamole. Slicing it like pizza makes it fun for kids and gives everyone their own wedge.
Variations & Substitutions
- Swap in your preferred protein: Use leftover steak, ground beef, turkey, or keep it vegetarian by leaving out meat and adding extra beans.
- Extra add-ins: Corn, jalapeños, chopped spinach, or even diced mushrooms.
- Cheese variations: Try pepper jack for a spicy kick, or go with mozzarella + cheddar blend.
- Gluten-free or low-carb: Use gluten-free tortillas or swap tortillas for large grilled portobello mushroom caps (for a grain-free version).
- Sauce options: Serve with chipotle mayo, ranch, or avocado-cilantro drizzle instead of just sour cream.
- Change up the veggies: If you have zucchini or leftover roasted veggies, toss them in.
- For another flavor try my zucchini spinach breakfast quesadillas.
Optional Topping Bar
Set out small bowls with salsa, pico de gallo, guacamole, sour cream, shredded lettuce, pickled jalapeños, and cilantro. Let everyone customize their slice for the table.
Make-Ahead, Storage & Reheating Tips
- Prep ahead: You can sauté the vegetables and combine the chicken mixture earlier in the day. Keep refrigerated until ready to assemble and bake.
- Store leftovers: After fully cooled, transfer to an airtight container and store in the fridge for up to 3 days.
- Reheat tips: For best crispiness, reheat in an oven or air fryer at 375°F until hot; or reheat an individual piece in a skillet. Avoid microwaving if you want the tortilla to stay crisp.
- Freezing? Not ideal for this one-tortillas may get soggy when frozen and reheated. Better if eaten within a few days.
Serving Ideas
- Complement with Spanish rice or Mexican-corn salad for a fuller meal.
- Add a side salad with lime-cilantro vinaigrette to lighten the plate.
- Use leftovers to make quesadilla tacos or quesadilla sandwiches for lunches the next day.
Recipe Tips
- Press down early: The top sheet pan is your best friend for crisp, flat quesadillas.
- Don't overcrowd: Give enough room between tortillas so they fold easily and cook evenly.
- Keep edges tidy: Fold the overhangs toward the center so tortillas don't hang off too far and burn.
- Season boldly: Use good salsa or cheese-you don't want bland filling.
- Let it rest: Resting 2-3 minutes after baking helps the cheese settle and makes slicing cleaner.
Make It a Dinner Rhythm Meal Plan
This one fits beautifully into your Dinner Rhythm Blueprint. Use it as an Grace Meal or even an emergency night dinner when you want fun and ease.
Plan example:
- Day 1: Sheet pan quesadilla fresh from oven.
- Day 2: Use leftover filling in tacos or burrito bowls.
- Day 3: Quesadilla slices as lunch with salad on the side.
If you haven't grabbed the free Dinner Rhythm Blueprint yet-go get it! It shows you how to reuse ingredients smartly and end the "what's for dinner?" panic.
FAQs
Yes. Assemble, cover, and refrigerate. Bake right before serving for the crispiest tortillas.
Absolutely. Double the black beans and add extra veggies like corn and mushrooms.
Bake uncovered with the top pan in place so steam can escape. Avoid very watery salsa.
Flour tortillas work best for this method because they fold and seal easily. If using corn, warm them first so they bend without cracking.
Cheddar, Monterey Jack, and Mexican blend give great melt and stretch. Mix two cheeses for flavor and pull.
Yes. Stir 1 to 2 teaspoons into the filling in STEP 2 for classic taco flavors.
Add jalapeños, extra hot salsa, or finish slices with hot honey or chipotle sauce.
Use a second pan you have on hand to press, like a smaller baking sheet or an oven-safe skillet turned upside down.
Sheet Pan Quesadillas
Tap Stars To Rate!
Ingredients
- 9 large flour tortillas
- Non-stick cooking spray
- 2 cups shredded cooked rotisserie chicken
- 1 cup black beans - rinsed and drained
- 2 cups chopped bell peppers - red, green, or yellow
- ½ cup diced yellow onion
- ½ cup salsa
- 2 cups shredded cheese - cheddar or Mexican blend
- Optional Toppings: - salsa, sour cream, guacamole
Instructions
- reheat oven to 425°F. Grease one 18×13-inch baking sheet. Lay 6 tortillas across the sheet with edges hanging over.
- Heat oil in a skillet. Sauté ½ cup onion and 2 cups peppers for 3-5 minutes. Stir in 2 cups chicken, 1 cup black beans, and ½ cup salsa. Cook 2 minutes.
- Spread filling over tortillas. Top with 2 cups cheese. Place 1-2 tortillas in center to cover gaps. Fold overhangs to seal.
- Lightly spray top. Place second 18×13-inch baking sheet on top to press. Bake 20 minutes until golden and crisp.
- Rest 5 minutes. Slice and serve with salsa, sour cream, or guacamole.
Notes
- Use two sheet pans for the crispiest finish.
- Let it rest before slicing to keep fillings in place.
- Broil 1-2 minutes at the end for extra crunch.
Nutrition
Nutrition info is auto-calculated and meant to be an approximation only.

Leave a Reply