

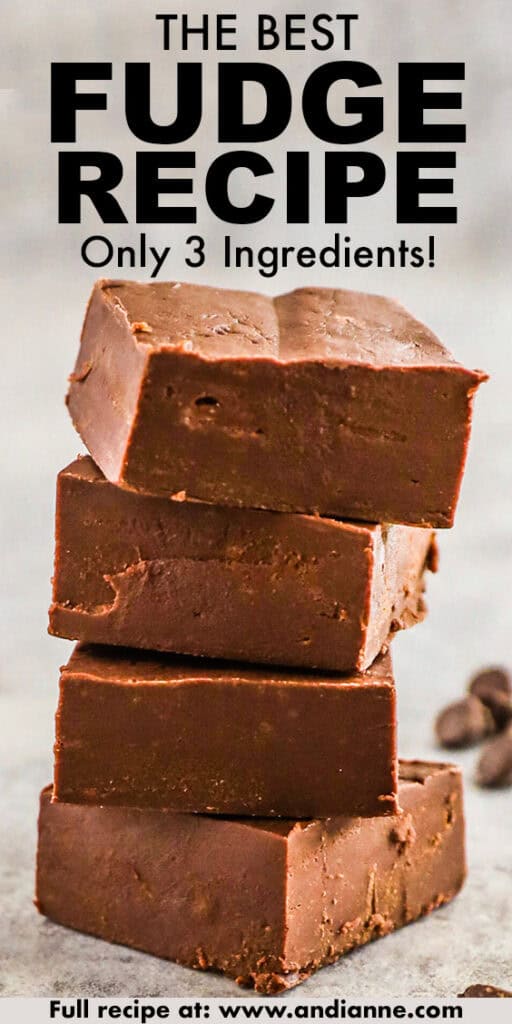
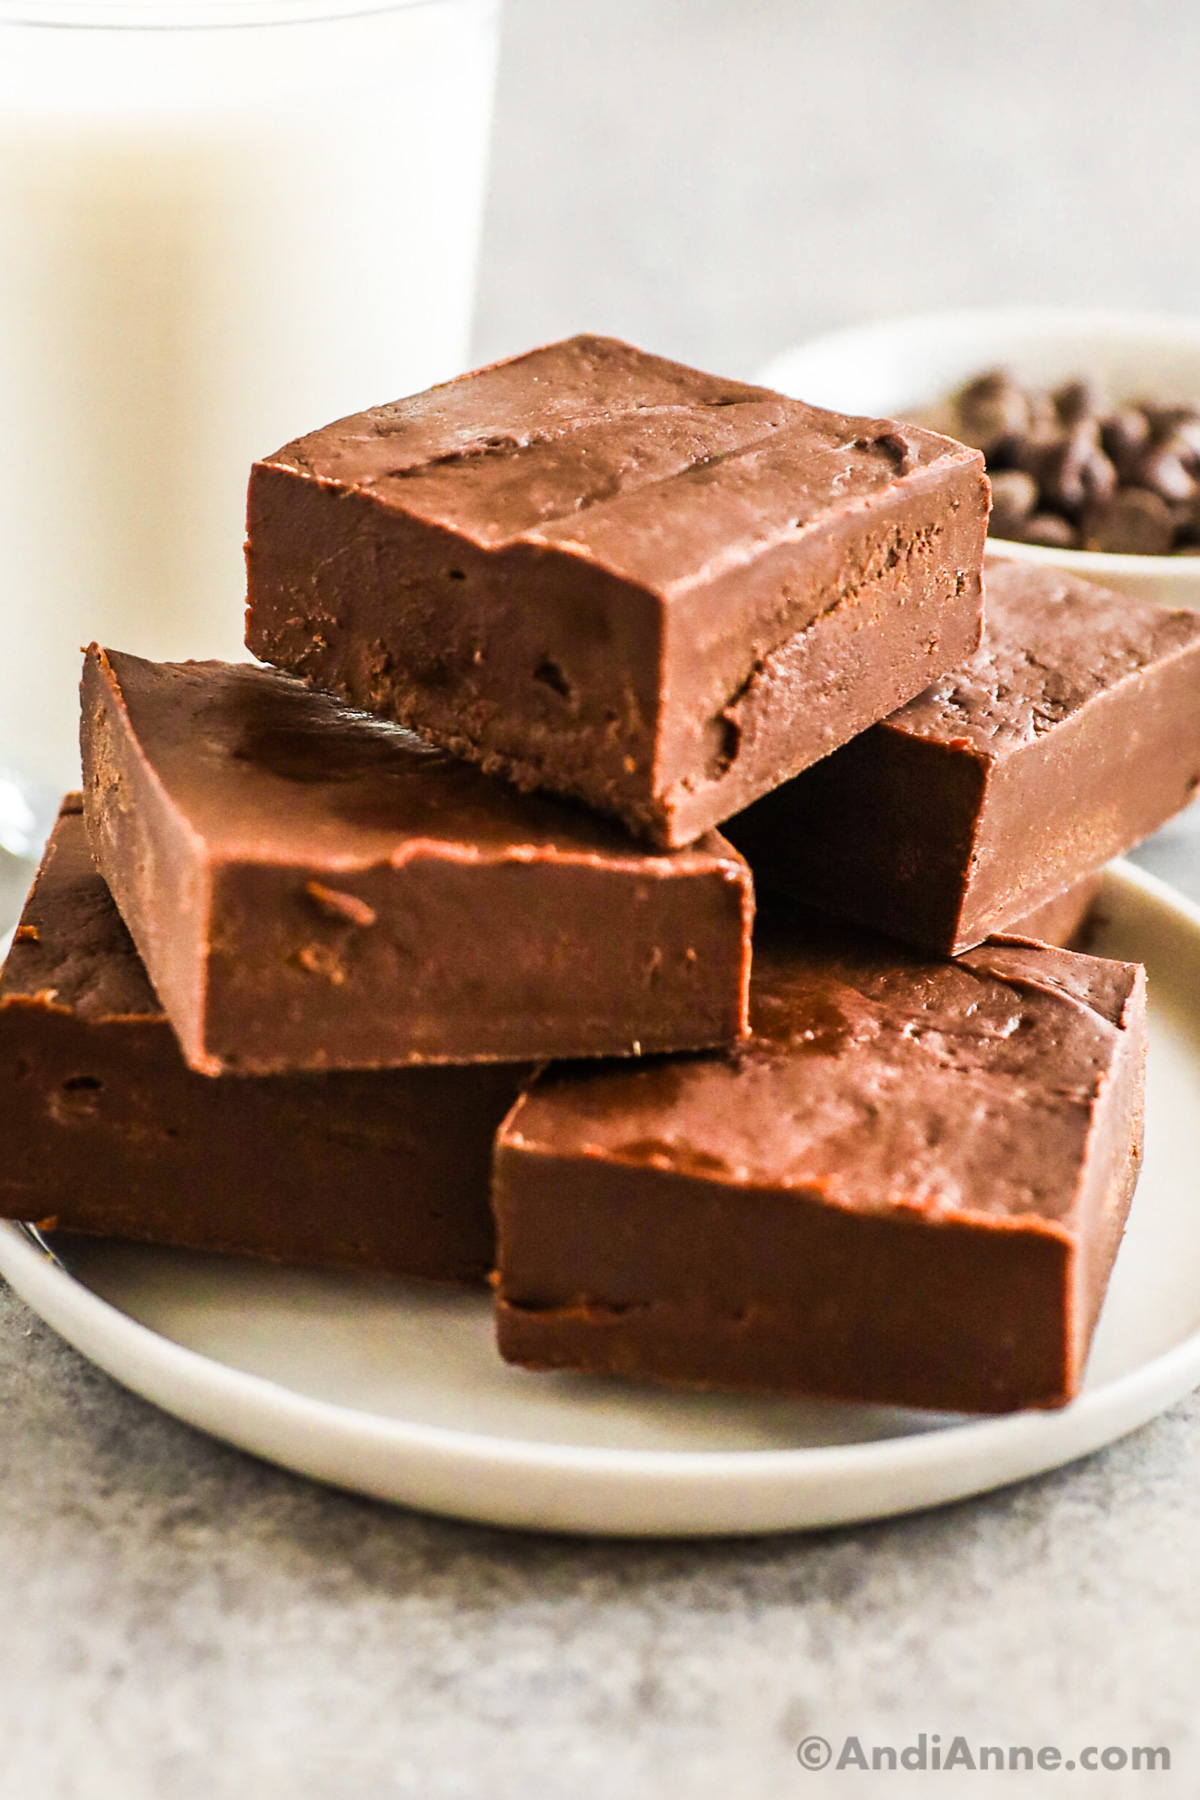
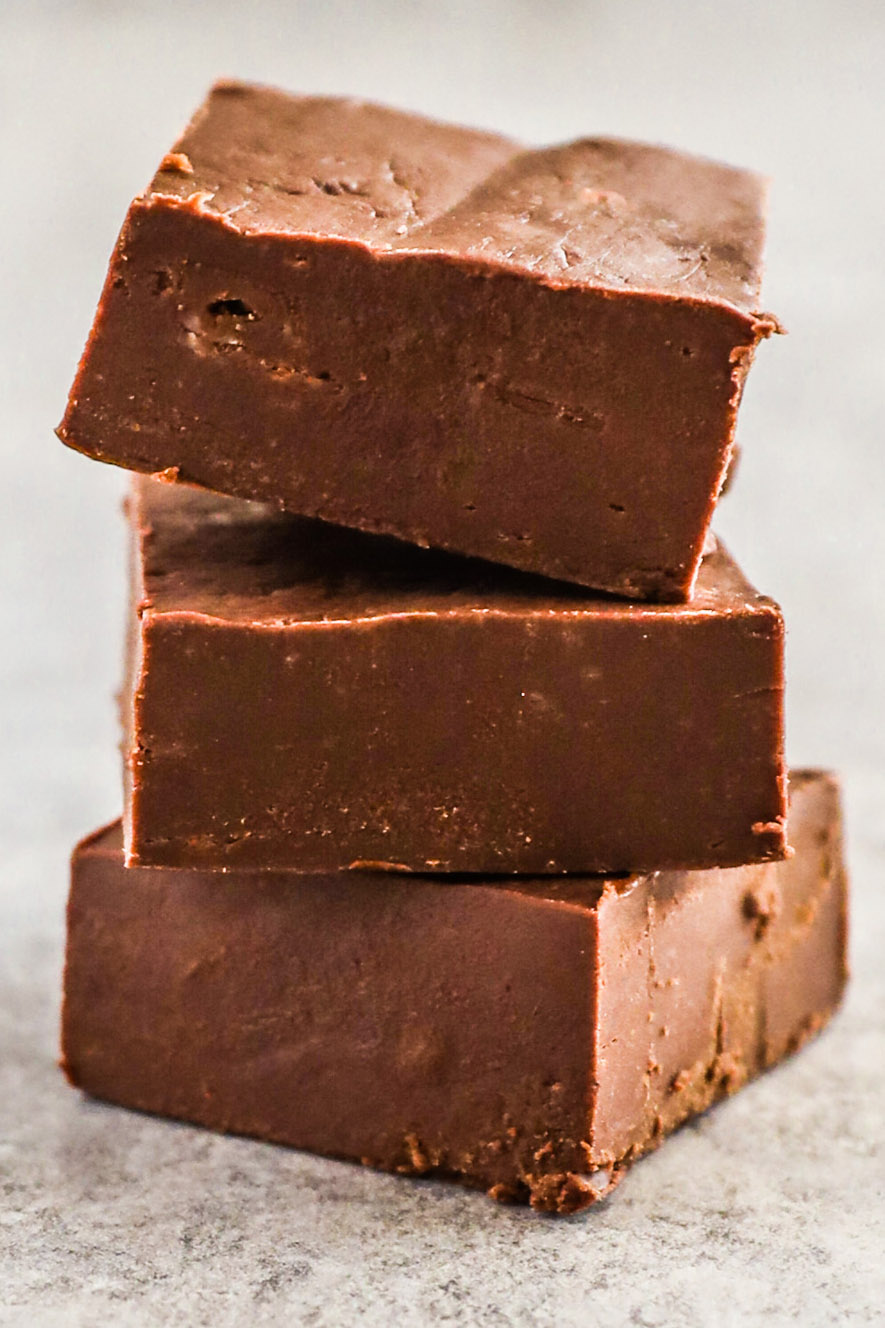
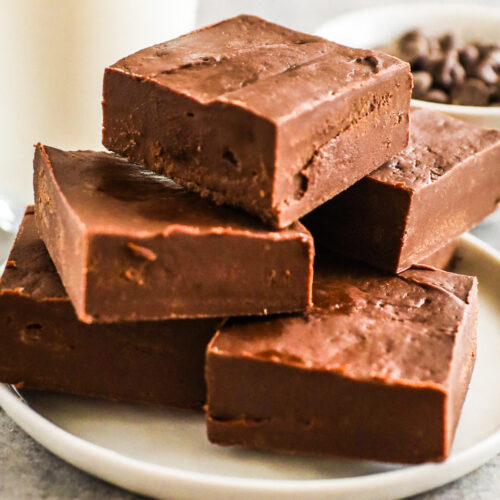
Creamy and smooth, this 3-ingredient chocolate fudge recipe has a velvety texture and buttery taste that are so addictive! Much easier to make than traditional fudge.
3-Ingredient Chocolate Fudge Overview
Traditional fudge recipes require timing and know-how. But this one is fool-proof! Just be sure to use the right ingredients.
First, chocolate chips, butter, and sweetened condensed milk are melted together, then chilled resulting in a creamy sweet treat.
I love sweet recipes like my delicious cannoli dip, the best cracker candy, and edible brownie batter, and of course this easy fudge recipe!
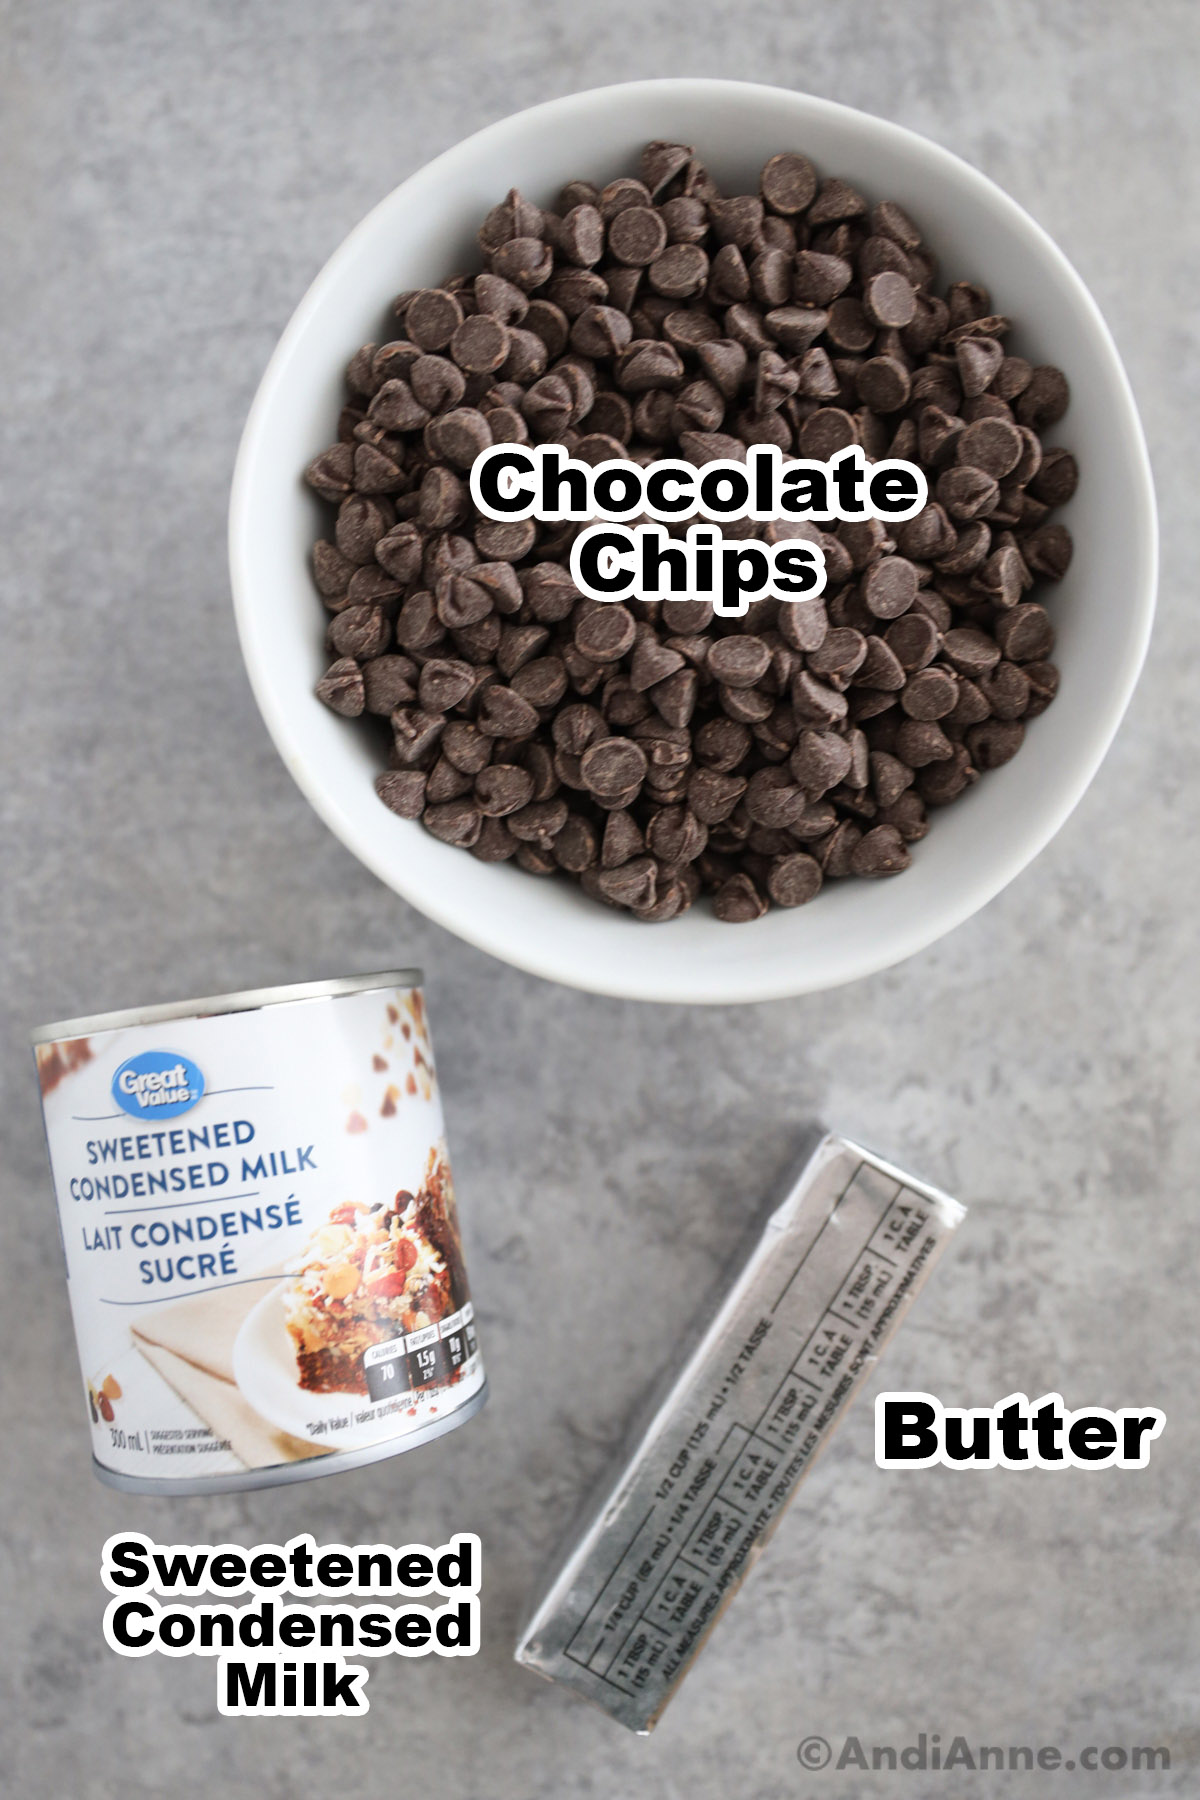
Recipe Ingredients
- ¼ cup unsalted butter
- 3 cups semi-sweet chocolate chips
- 10 oz sweetened condensed milk

How To Make Chocolate Fudge
Full ingredients and instructions are also in the recipe card at the bottom of this blog post.
STEP 1: Line an 8x8 pan with aluminum foil or parchment paper. Lightly spray the foil with nonstick cooking spray then set aside.
STEP 2: Add ¼ cup unsalted softened butter and 10 oz sweetened condensed milk to a small pot and melt over medium-low heat. Stir frequently.
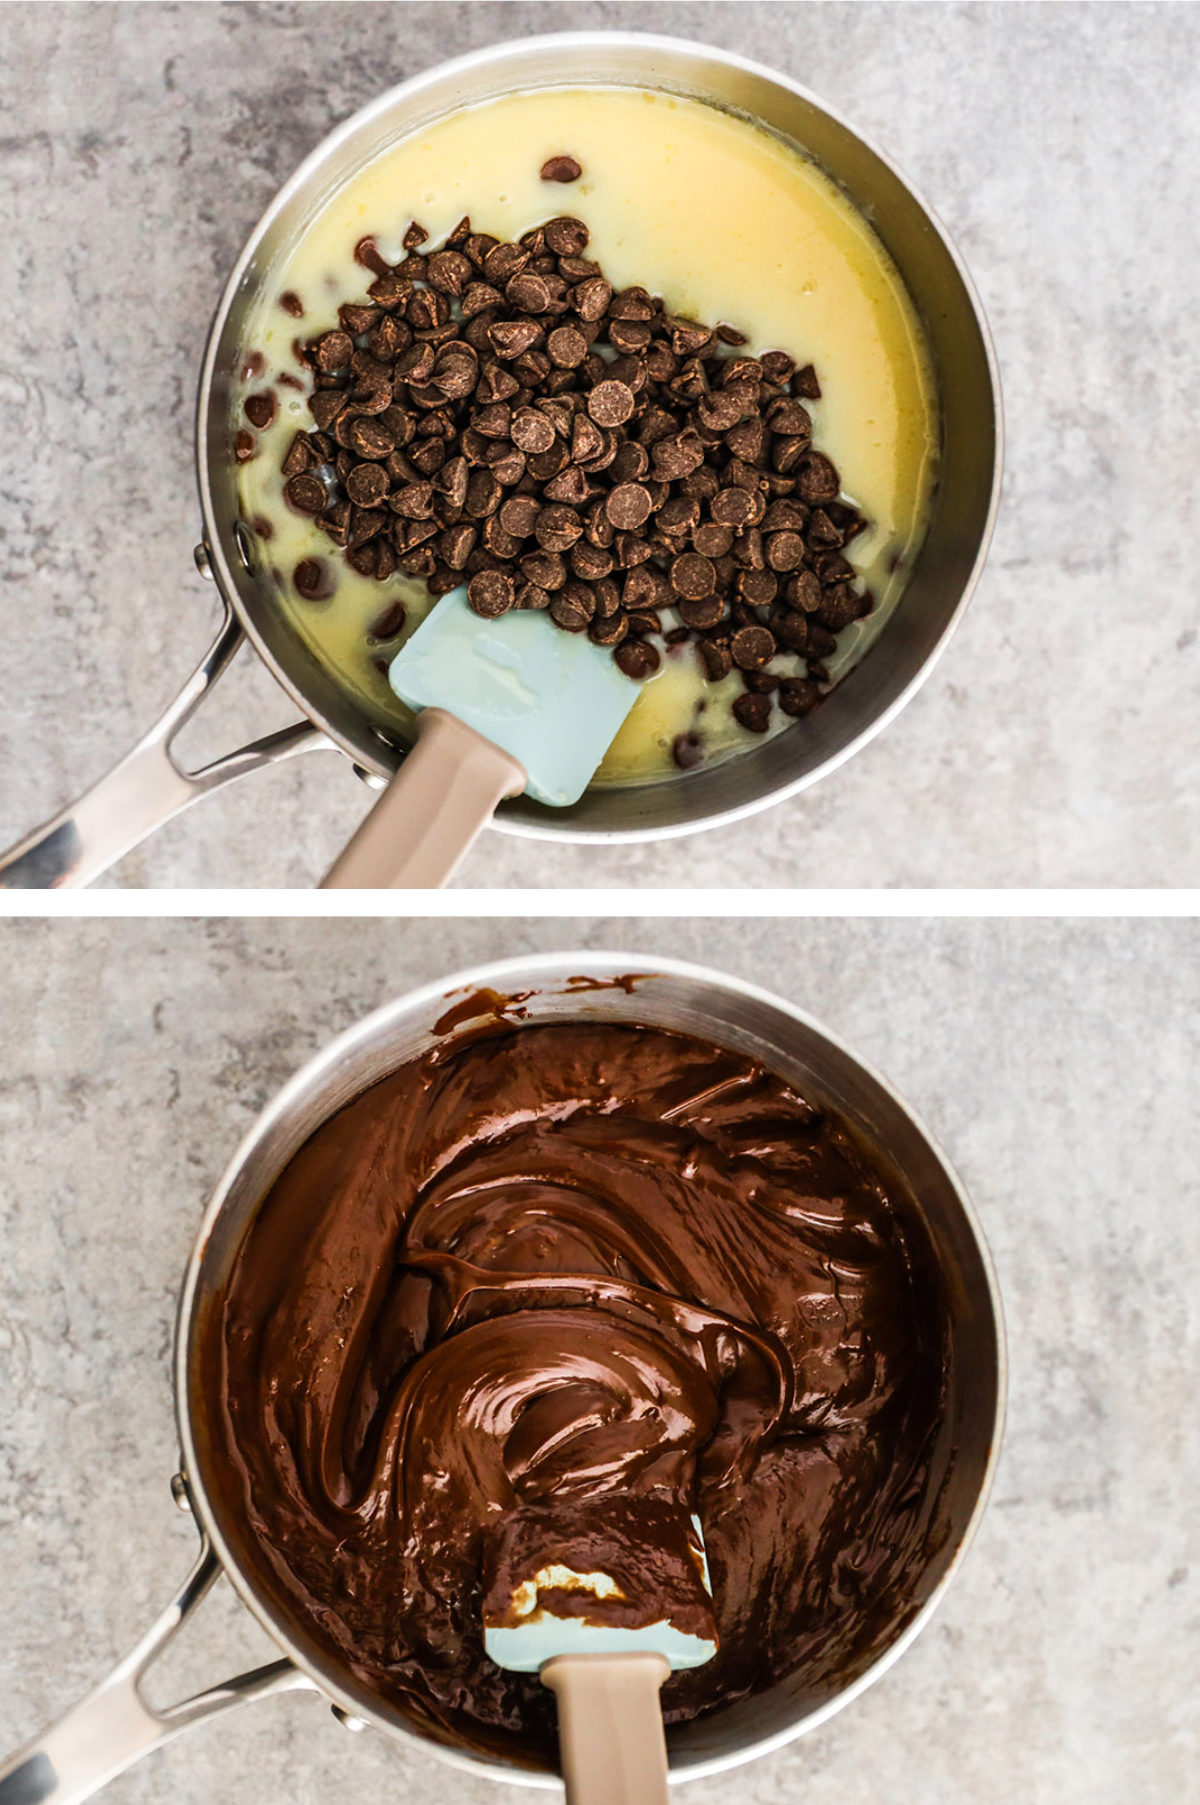
STEP 3: Once melted add 3 cups semi-sweet chocolate chips and let melt, stirring often.
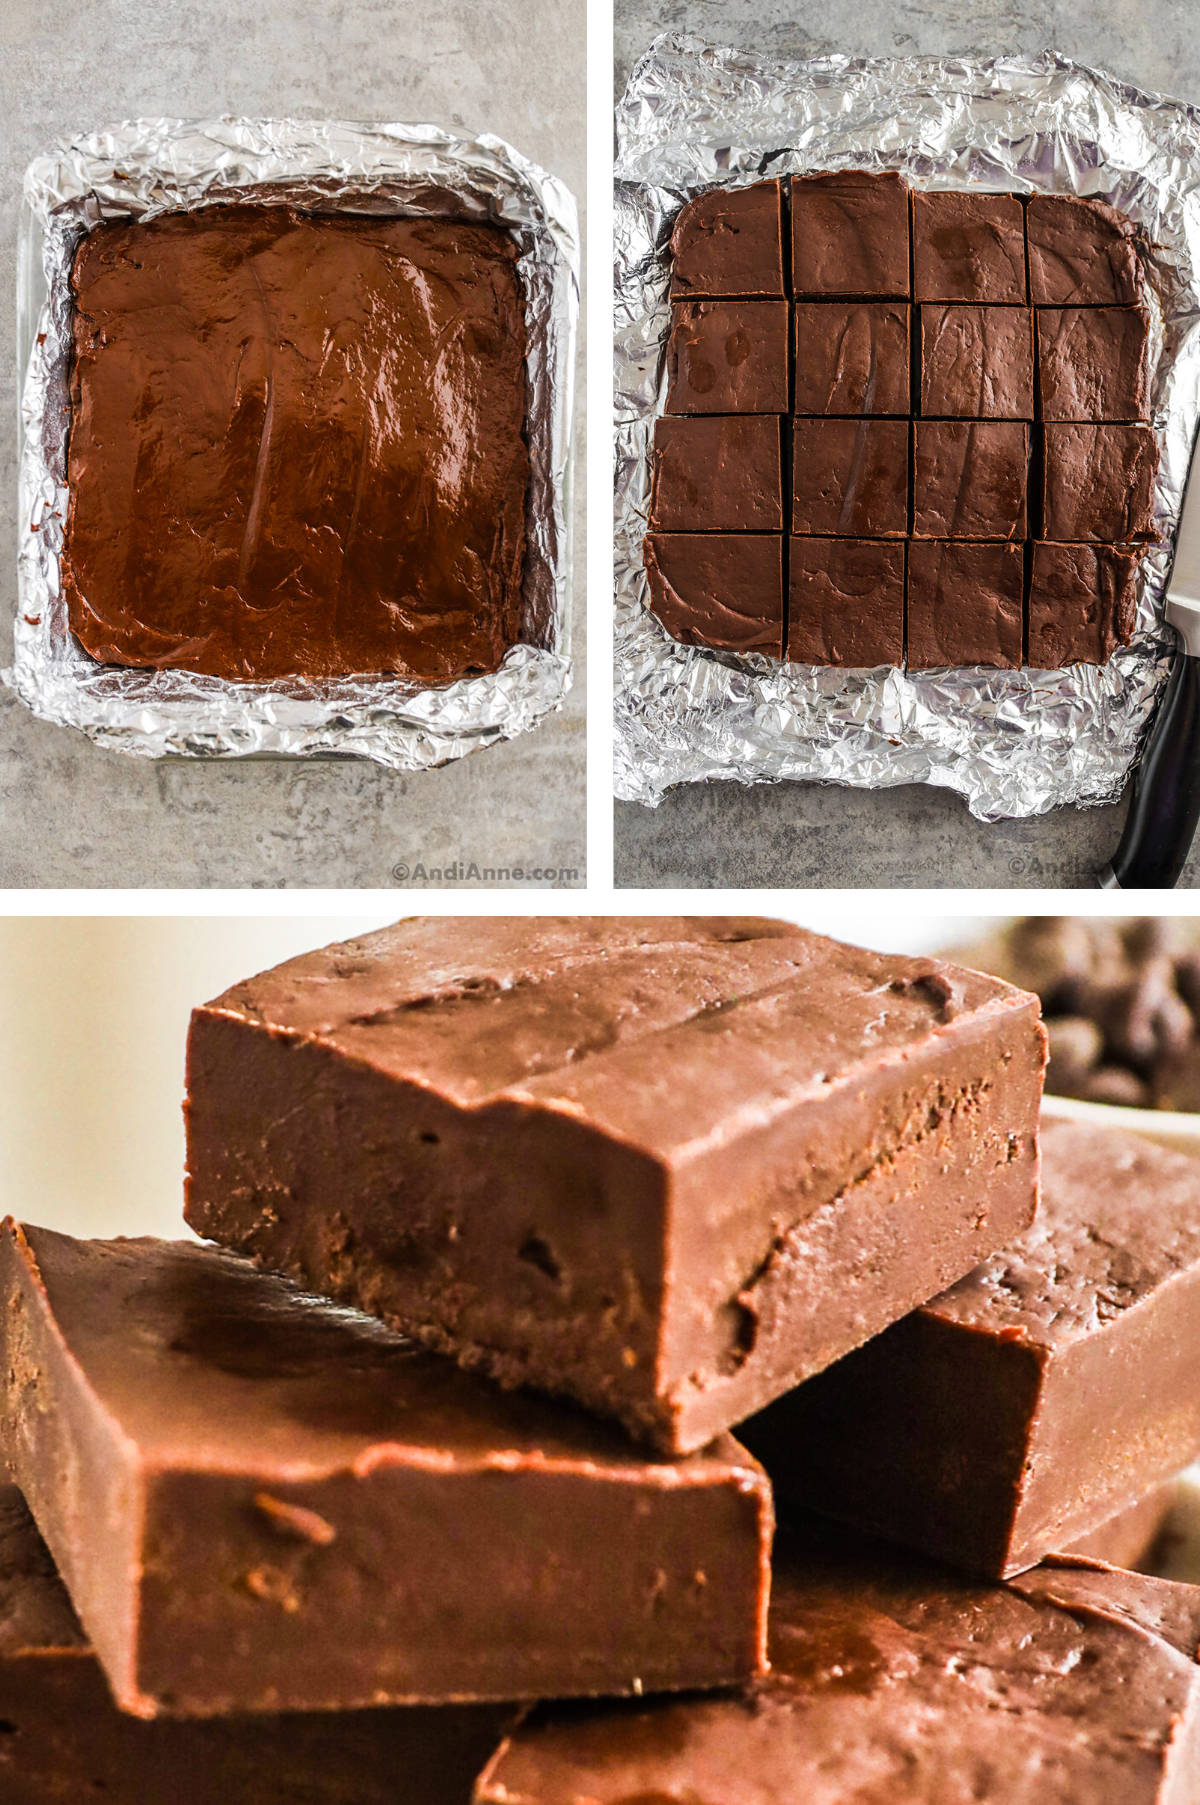
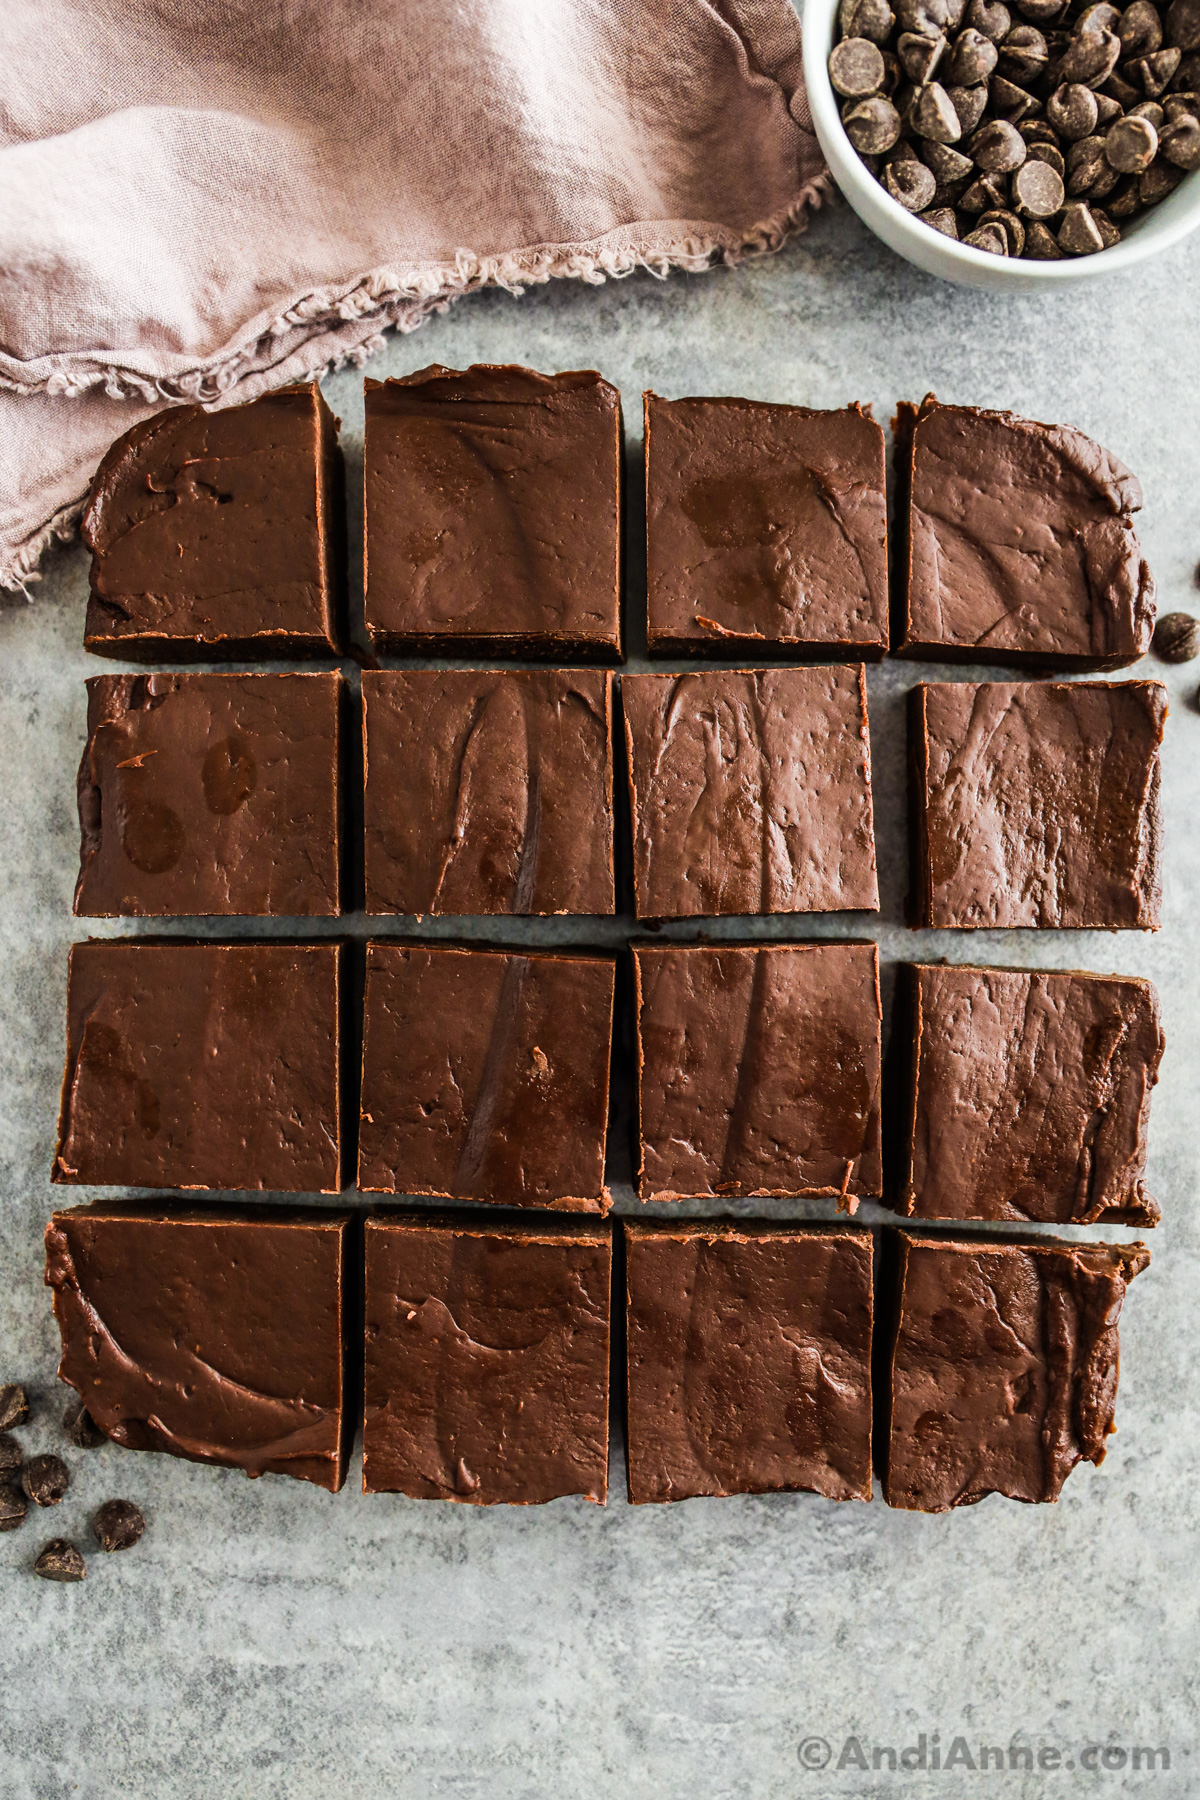
STEP 4: Now pour the chocolate mixture into the baking pan lined with foil. Spread evenly to the edges with a spatula, then place in the fridge to chill overnight. Remove the foil with fudge on top and cut into small squares with a sharp knife. Wipe the knife between each cut for cleaner slices.
Recipe Tips
- I used Hershey's semi-sweet chocolate chips and recommend using this brand. Not all chocolate chips will work the same and melt properly.
- Use sweetened condensed milk and not evaporated milk for the best texture and taste.
- Add texture and flavor with ¼ cup of shredded coconut, chopped nuts, crushed candy cane, or M&M's. Add them to the melted chocolate or on top just before it hardens.
- Serve with vanilla ice cream, pudding, whipped cream, or drizzled nut butter.
- Keep a large square in the freezer and use a cheese grader to shave fudge onto your ice cream.
How To Store
- Refrigerate - Fudge can be kept in an airtight container in the fridge for 5 days. After that, the edges will begin to dry out.
- Freeze - Add to a freezer bag and remove as much air as possible. These can be frozen for up to 3 months in a sealed container.
Chocolate Fudge Recipe
Tap Stars To Rate!
Ingredients
- ¼ cup unsalted butter
- 3 cups semi-sweet chocolate chips
- 10 oz sweetened condensed milk
Instructions
- Line an 8x8 pan with aluminum foil or parchment paper. Lightly spray it with nonstick cooking spray then set aside.
- Add ¼ cup unsalted butter and 10 oz sweetened condensed milk to a small pot and melt over medium-low heat. Stir frequently.
- Once melted add 3 cups semi-sweet chocolate chips and let melt, stirring often.
- Pour the chocolate mixture into the baking pan lined with foil. Spread evenly to the edges with a spatula, then place in the fridge to chill overnight. Remove the foil with fudge on top and cut into small squares with a sharp knife. Wipe the knife between each cut for cleaner slices.
Notes
- Refrigerate - Fudge can be kept in an airtight container in the fridge for 5 days. After that, the edges will begin to dry out.
- Freeze - Add to a freezer bag and remove as much air as possible. These can be frozen for up to 3 months in a sealed container.
Nutrition
Nutrition info is auto-calculated and meant to be an approximation only.

Pam says
Delicious !
Helen Grossman says
Thank you for sharing this great recipe..