Christmas sugar cookies are a wonderful holiday tradition to make with family. Bake the cookies in advance and have a decorating party. You can use homemade icing or a store-bought version for convenience. Either way, you'll love this easy sugar cookie recipe!
Christmas Sugar Cookies
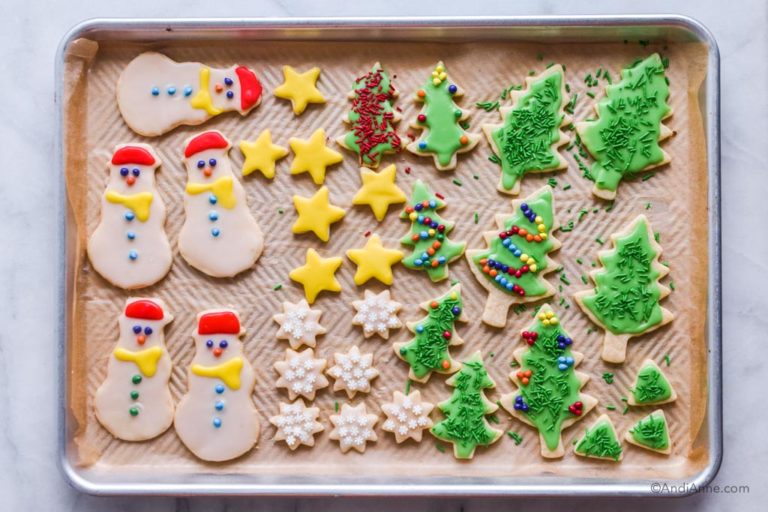
Christmas sugar cookies are a sweet, flakey and a feast for the eyes! I make these every year with my daughter. She gets half of the dough to roll out and make cookies with. Then I give her blank baked cookies on a baking sheet lined with parchment paper to decorate. It's a lot of fun while we have Christmas music playing in the background.
If you're looking for a fun Christmas tradition to do with your own family, then I highly recommend this one! If you've never made sugar cookies before and think they look intimidating, I want to encourage you to at least try them once. You might surprise yourself! It can be easier than you might think. I'll walk you through all the troubleshooting, tips and tricks below.
Christmas Sugar Cookie Ingredients
First, lets cover the ingredients you'll need:
- Flour - These cookies are made with 2 cups of all purpose flour.
- Butter - The butter should be softened at room temperature before making the recipe. Melted butter or cold butter will not produce the same results. Also, margarine will not work.
- Sugar - You'll need to use white sugar for best results in these cookies.
- Other - You'll also need an egg, vanilla extract, baking powder and salt.
Sugar Cookie Icing
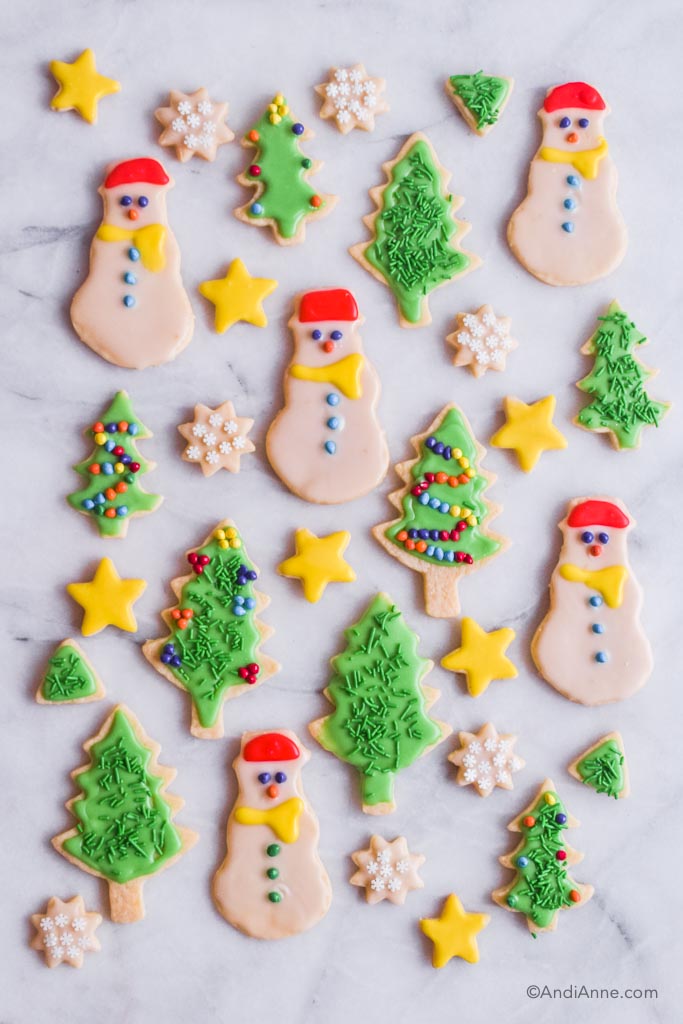
For these cookies I wanted to test my skills at making them completely from scratch. So I made two batches of this sugar cookie icing and divided them in half to create four colors: white, green, red, and yellow.
Here are the icing ingredients:
- Powdered Sugar - To make one batch of icing, you'll need 1 cup of sifted powdered sugar. You don't want any clumps as these will show through in the icing.
- Light Corn Syrup - Used as a sweetener and "glue" to stick the sprinkle candies on top. Be sure to use light corn syrup in order to get the brightest icing colors.
- Vanilla Extract - You'll need ½ tsp of vanilla extract.
- Food Coloring - You can use food coloring gel or liquid. I tried both and found the results to be similiar.
Time-Saving Tip: You can also use store bought cookie icing for this recipe! Making your own sugar cookie icing can be time consuming, but it's always fun to try new things. If you'd prefer to save time, grab a couple bags of cookie icing from the baking section of your grocery store.
Sugar Cookie Decorations
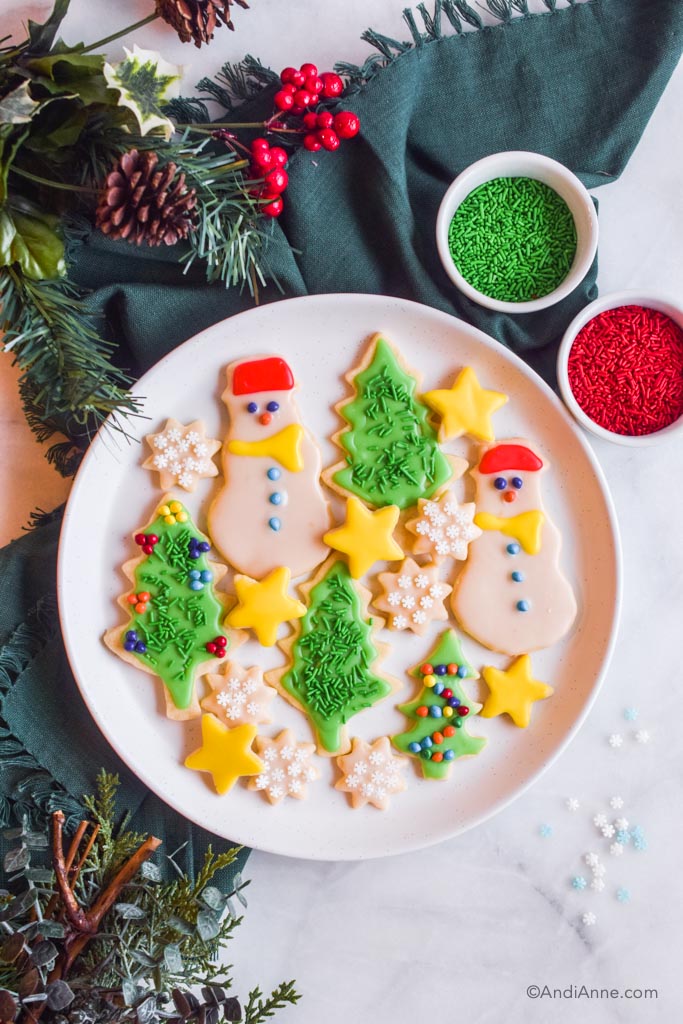
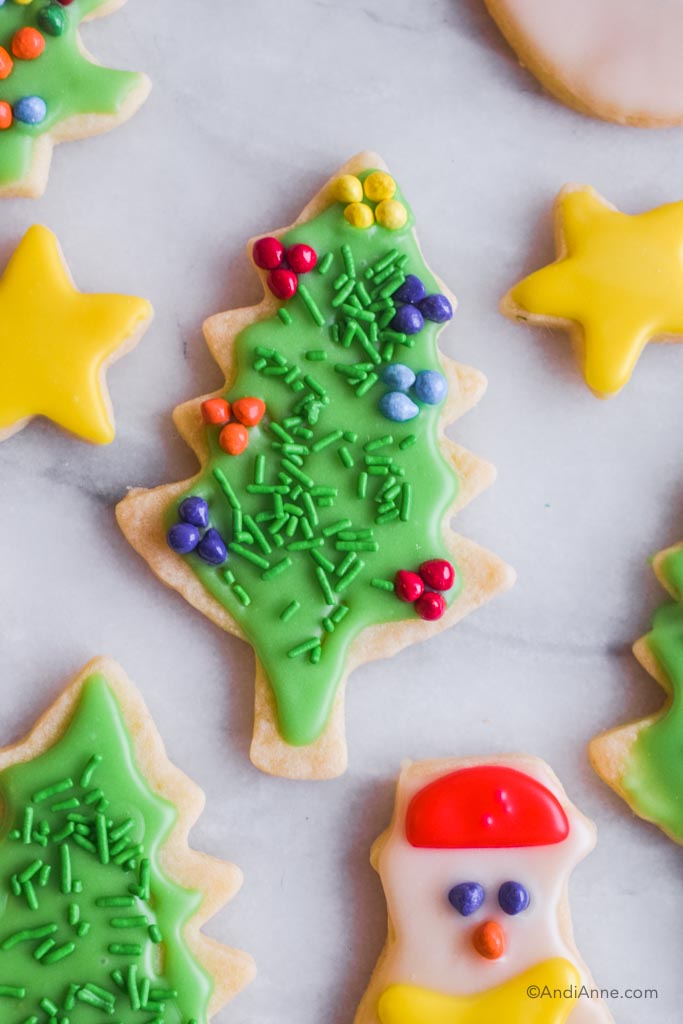
- Jimmies - These are the long skinny sprinkles. I used green and red jimmies.
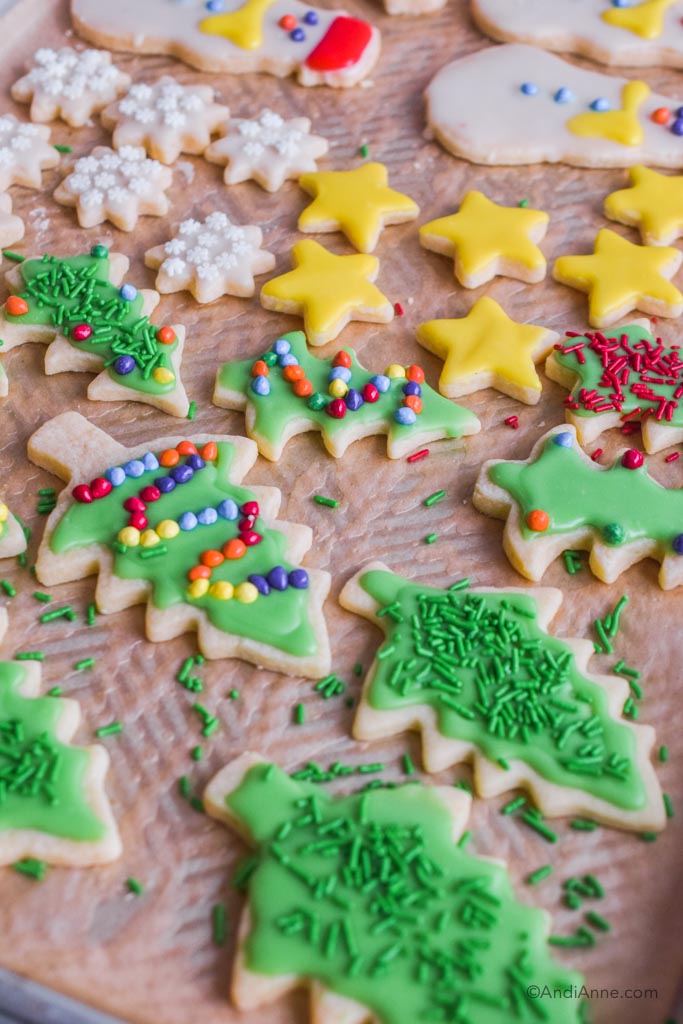
- Mini Round Candies - I found multi-colored hard mini candies that I used on the snowmen and as Christmas tree decorations.
- Snowflake Candies - These came in a pack of blue and white snowflake sprinkles together. I used white snowflakes on the mini star cookies.
Cookie Cutters
The snowman and tree cookie cutters that I used were found at a local thrift store. The small star shaped cookie cutters are part of a Wilton mini-cookie cutter pack.
There are so many Christmas themed cookie cutter shapes you could try! Reindeer, stockings, ornaments, santa, and anything else you want!
Christmas Sugar Cookie Tips
Make the cookie dough the night before. Sugar cookies are a lengthy process. They take a few steps which is why I like to spread those steps out. I like to make the cookie dough to chill overnight in the fridge. The next day I'll roll out the dough, make cookie shapes and bake them.
Flour Your Surface: Your counter should be clean and sprinkled with flour before rolling out the cookie dough. Sprinkle flour on the rolling pin too. Keep sprinkling the counter and rolling surface with a bit of flour when needed.
Rolling Tips: When rolling the dough, it should be an even thickness, about ⅛" thick. Don't push too hard with the rolling pin. Instead of grabbing the handles, hold them with the tips of your fingers. This will give you a lighter hand. Less pressure gives you smoother results.
Don't Overbake: These cookies only need about 6-8 minutes to bake. Let the baked cookies sit on the baking sheet after for 10 minutes, then transfer to a rack to cool completely.
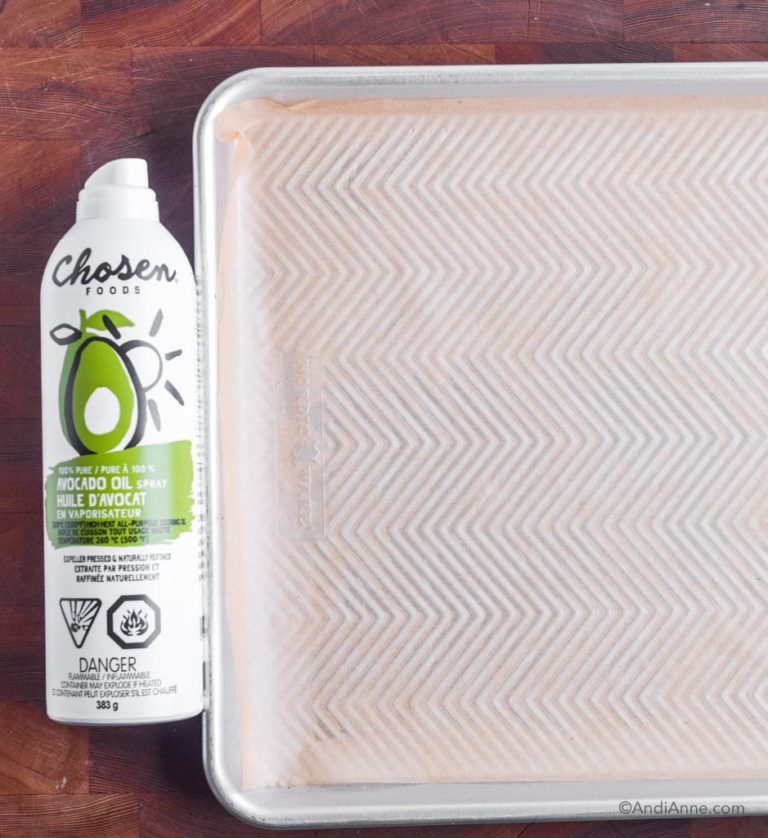
Cookie Icing Tip: After baking, reuse the parchment paper on baking sheet as a backdrop for decorating cookies. This makes it easy to clean up any runaway sprinkles and icing.
The cookies need to be completely cooled before icing, which takes about 1 hour. Icing is the most time consuming part. But it's also the most fun!
Consider Colors: If you want your cookies to "match" consider the colors you'll use for icing. I used three colors: green, red and yellow, plus white icing. Primary colors (red, yellow and blue) always look great together. Or try using complimentary colors (ex. pink and green).
If you're not too concerned and just want to have fun, then you can make any colors you and your family want! It honestly doesn't matter as they're going to taste delicious and be fun to decorate no matter what.
Add Decorations While Icing Is Wet: Add sprinkles and candies on top of wet icing. This will allow them to stick.
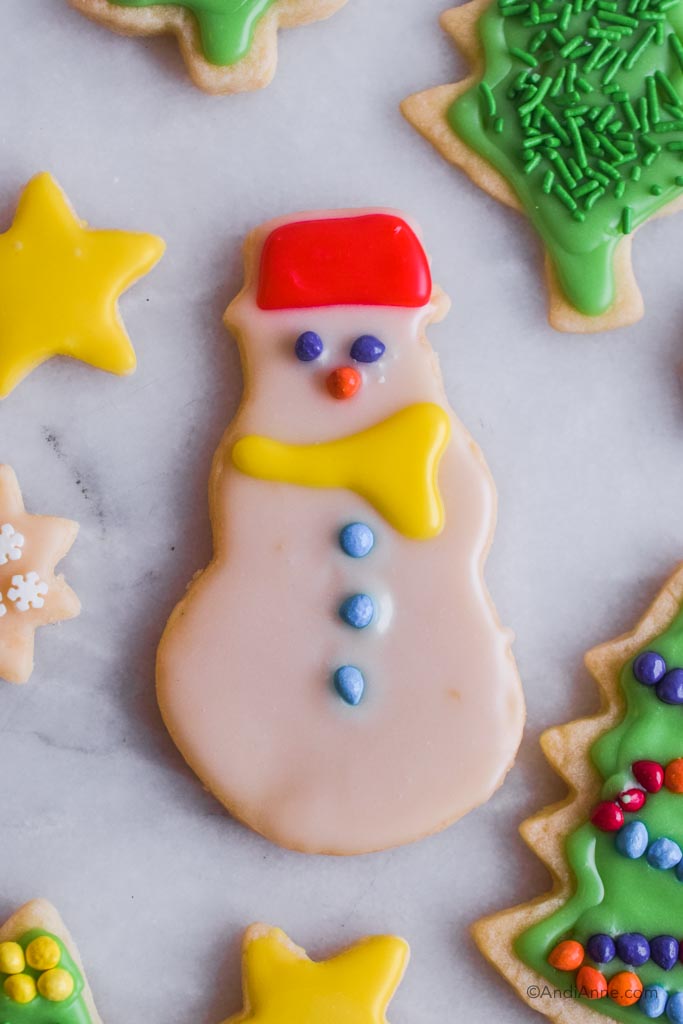
Let Icing Dry: One color of icing needs to dry before you add another one on top. For example, I let the white icing on the snowmen dry completely before adding the red hat and yellow scarf. The mini candies were added while the white icing was still wet to help them stick.

More Christmas Baking Recipes
If you're feeling festive, try these other holiday treats!
- Snowball Cookies - They look just like snowballs with hidden M&Ms inside.
- Whipped Shortbread Cookies - Light, buttery, melt in your mouth cookies.
- White Chocolate Cranberry Oatmeal Cookies - Soft and chewy with the perfect sweetness.
- Red and Green Coconut Jello Balls - Made with only three ingredients, these are fast and delicious!
- Applesauce Spice Cookies - Soft cookies sprinkled with cinnamon sugar.
- Gingerbread House Cake - Made using a nordic ware gingerbread house pan.
- Christmas Cracker Candy - One of the easiest treats to make and highly addictive!
Did you love this sugar cookie recipe? Be sure to leave a rating below!

Ingredients
Sugar Cookies:
- 2 cups all purpose flour
- 2 tsp baking powder
- ¼ tsp salt
- ⅔ cup unsalted butter - room temperature
- ½ cup white sugar
- 1 Tbsp milk
- 1 tsp vanilla extract
- 1 egg
Sugar Cookie Icing:
- 1 cup powdered confectioners sugar - sifted
- 2 tsp light corn syrup
- ½ tsp vanilla extract
- 2-4 tsp milk
- food coloring of your choice - red, yellow, green, etc.
Instructions
Make Sugar Cookie Dough:
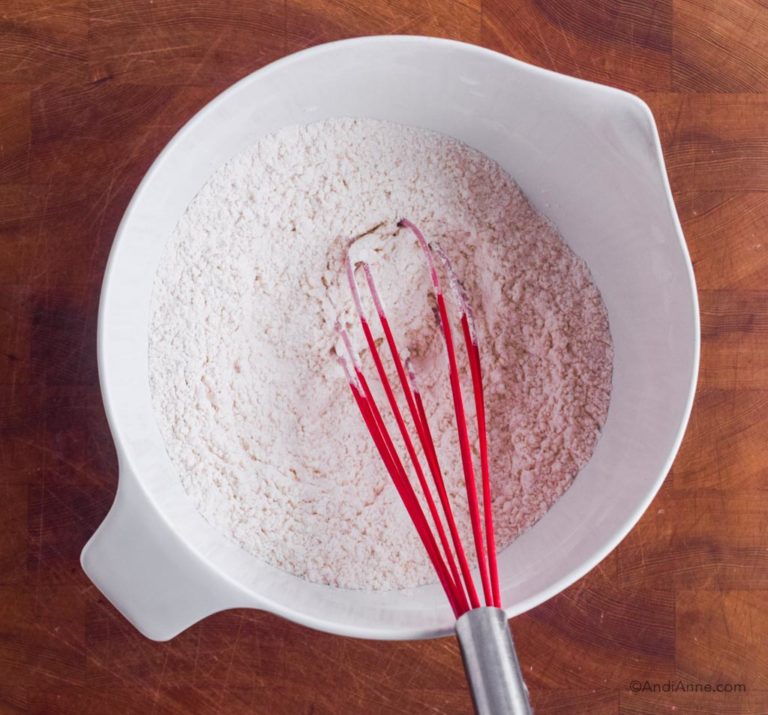
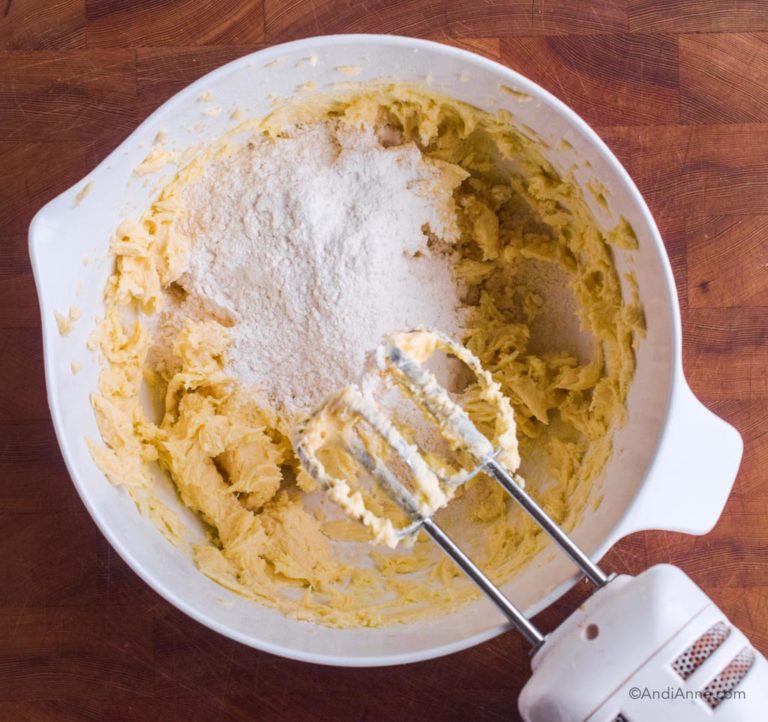
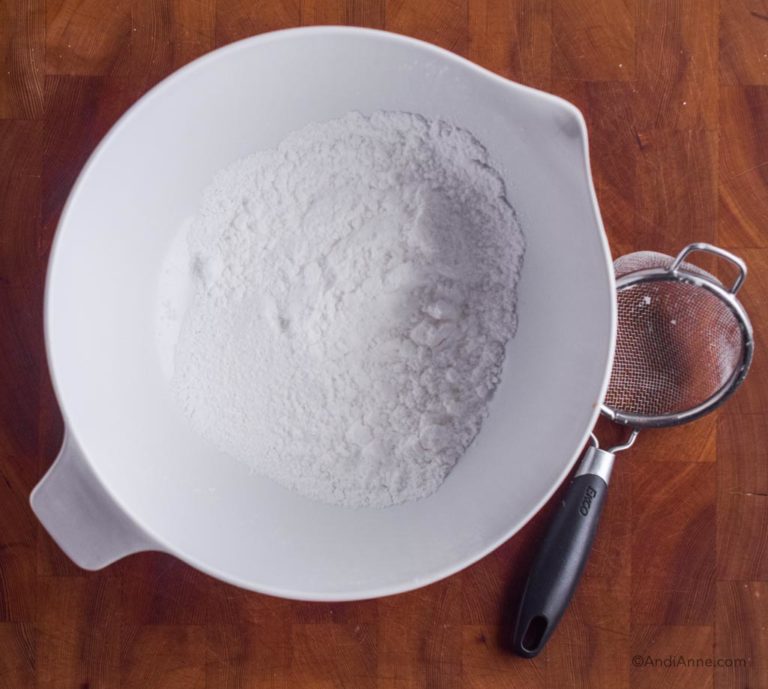
- In a medium bowl, mix together the all purpose flour, baking powder and salt. Set the bowl aside.

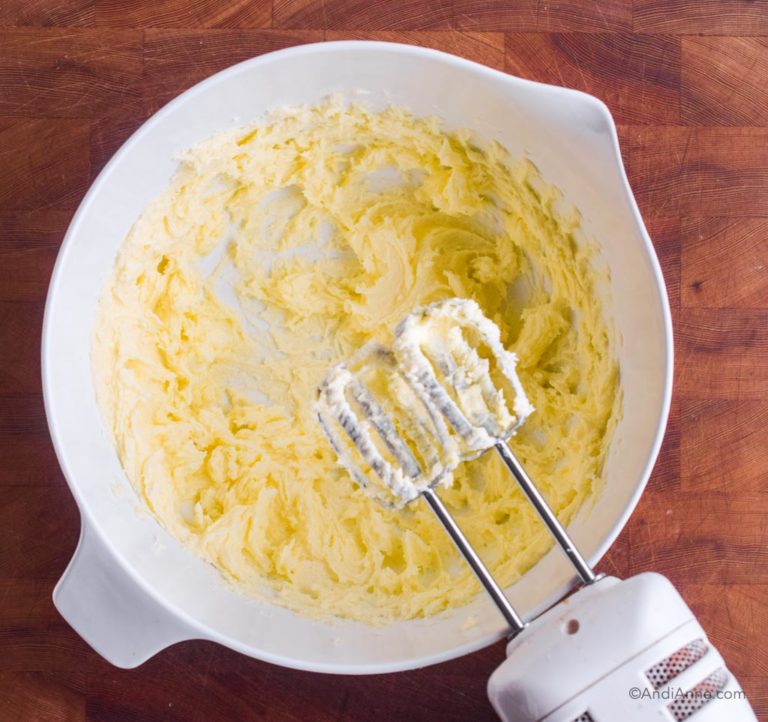
- In a large bowl, cream the butter and sugar with a hand mixer. Butter should be soft and room temperature before doing this step.

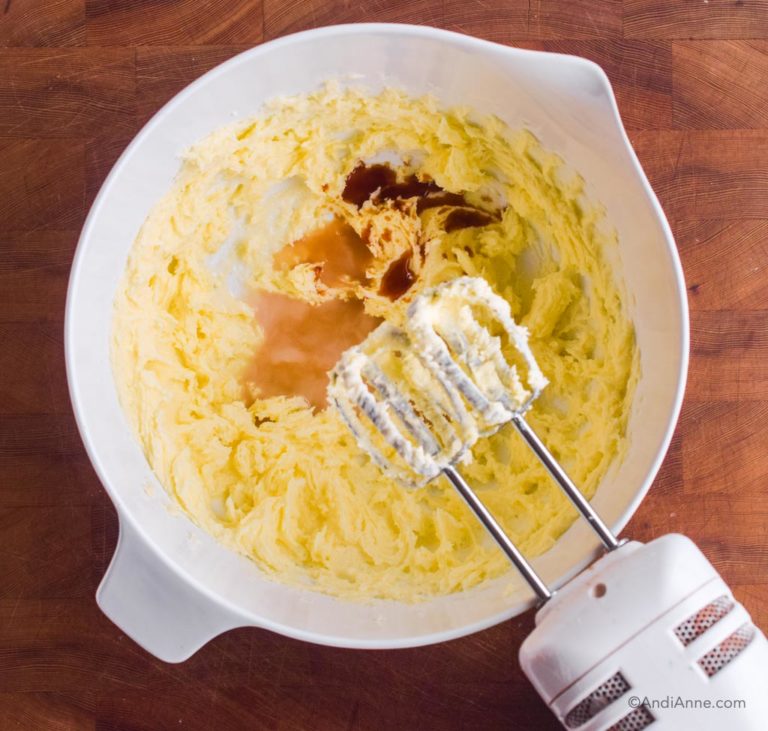
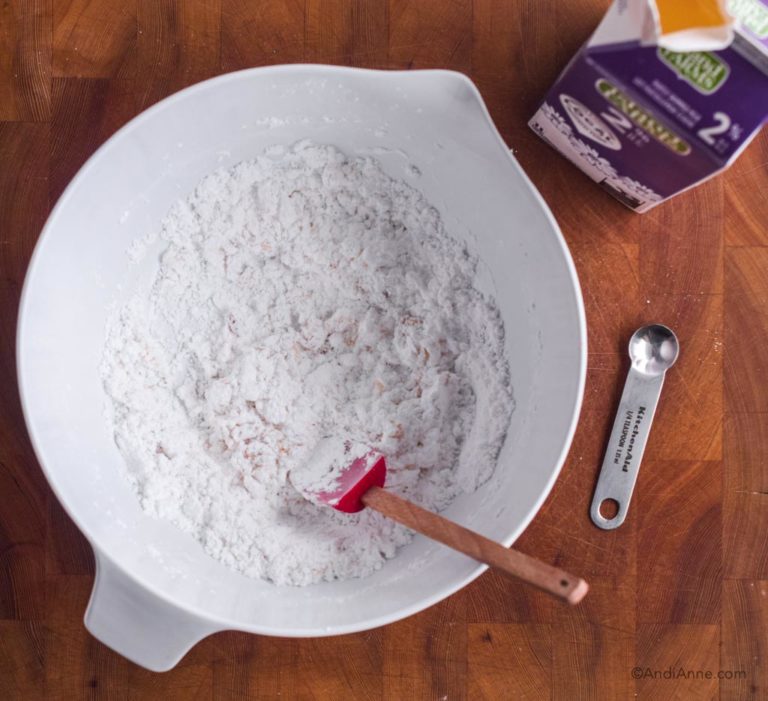
- Add in the vanilla and milk. Mix again.

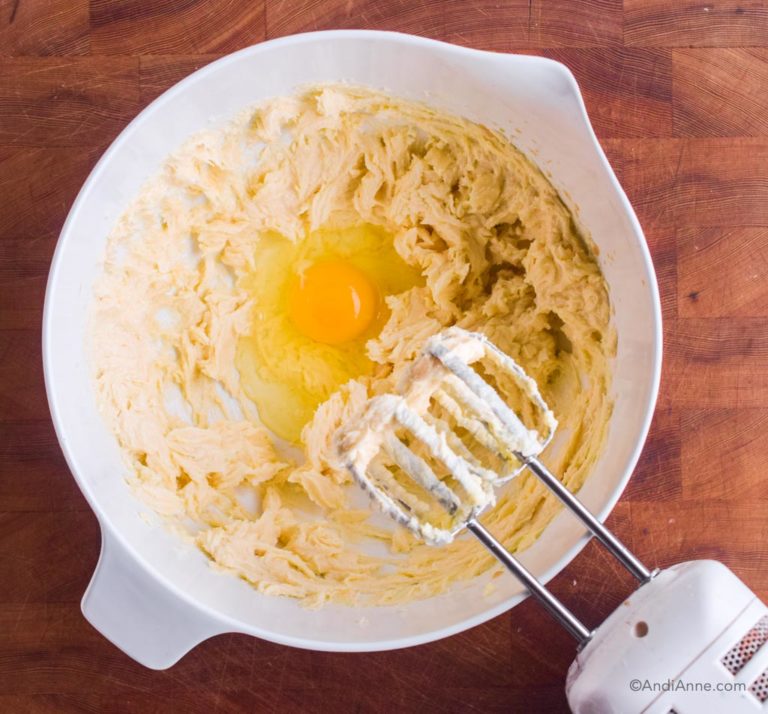
- Add in the egg and mix again.

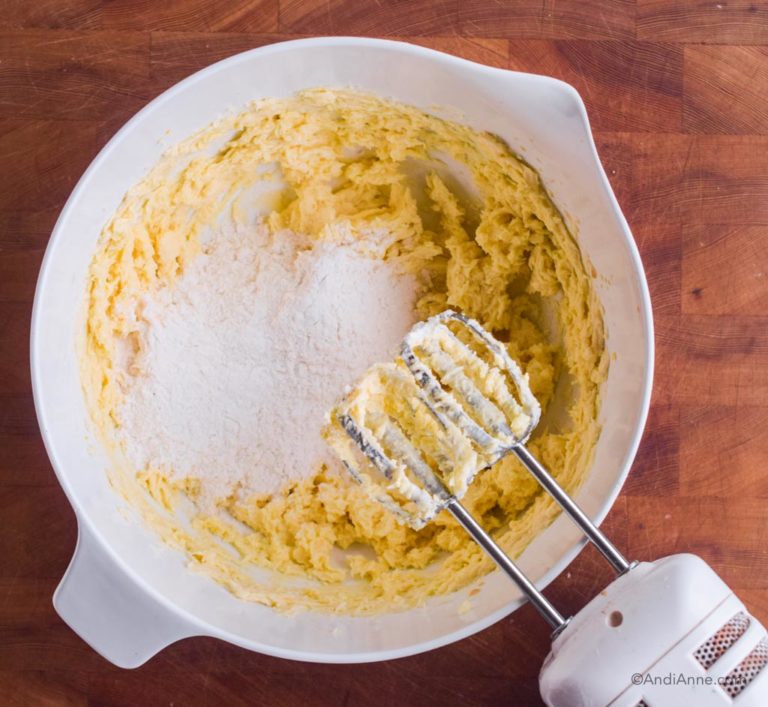
- Add ⅓ of the dry flour mixture to the wet bowl ingredients. Beat together on lowest speed.

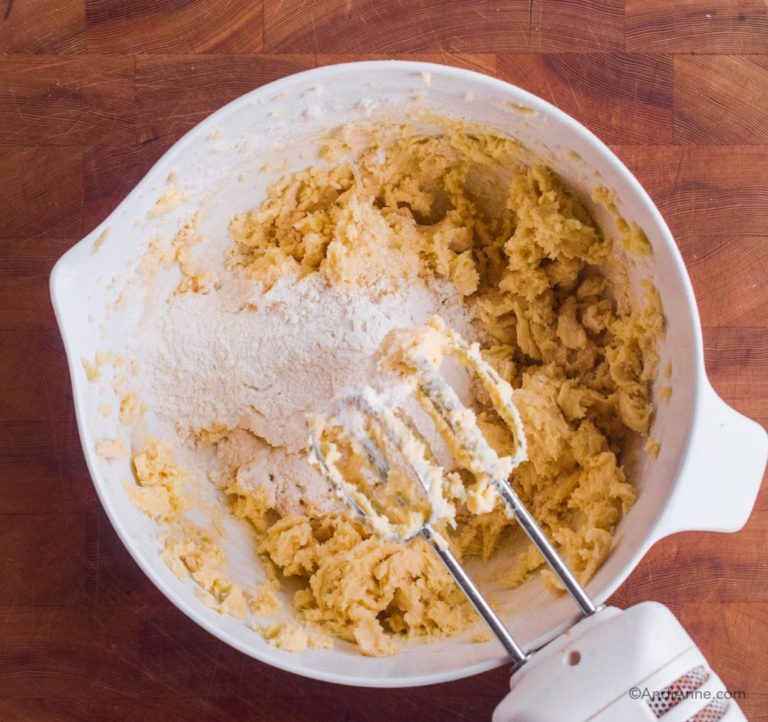
- Repeat with another ⅓ of flour mixture.
- Repeat with the last ⅓ of flour mixture.
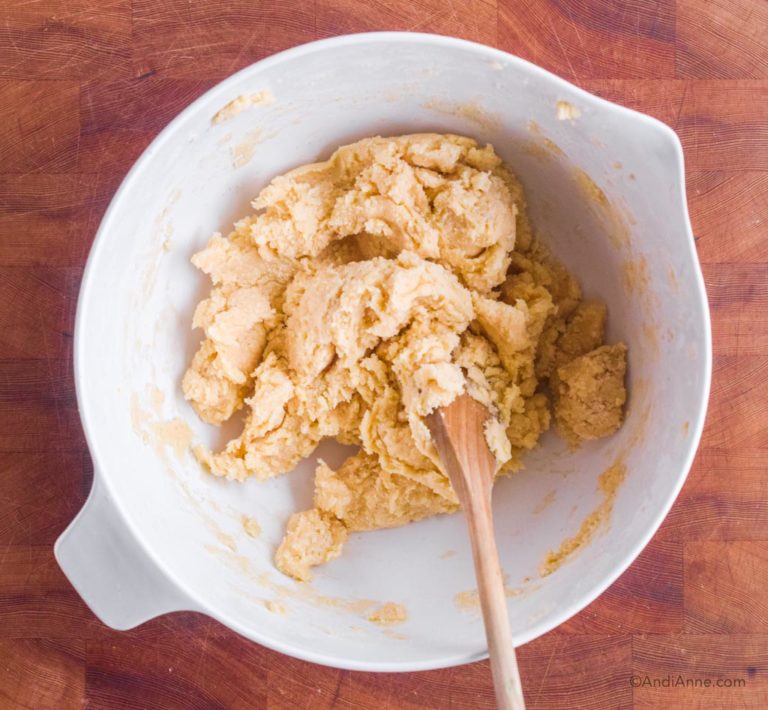
- The dough will start to clump together. You can use your hands at this stage to mix and place into a large ball. Note: Don't over mix the cookie dough. Just do enough for it to all come together.

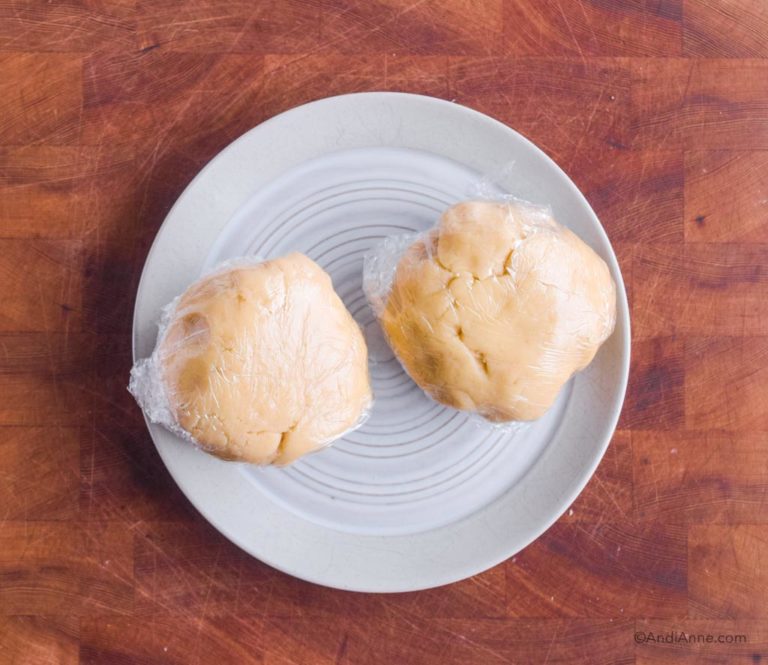
- Now divide the dough into two sections and pat into balls. Cover each one with wrap or parchment paper and chill in the fridge for several hours or overnight (I chilled mine overnight).

Bake Sugar Cookies:
- When you're ready to make the cookies, preheat the oven to 350°F. Line a baking sheet with parchment paper.Tip: Use cooking spray on the baking sheet to help the parchment paper stick and stay in place.

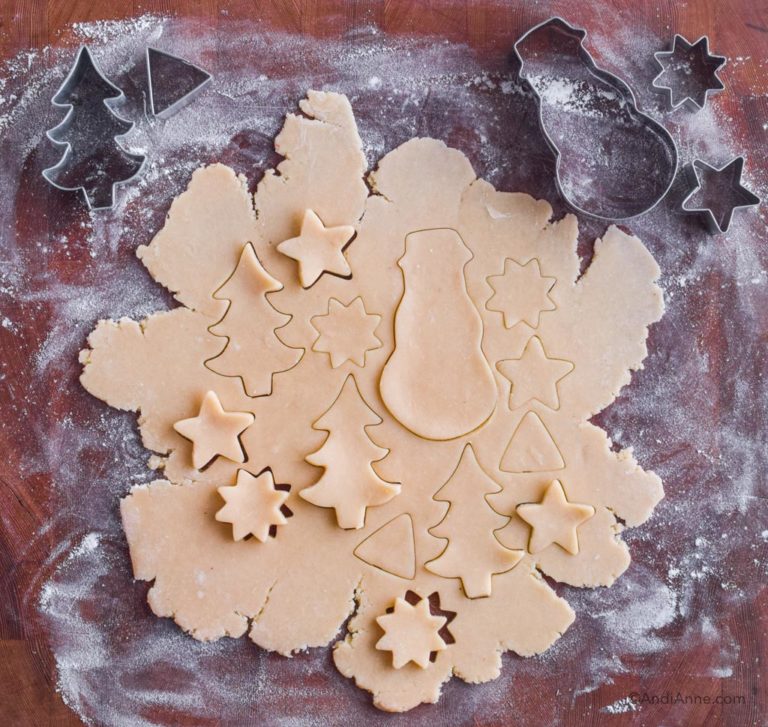
- Sprinkle flour over a clean counter space. Take one ball and pat between your hands, use your palms to help flatten it a little. Then use a rolling pin sprinkled with flour to roll the dough into a thin, even layer. Dough should be about ⅛" thick.Note: If dough is too hard and cold from chilling in the fridge, let it sit on counter for a few minutes and try rolling again.

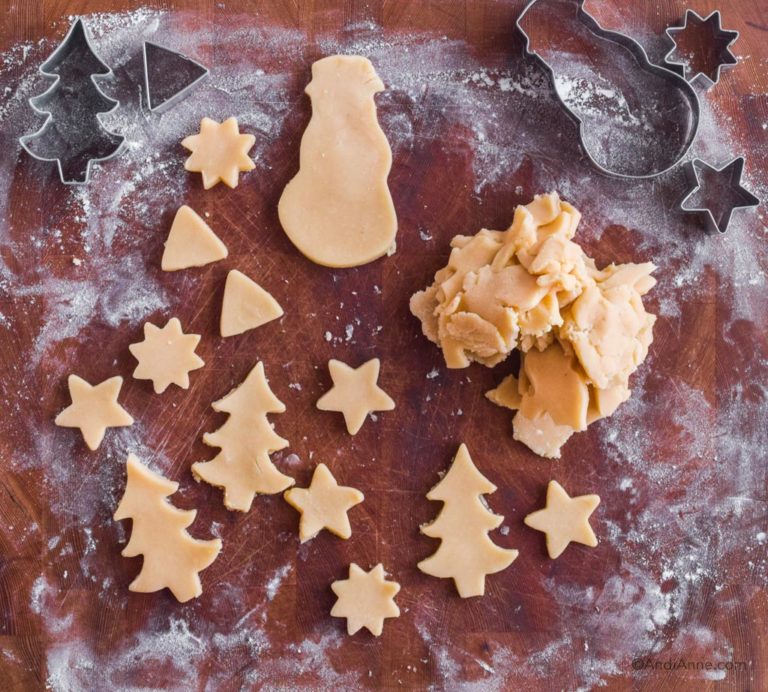
- Use your cookie cutters to create shapes. Press each one down evenly with the palm of your hand. Place the scrap dough in a ball, re-roll it out and make more cookies.

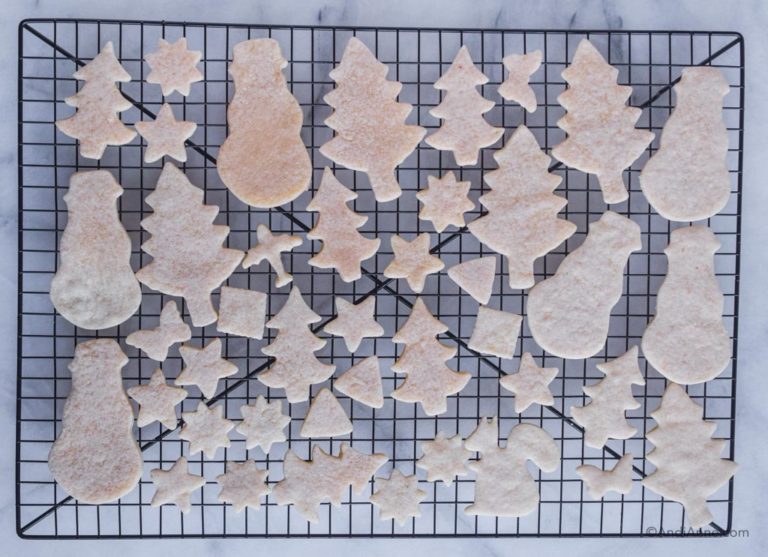
- Place the cookies on the baking sheet. Use fingers to fix any edges that might need it. Bake for 6-8 minutes. Remove from oven and let cool for 10 minutes on baking sheet.

- Gently place each cookie on to a cooling rack to cool completely before icing.


Sugar Cookie Icing:
- Note: Skip these next steps if you plan to use store-bought cookie decorating icing. In a medium bowl, add sifted powder sugar. Add in the light corn syrup and vanilla extract - mix together.

- Add 2 tsp of milk and mix.

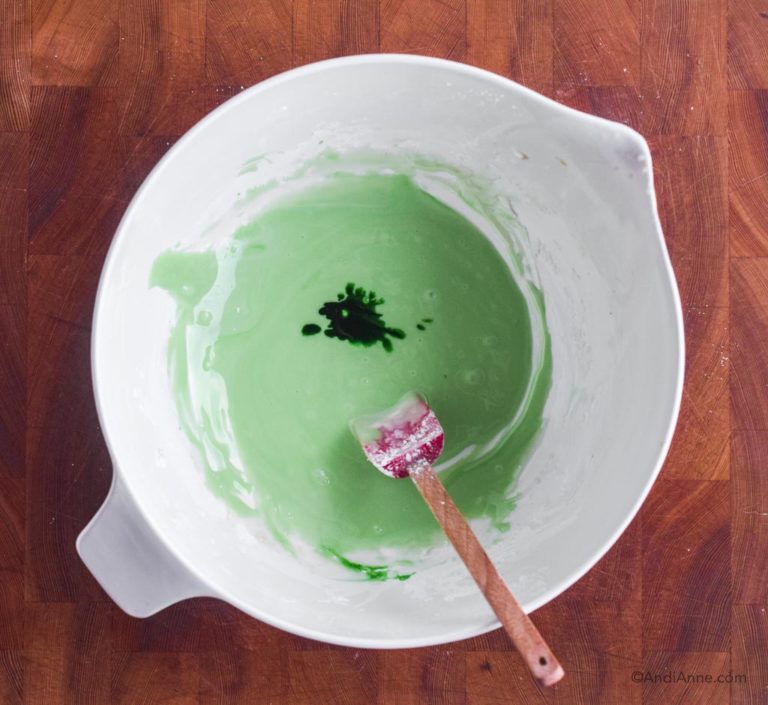
- Add food coloring until you reach desired color.

- Note: If needed, add 1 more tsp of milk at a time to reach desired thickness. The icing should still be thick and not too runny. Otherwise it will pour right off the cookie.
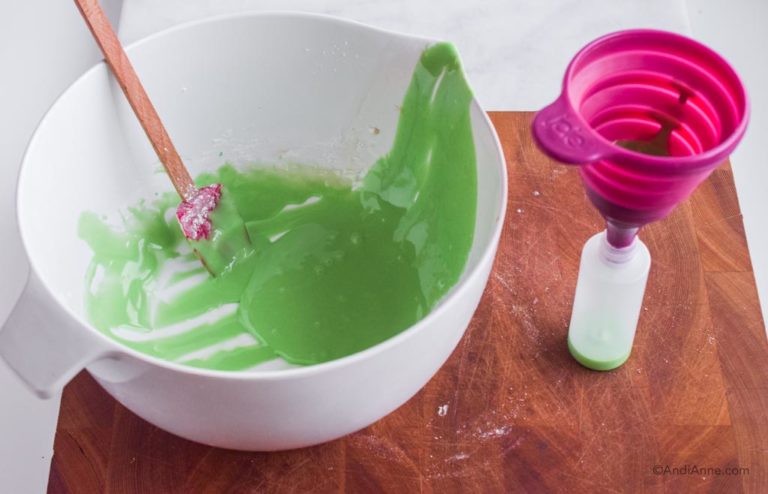
- Optional: Pour into squeeze bottle using a funnel. Icing will be thick and take a few minutes to pour through funnel.

Decorate Sugar Cookies:
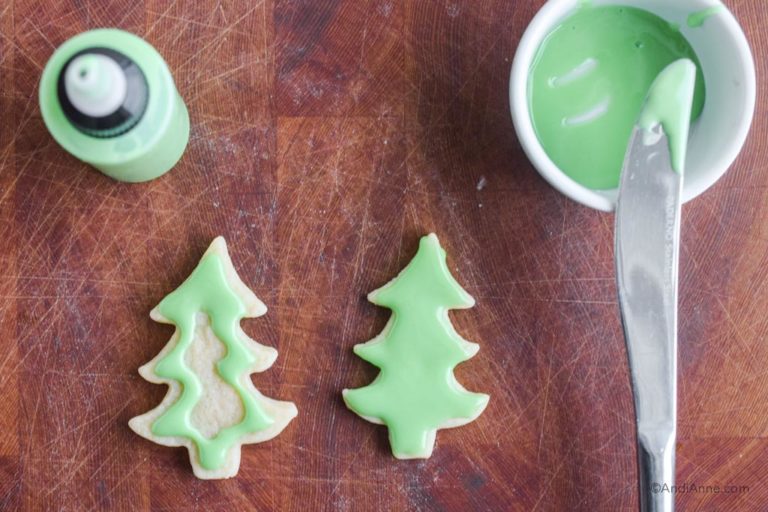
- Gently use a knife to spread base layers onto cookie. Use squeeze bottles or store-bought candy icing pens for detailed decorating.

- Add sprinkles and small candies to tops of cookies while the icing is still wet. This will help them stick.

- For cookies with multiple icing colors, Spread one color over the whole cookie first. Add any candies to this layer if needed (I added the eyes, nose and buttons of snowman at this stage).Once icing is dry, you can add other colors on top. This is when I added the red hat and yellow scarf.
- Let all icing dry completely before storing cookies. Place in an airtight container on counter or in fridge for up to 1 week. These cookies can also be frozen in an airtight container for 3 months.
Notes
Nutrition
Nutrition info is auto-calculated and meant to be an approximation only.