

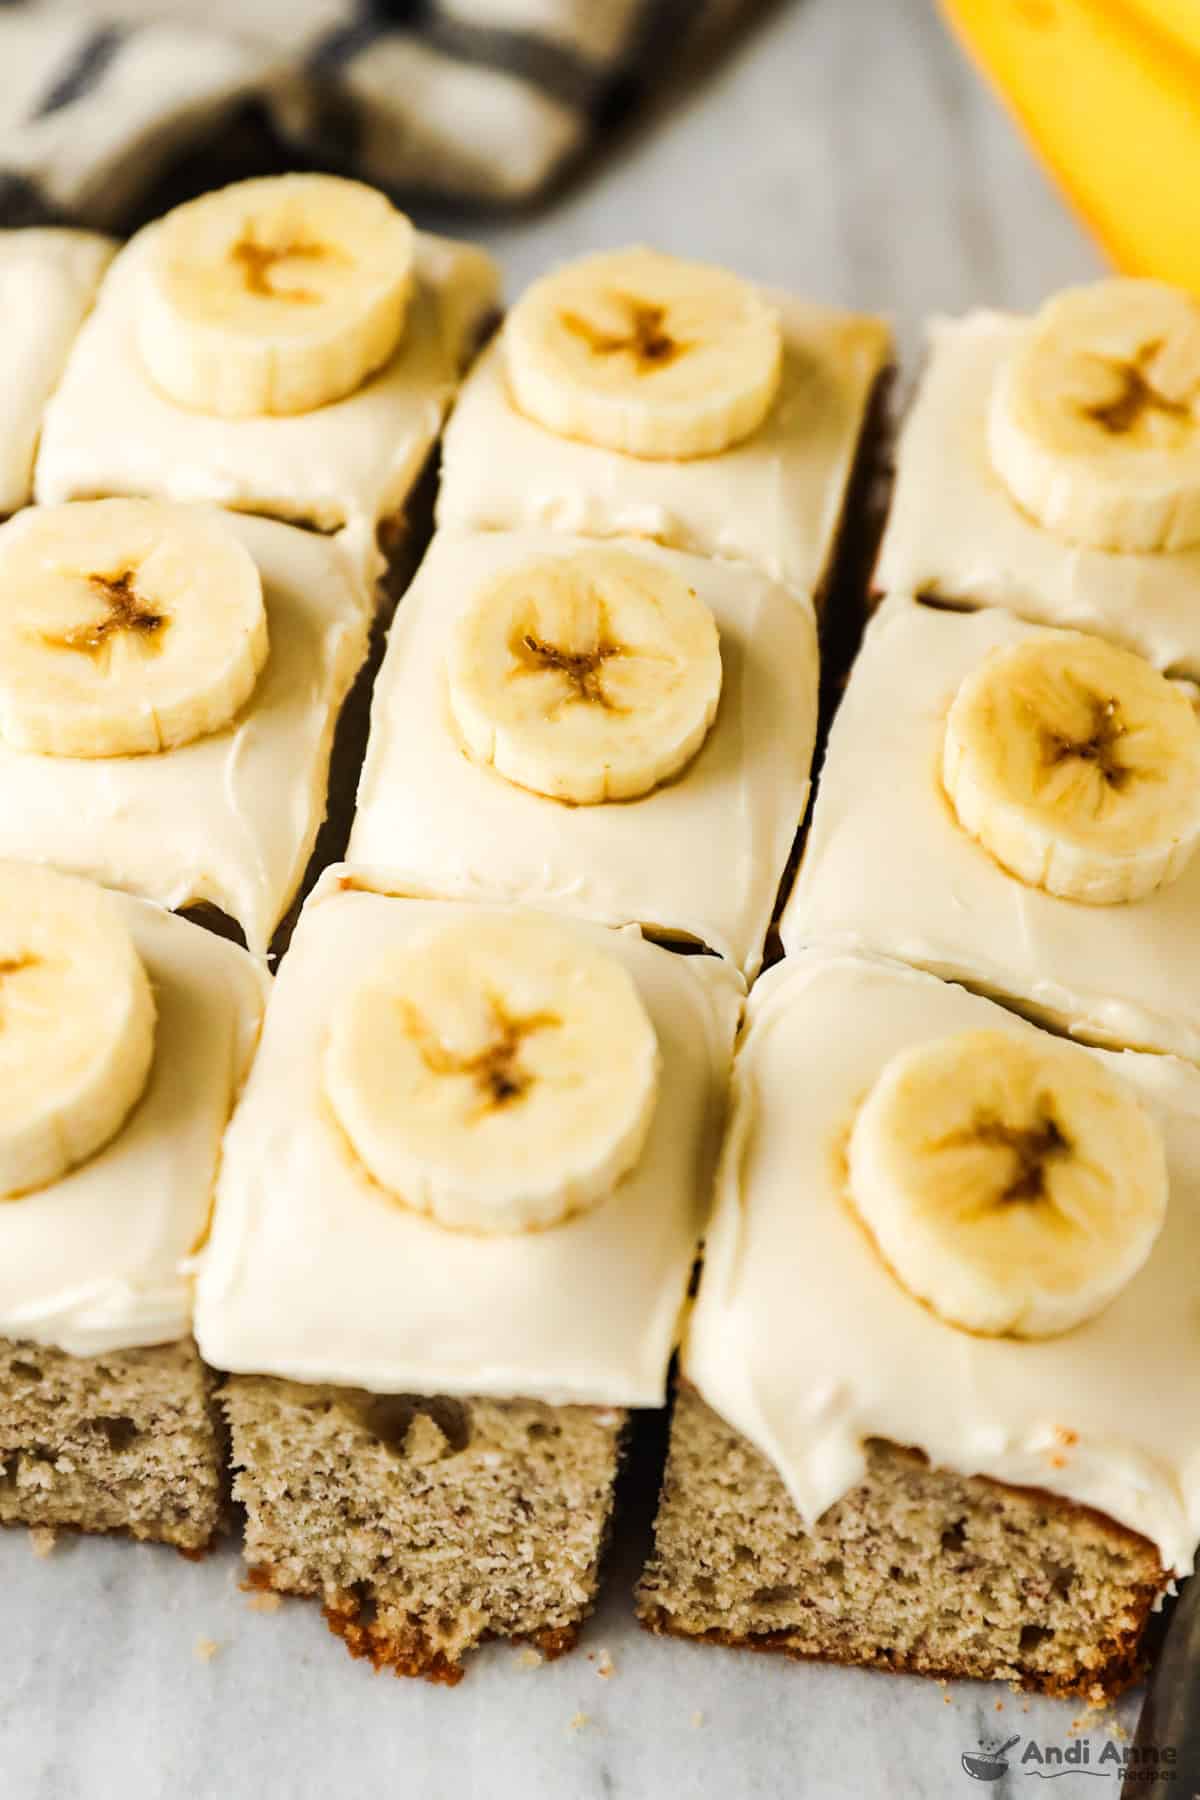
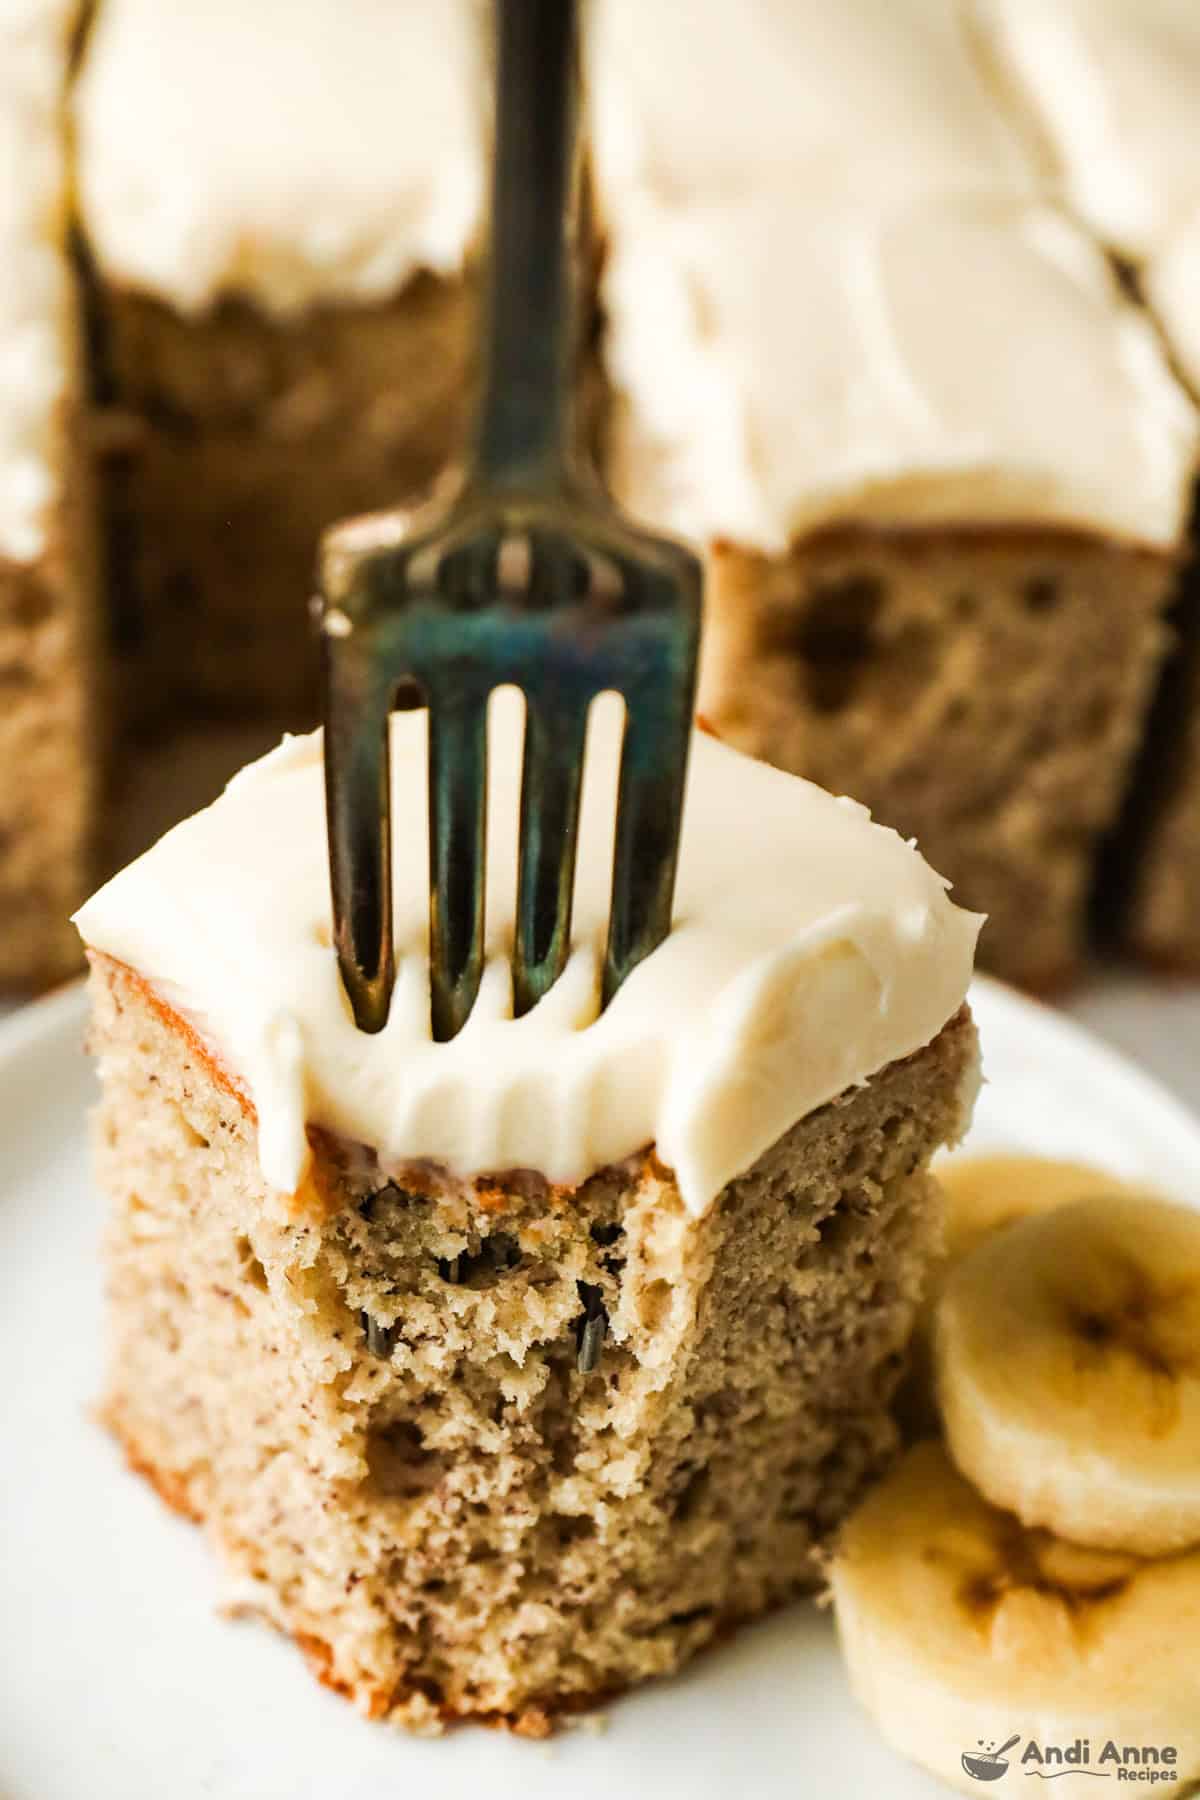
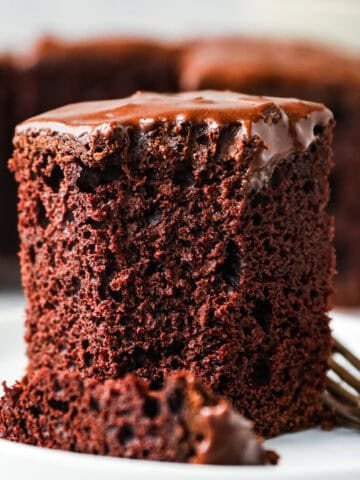
This classic banana cake is soft, fluffy, and made with real bananas 👇👇
Why I Love This Recipe
This is my go-to banana cake-light, moist, and foolproof. It's an easy one-bowl recipe using pantry staples-perfect whenever those bananas start to brown.
- Simple ingredients - no sour cream or extras needed
- Fluffy texture - soft, not dense
- Versatile - bake as muffins, sheet cake, or layer cake
- Freezer-friendly - great for make-ahead snacks or birthdays
If you love banana bakes, don't miss my Banana Bread Muffins, Banana Oatmeal Muffins, and Whole Wheat Banana Muffins.
Next up - Recipe ingredients are below 👇👇
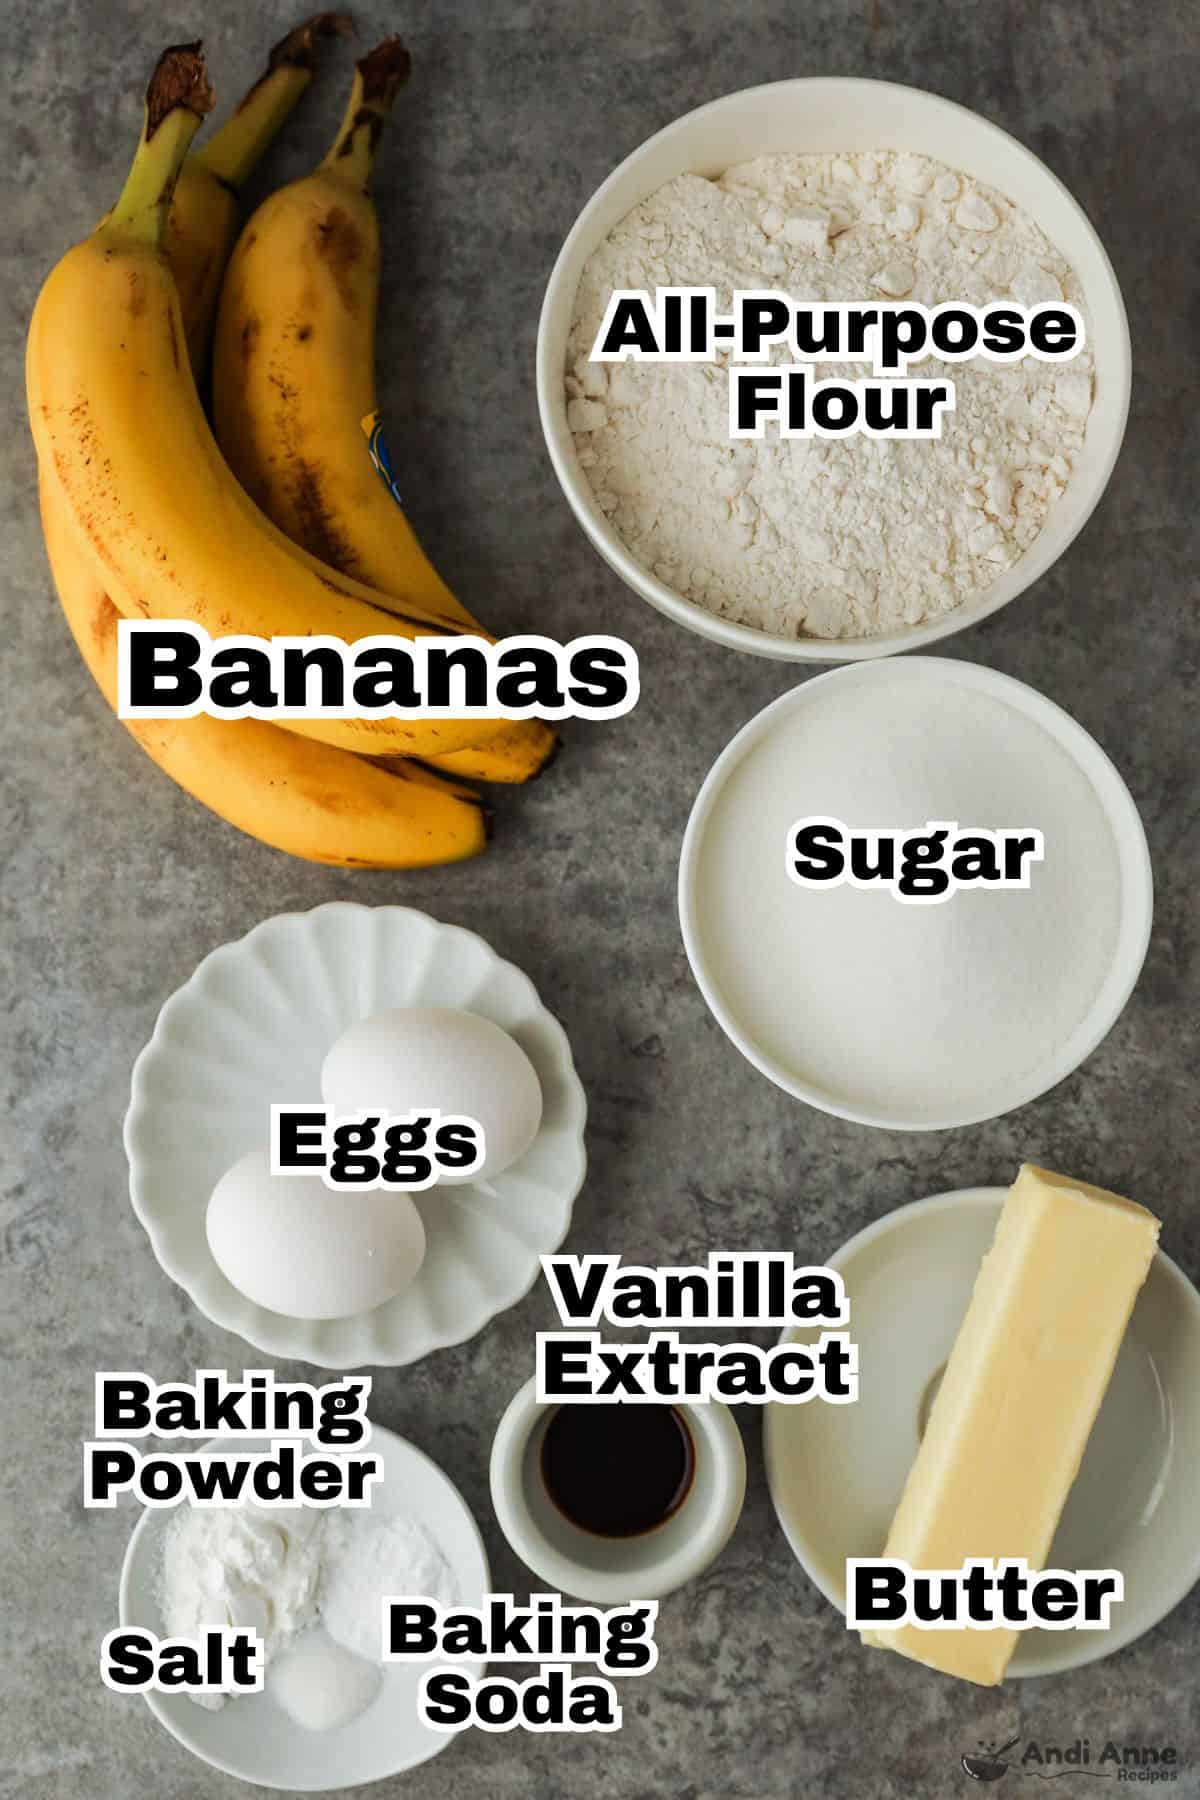
Recipe Ingredients
- ½ cup unsalted butter, softened
- 1¼ cups granulated sugar
- 2 large eggs
- 2 tsp vanilla extract
- 2 cups all-purpose flour
- 2½ tsp baking powder
- ½ tsp baking soda
- ¼ tsp salt
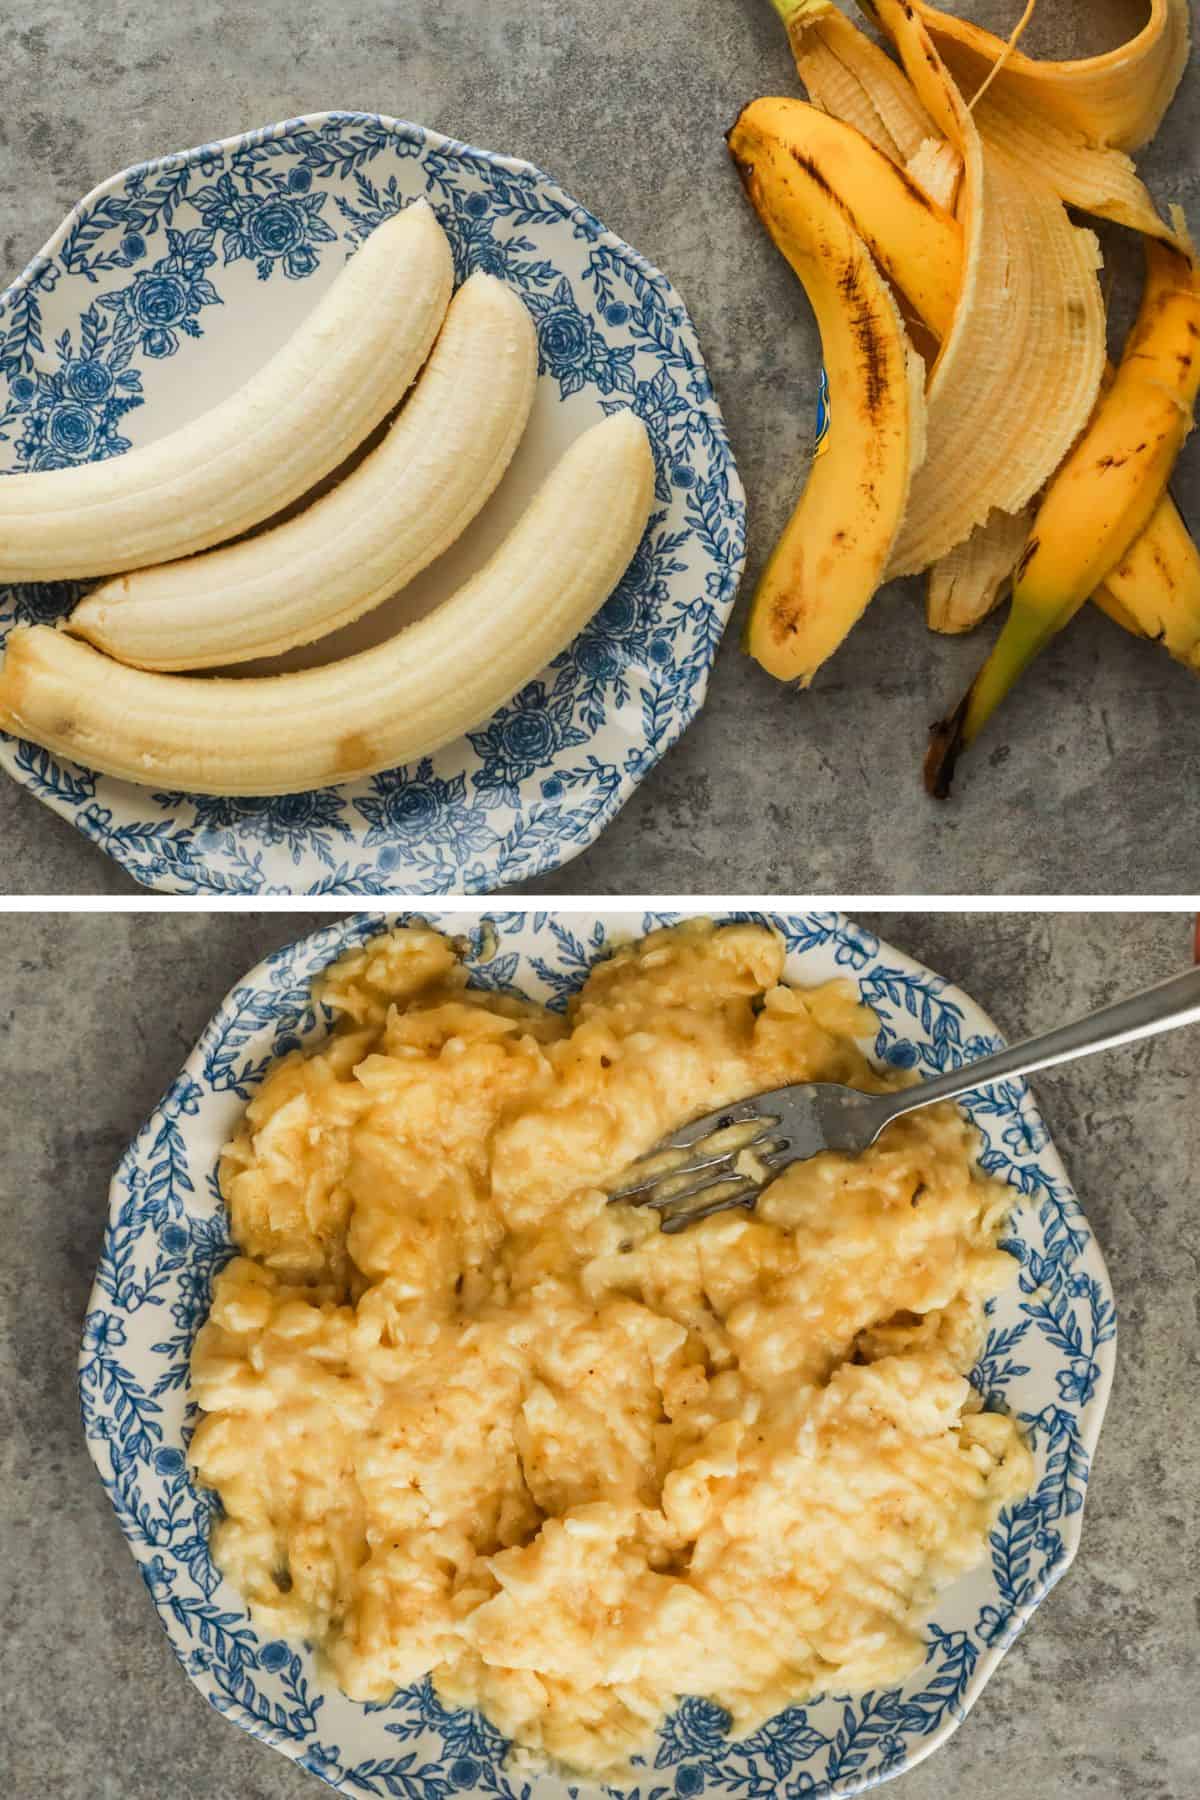
- 3 ripe bananas, mashed (about 1½ cups)
Step-By-Step Instructions 👇👇
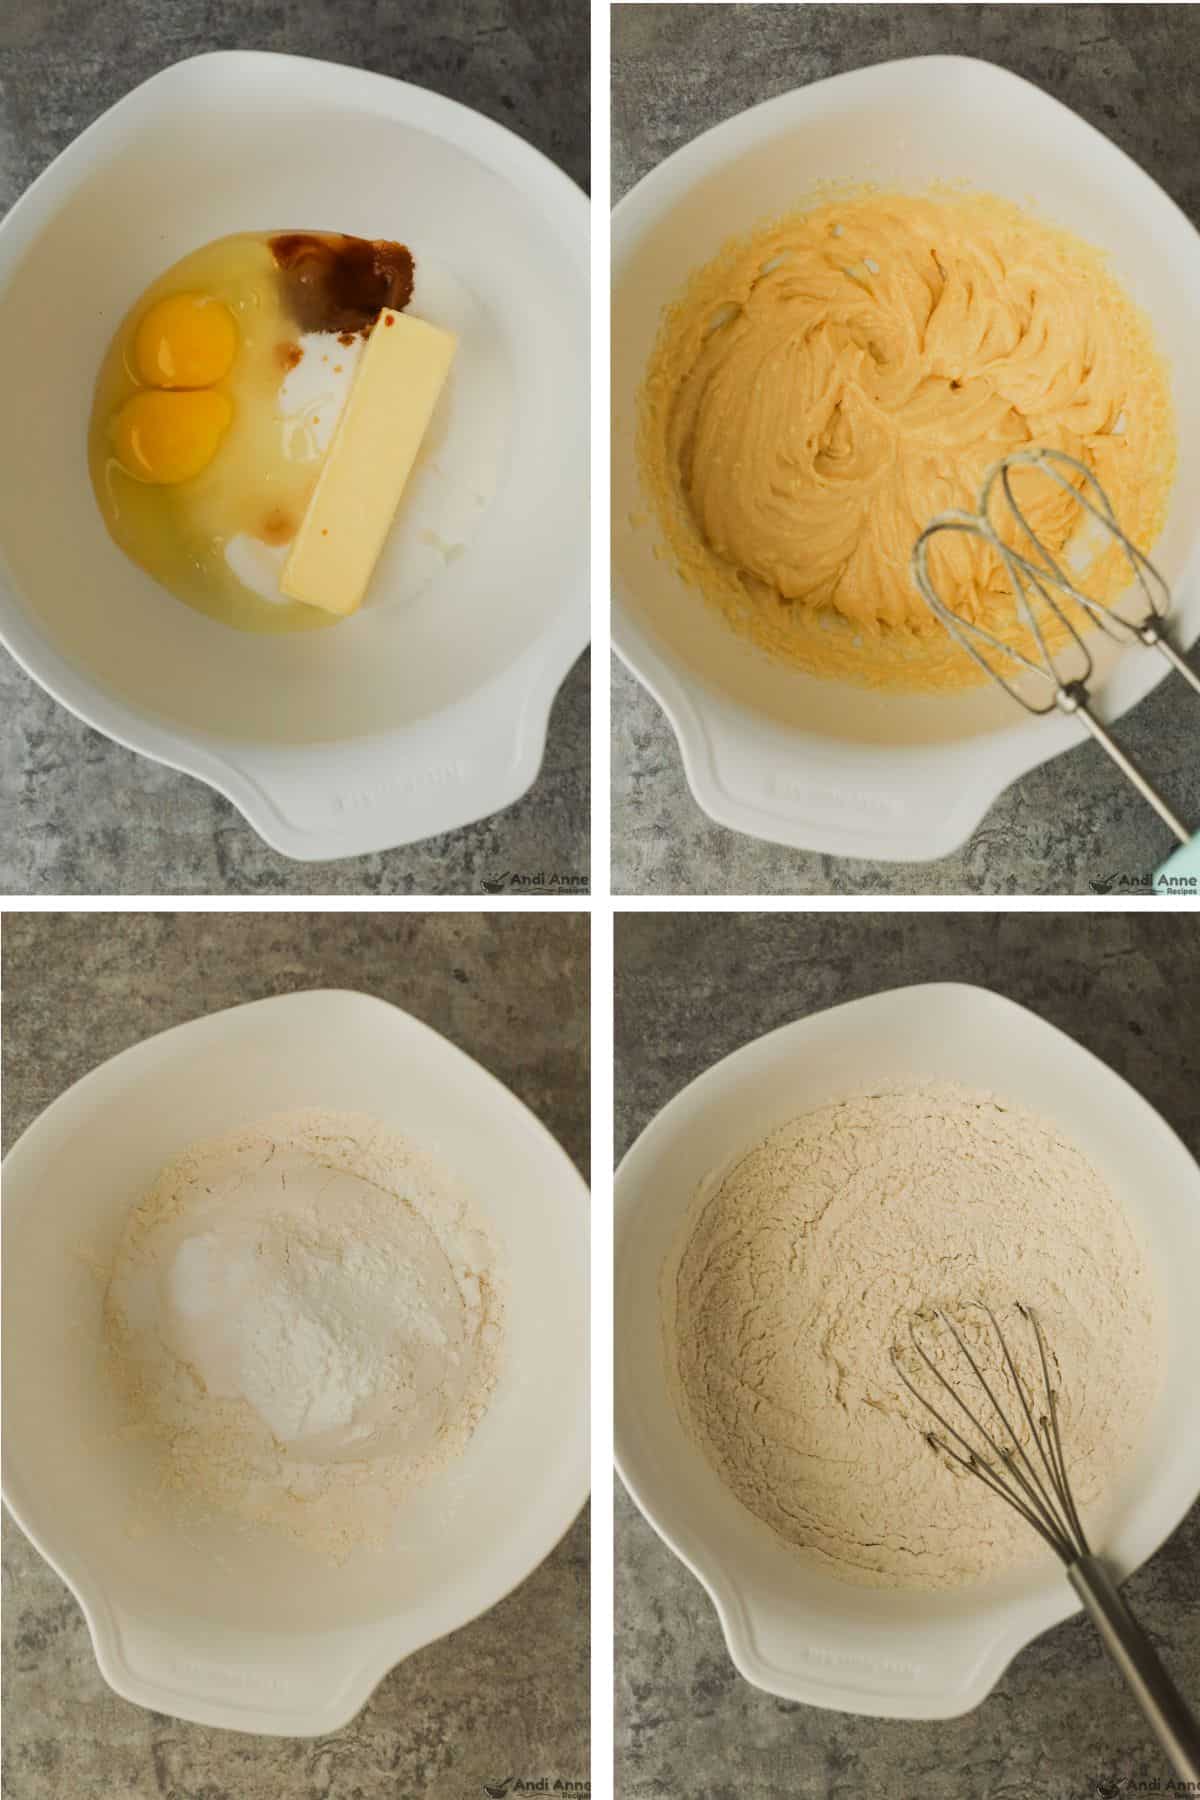
STEP 1: Cream the Wet Ingredients
In a large bowl, beat ½ cup softened butter, 1¼ cups sugar, 2 eggs, and 2 tsp vanilla until light and fluffy.
Full ingredients and instructions are also in the recipe card at the bottom of this blog post.
STEP 2: Mix the Dry Ingredients
In a separate bowl, whisk together 2 cups flour, 2½ tsp baking powder, ½ tsp baking soda, and ¼ tsp salt.
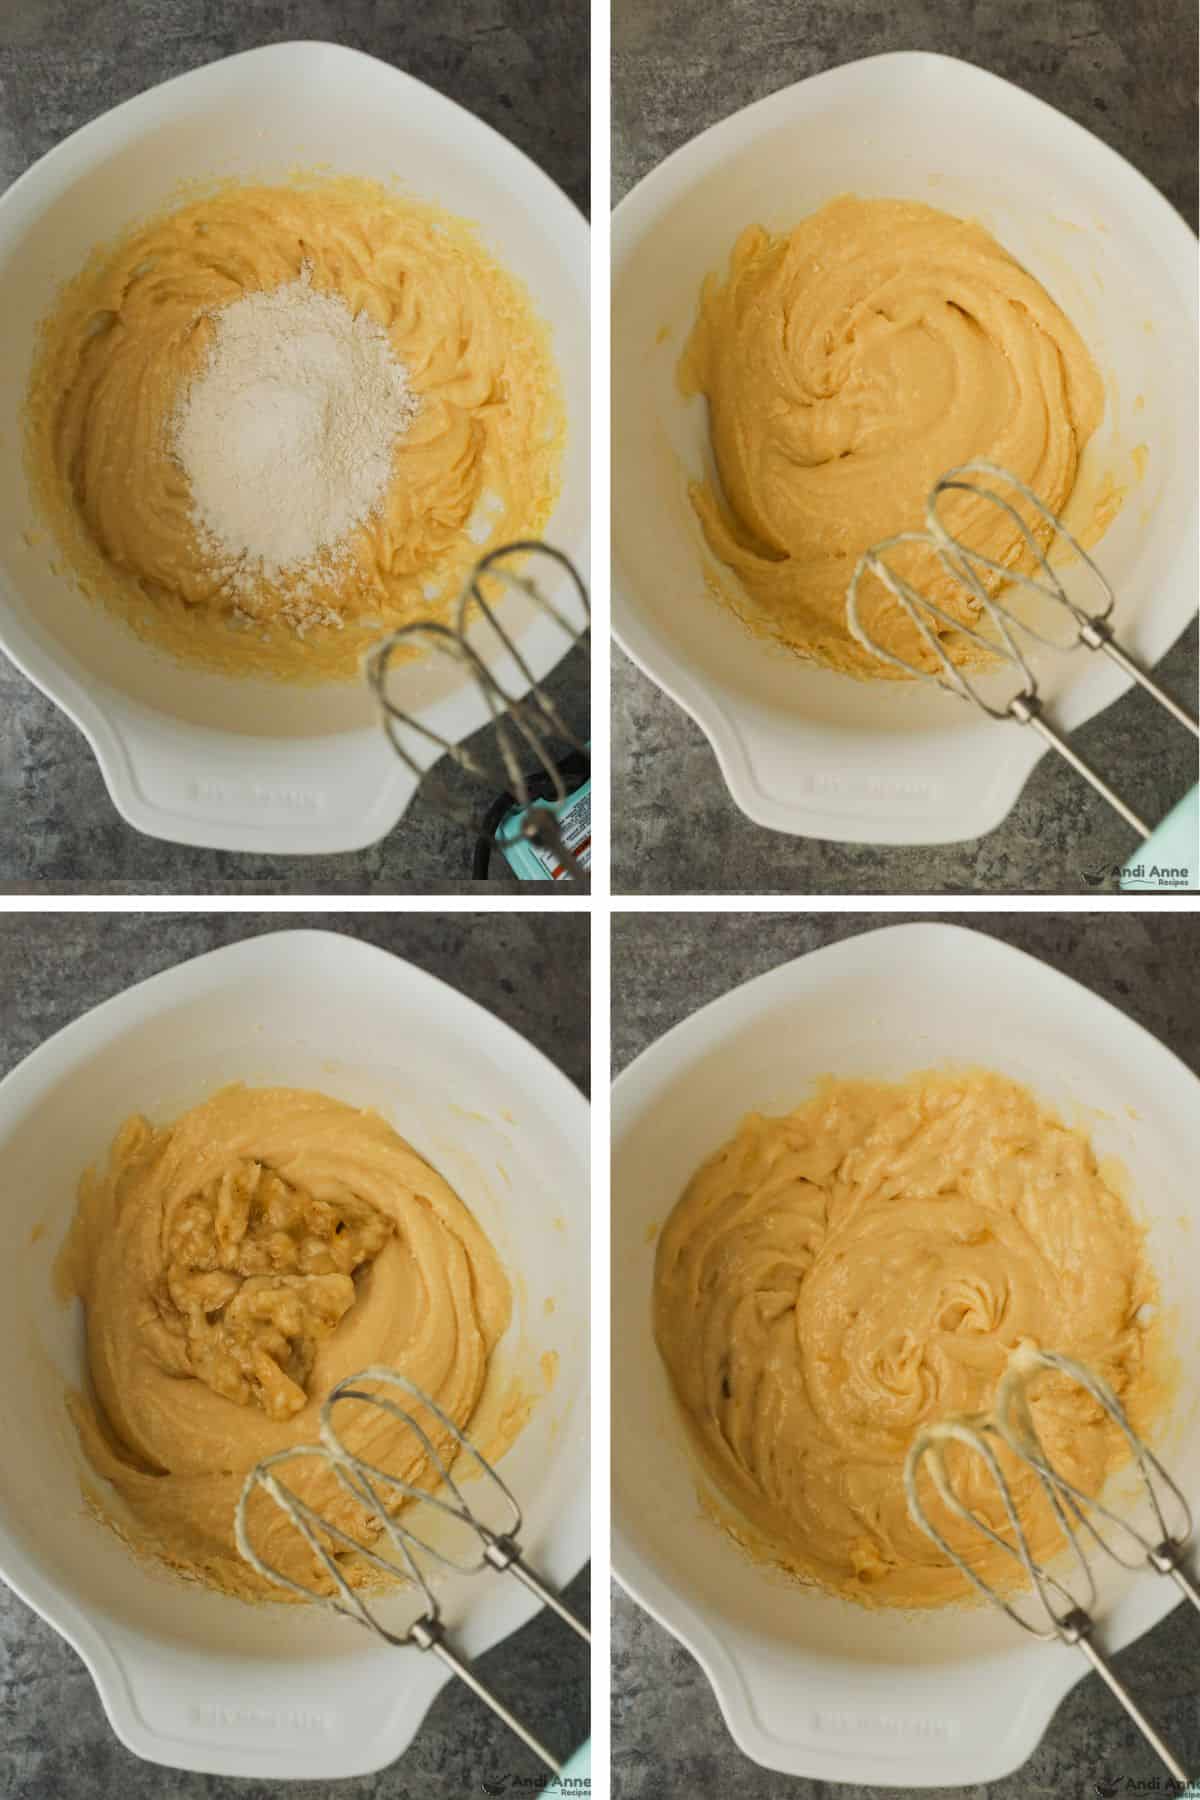
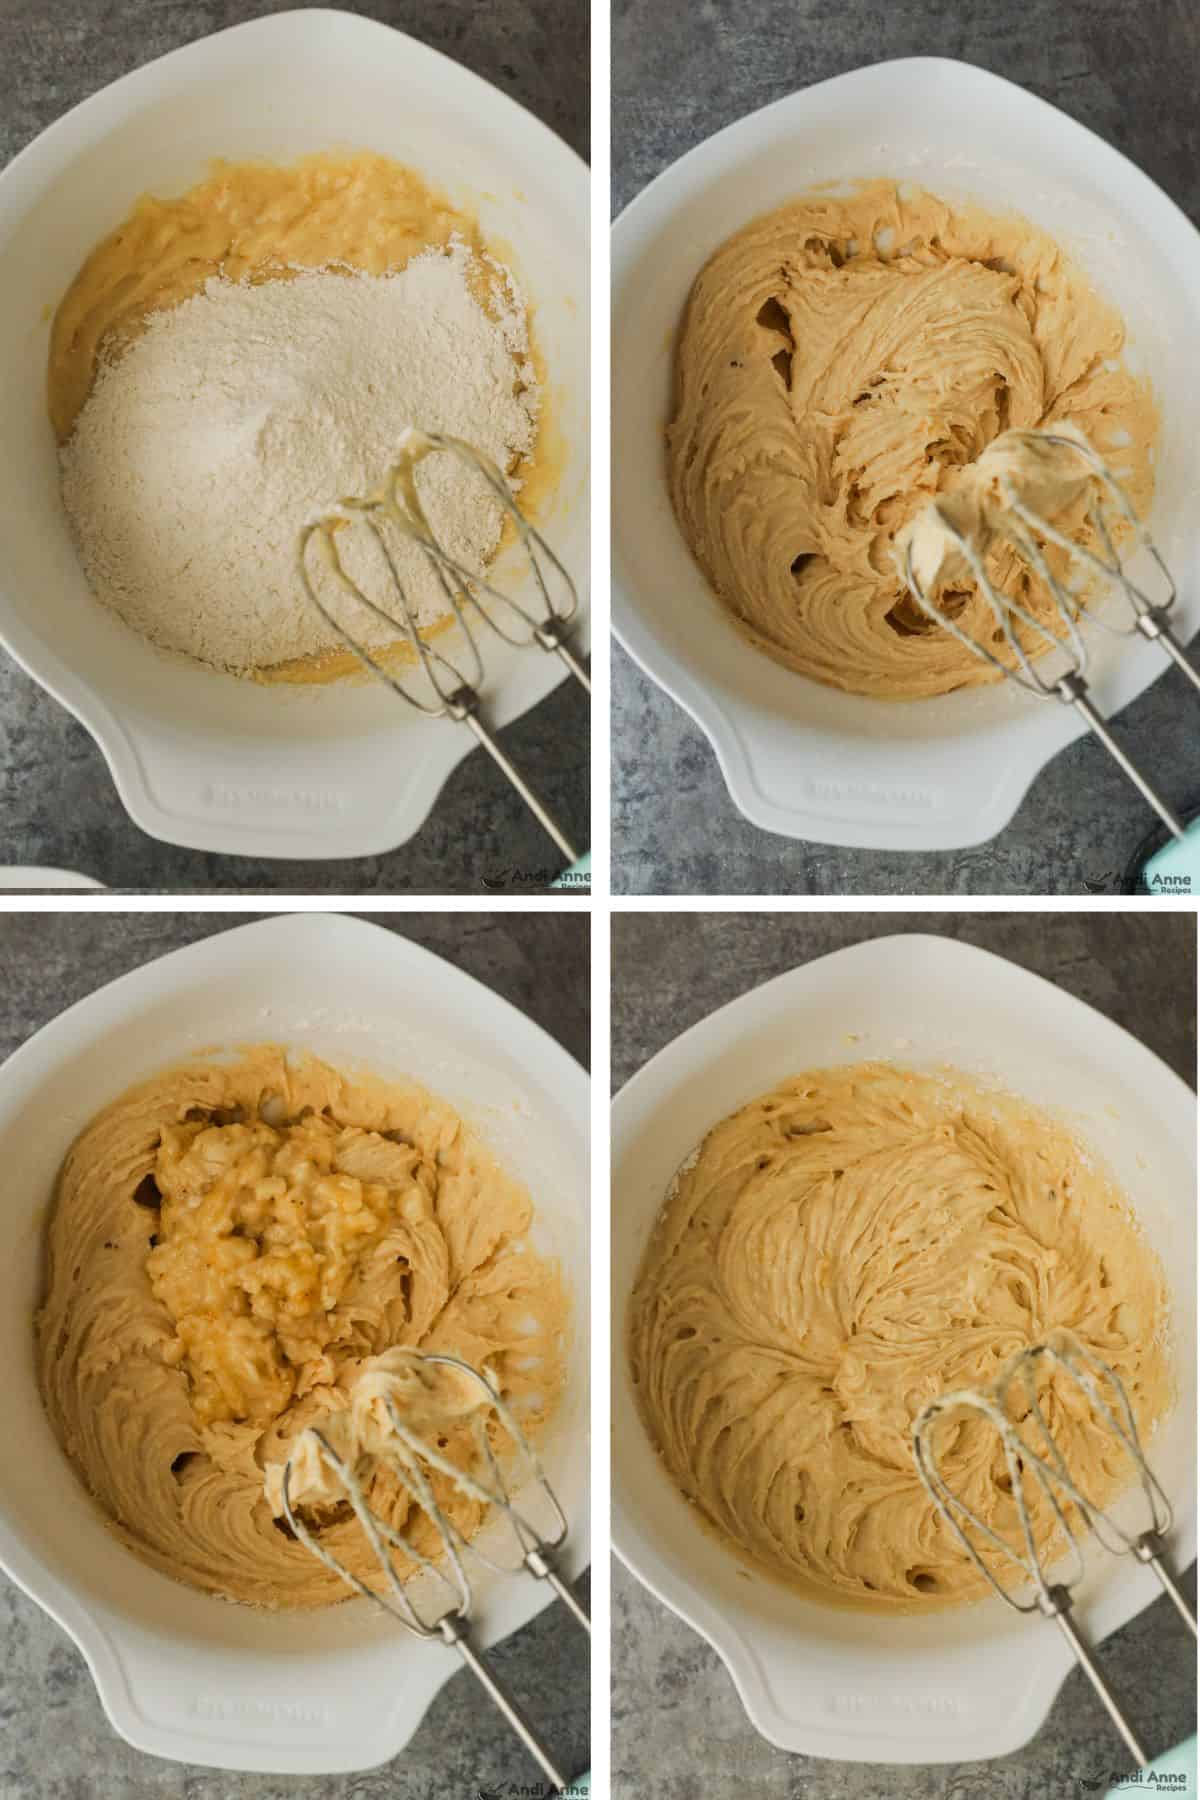
STEP 3: Alternate Dry + Banana
Add ⅓ of the dry mixture to the wet ingredients and mix. Add ⅓ of the mashed bananas and mix. Repeat, alternating flour and banana until everything is combined.
STEP 4: Bake
Pour the batter into a greased 8.5×11 or 9×11-inch baking dish. Bake at 350°F for 32-37 minutes, or until a toothpick comes out clean.
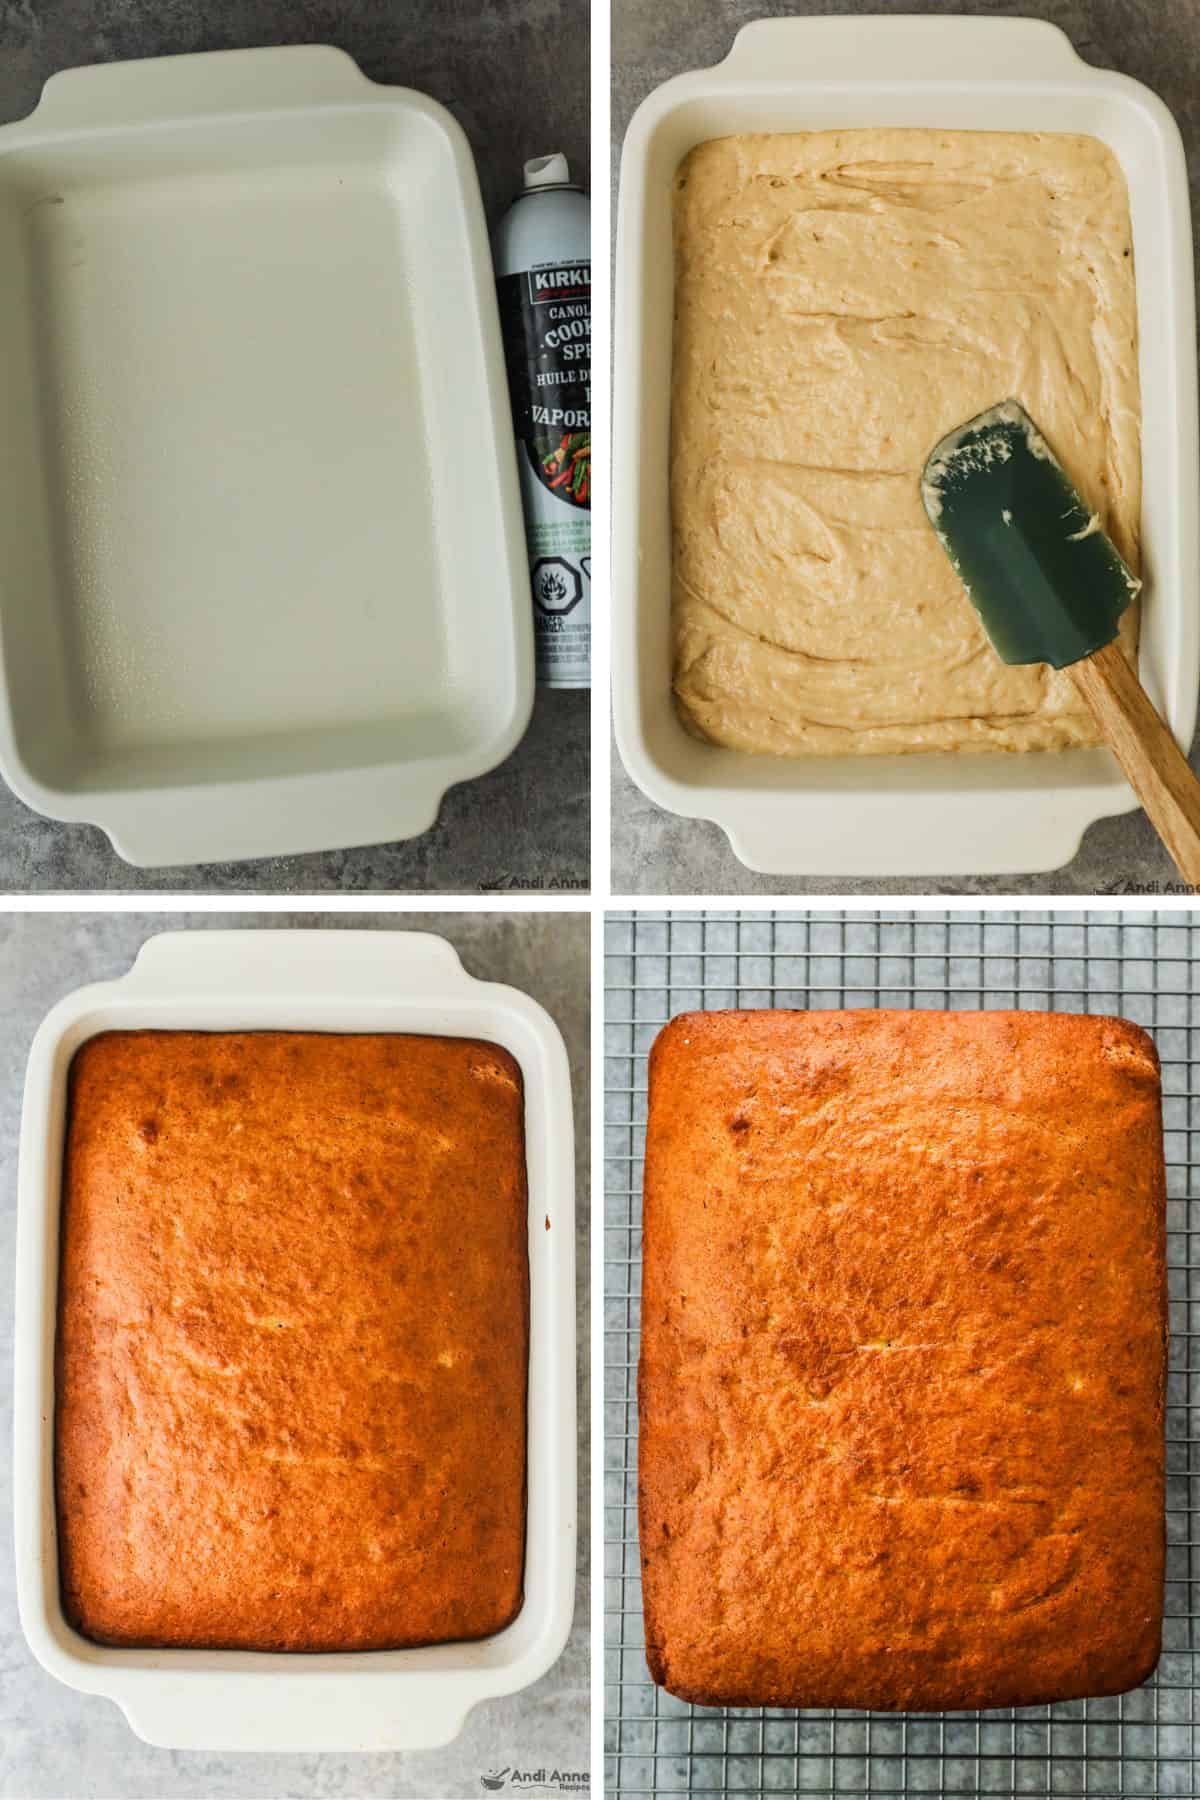
STEP 5: Cool
Let cool in the pan for 5 minutes, then flip onto a wire rack to cool completely.
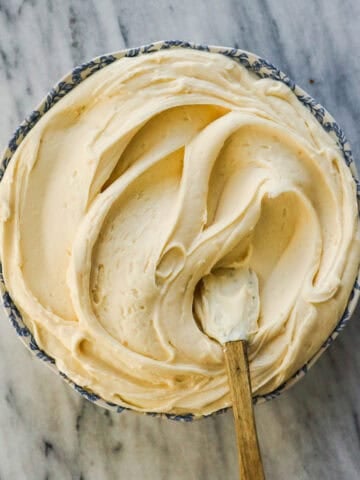
How To Make Cream Cheese Frosting 👇👇
This easy cream cheese frosting is smooth, fluffy, and only takes 5 minutes to whip up. It's the perfect finishing touch for banana cake.
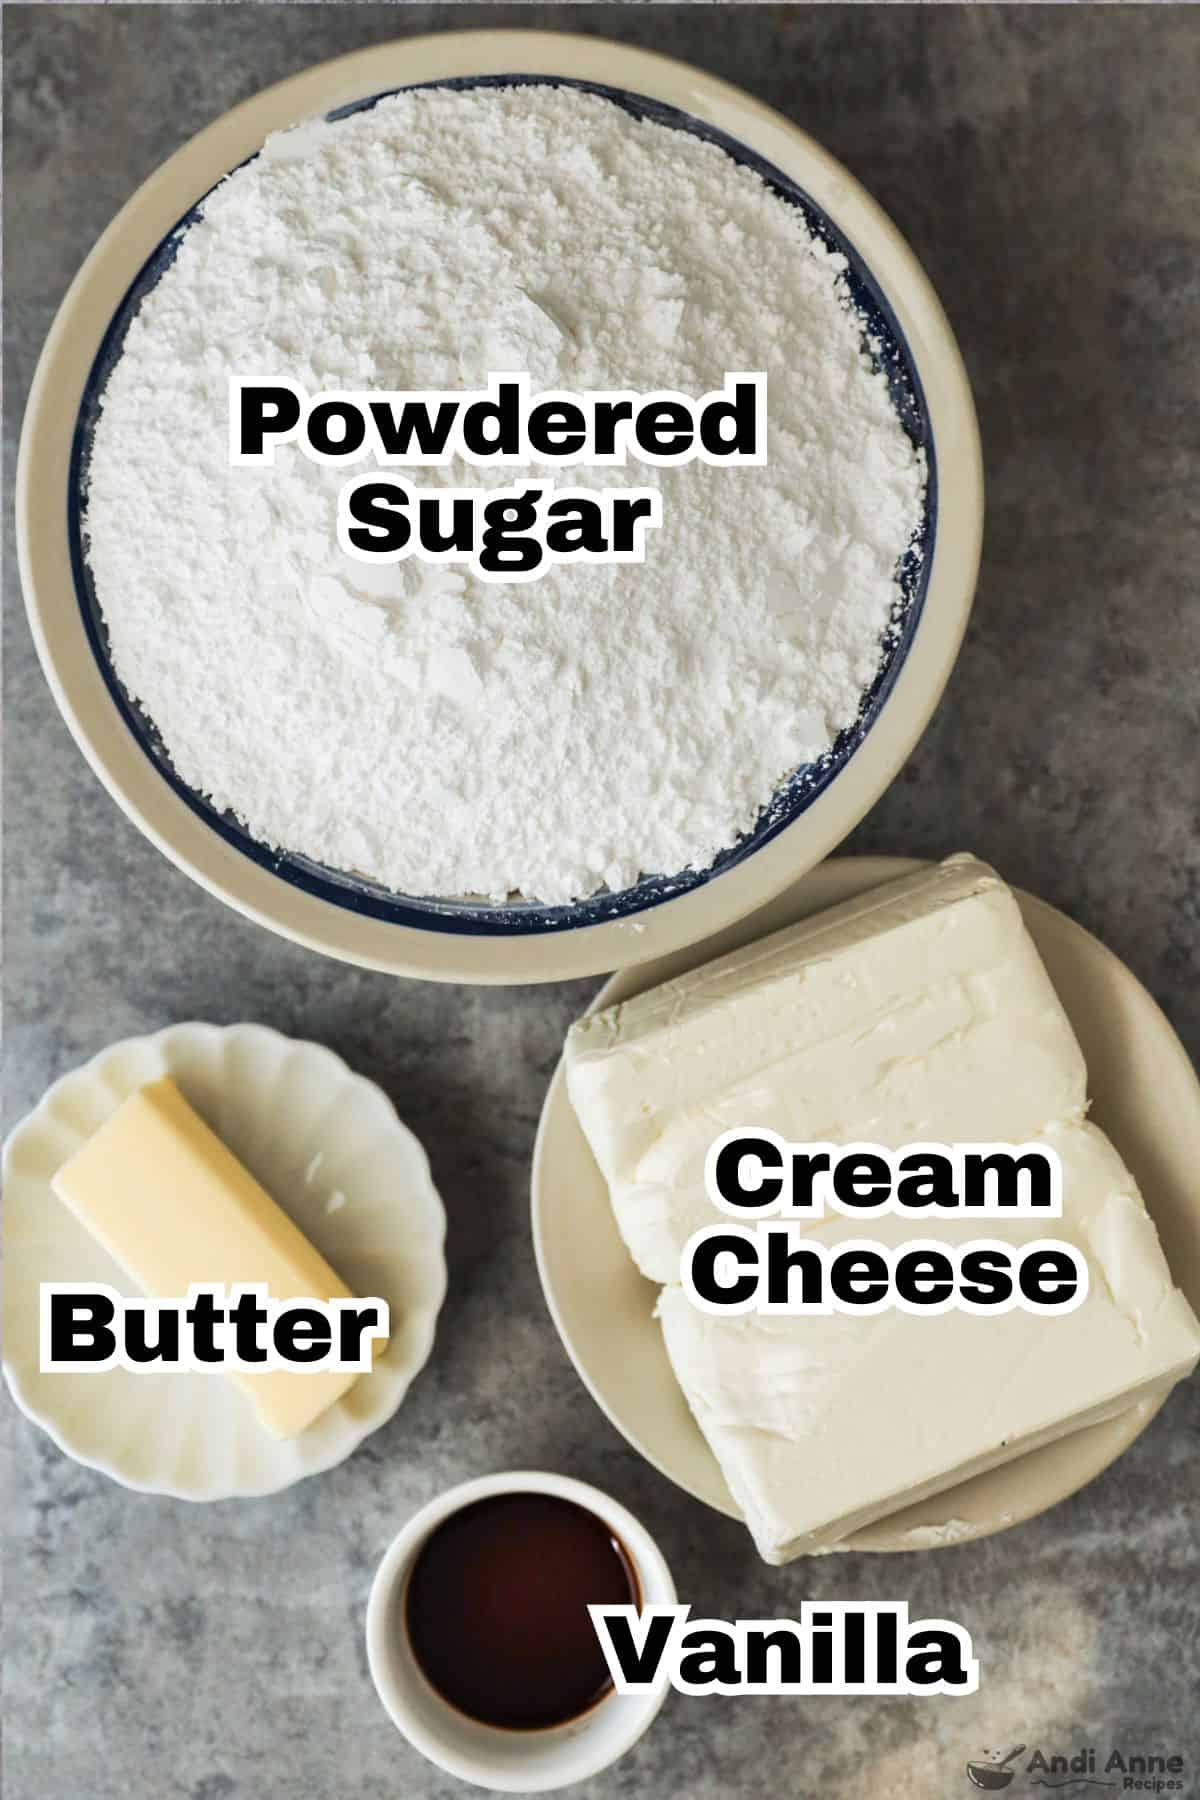
Recipe Ingredients
- 4 oz cream cheese, softened to room temperature
- 3 Tbsp unsalted butter, softened
- 3 cups powdered sugar
- 1 tsp vanilla extract
STEP 6: Soften Ingredients
Make sure the cream cheese and butter are both softened to room temperature so they blend smoothly.

STEP 7: Mix Slowly
Add all frosting ingredients to a bowl. Start mixing on low speed to prevent powdered sugar from flying out.
STEP 8: Whip Until Fluffy
Once combined, increase speed to medium and beat for 3-4 minutes, until light, fluffy, and smooth.

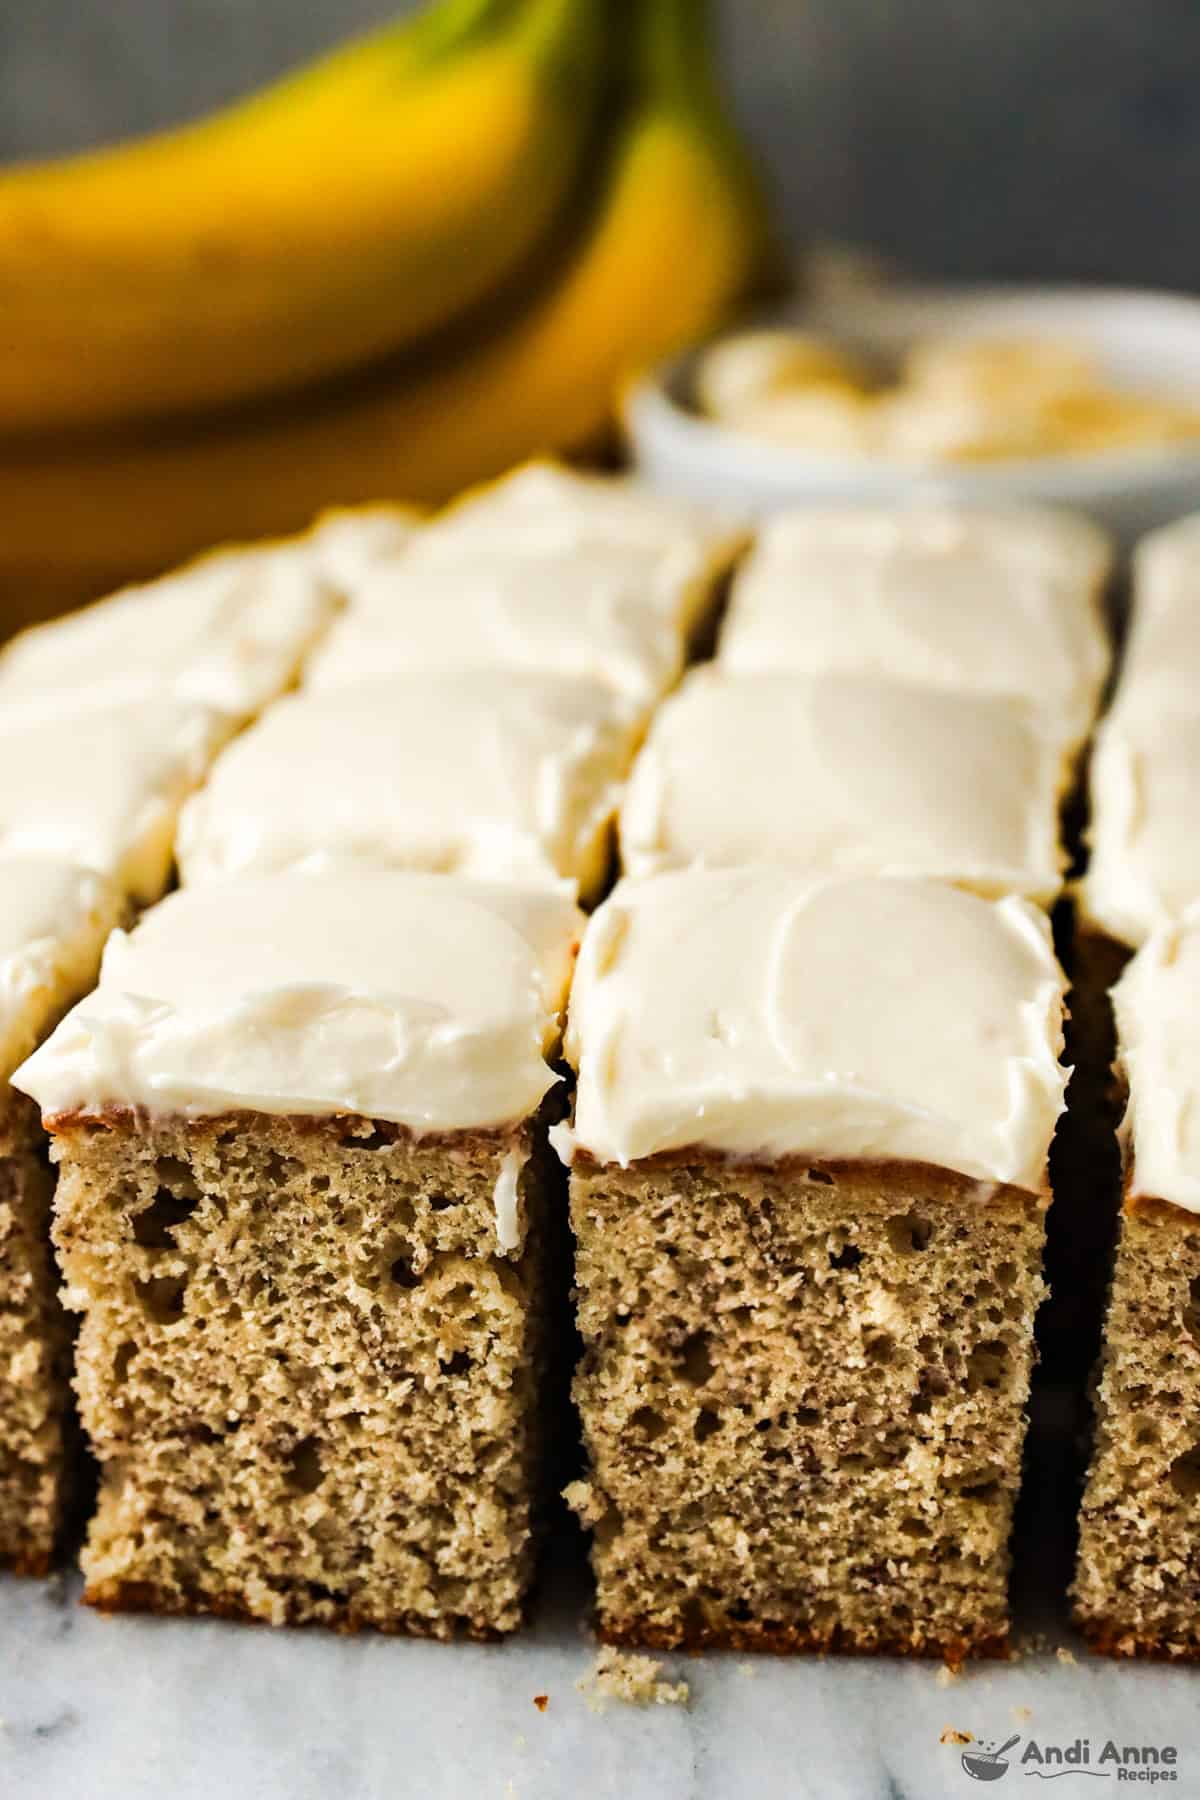
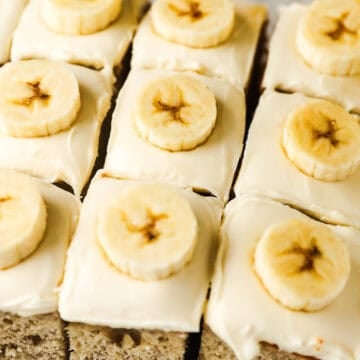
STEP 9: Frost the Cake
Once your banana cake is completely cool, spread the cream cheese frosting evenly on top using a spatula. Slice and serve.
Recipe Tips
- Use very ripe bananas with lots of brown spots for the best flavor
- Don't skip the alternating method-it makes a softer, lighter texture
- Start checking at 32 minutes-every oven is different
- Cool completely before frosting or slicing
- Use room-temperature butter for easier creaming
Variations and Substitutions
- Make banana muffins: Fill muffin cups ¾ full, bake at 350°F for 15-17 minutes
- Make a 2-layer round cake: Divide between two greased 8-inch round pans
- Add chocolate chips or walnuts to the batter before baking
- Swap granulated sugar for light brown sugar for extra richness
- You can also try my Cream Cheese Frosting Without Powdered Sugar for this recipe.
How To Store
- Counter: Store covered at room temp for up to 3 days
- Fridge: Store in an airtight container for up to 5 days
- Freezer: Wrap slices tightly and freeze for up to 2 months
- Reheat: Thaw overnight or warm in the microwave for 10-15 seconds
You can also try my Strawberry Banana Bread or Gingerbread Cake if you're in the mood for cozy cake.
FAQs
Yes! Thaw and drain any excess liquid before mashing.
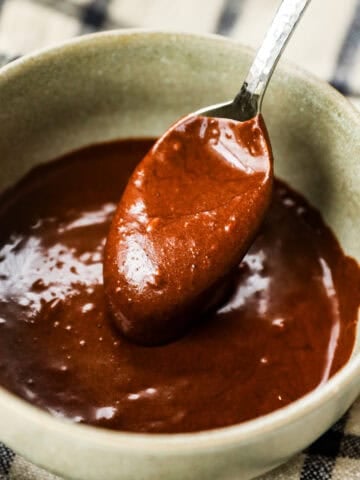
Absolutely. Cream cheese frosting or chocolate frosting works beautifully.
Yes, but the cake will be slightly thinner. Start checking at 28-30 minutes.
More Easy Cakes to Try
If you like simple, from-scratch bakes, these are a few more family favorites:
- Crazy Wacky Cake - no eggs, no dairy
- Strawberry Pineapple Cake - light, fruity, and perfect for spring
- Gingerbread Cake - warm, cozy, and ideal for colder months
Classic Banana Cake
Tap Stars To Rate!
Ingredients
- ½ cup unsalted butter - softened
- 1¼ cups granulated sugar
- 2 large eggs
- 2 tsp vanilla extract
- 2 cups all-purpose flour
- 2½ tsp baking powder
- ½ tsp baking soda
- ¼ tsp salt
- 3 ripe bananas - mashed (about 1½ cups)
Instructions
- Preheat oven to 350°F. Grease a 9×11 (or 8.5×11) baking dish.
- In a large bowl, cream butter, sugar, eggs, and vanilla until light and fluffy.
- In a separate bowl, mix flour, baking powder, baking soda, and salt.
- Add ⅓ of the flour mix to the wet ingredients and mix. Then add ⅓ of the mashed banana and mix. Repeat, alternating until all combined.
- Pour batter into prepared dish and bake for 32-37 minutes, or until a toothpick comes out clean.
- Let cool for 5 minutes in the pan, then flip onto a wire rack to cool completely.
Notes
- Use very ripe bananas for best flavor.
- Alternate dry and wet additions for a lighter texture.
- Start checking at 32 minutes.
- Store covered at room temp or freeze for later.
- Great with cream cheese frosting or chocolate chips.
Nutrition
Nutrition info is auto-calculated and meant to be an approximation only.
Emily says
Delicious! The cake is so light and fluffy. I'm putting this one in my recipe book.
Susan says
This is the third banana cake recipe that I’ve tried and it was very good! This recipe was light and fluffy. I didn’t use the cream cheese recipe, I went with just a buttercream. This is a keeper!