

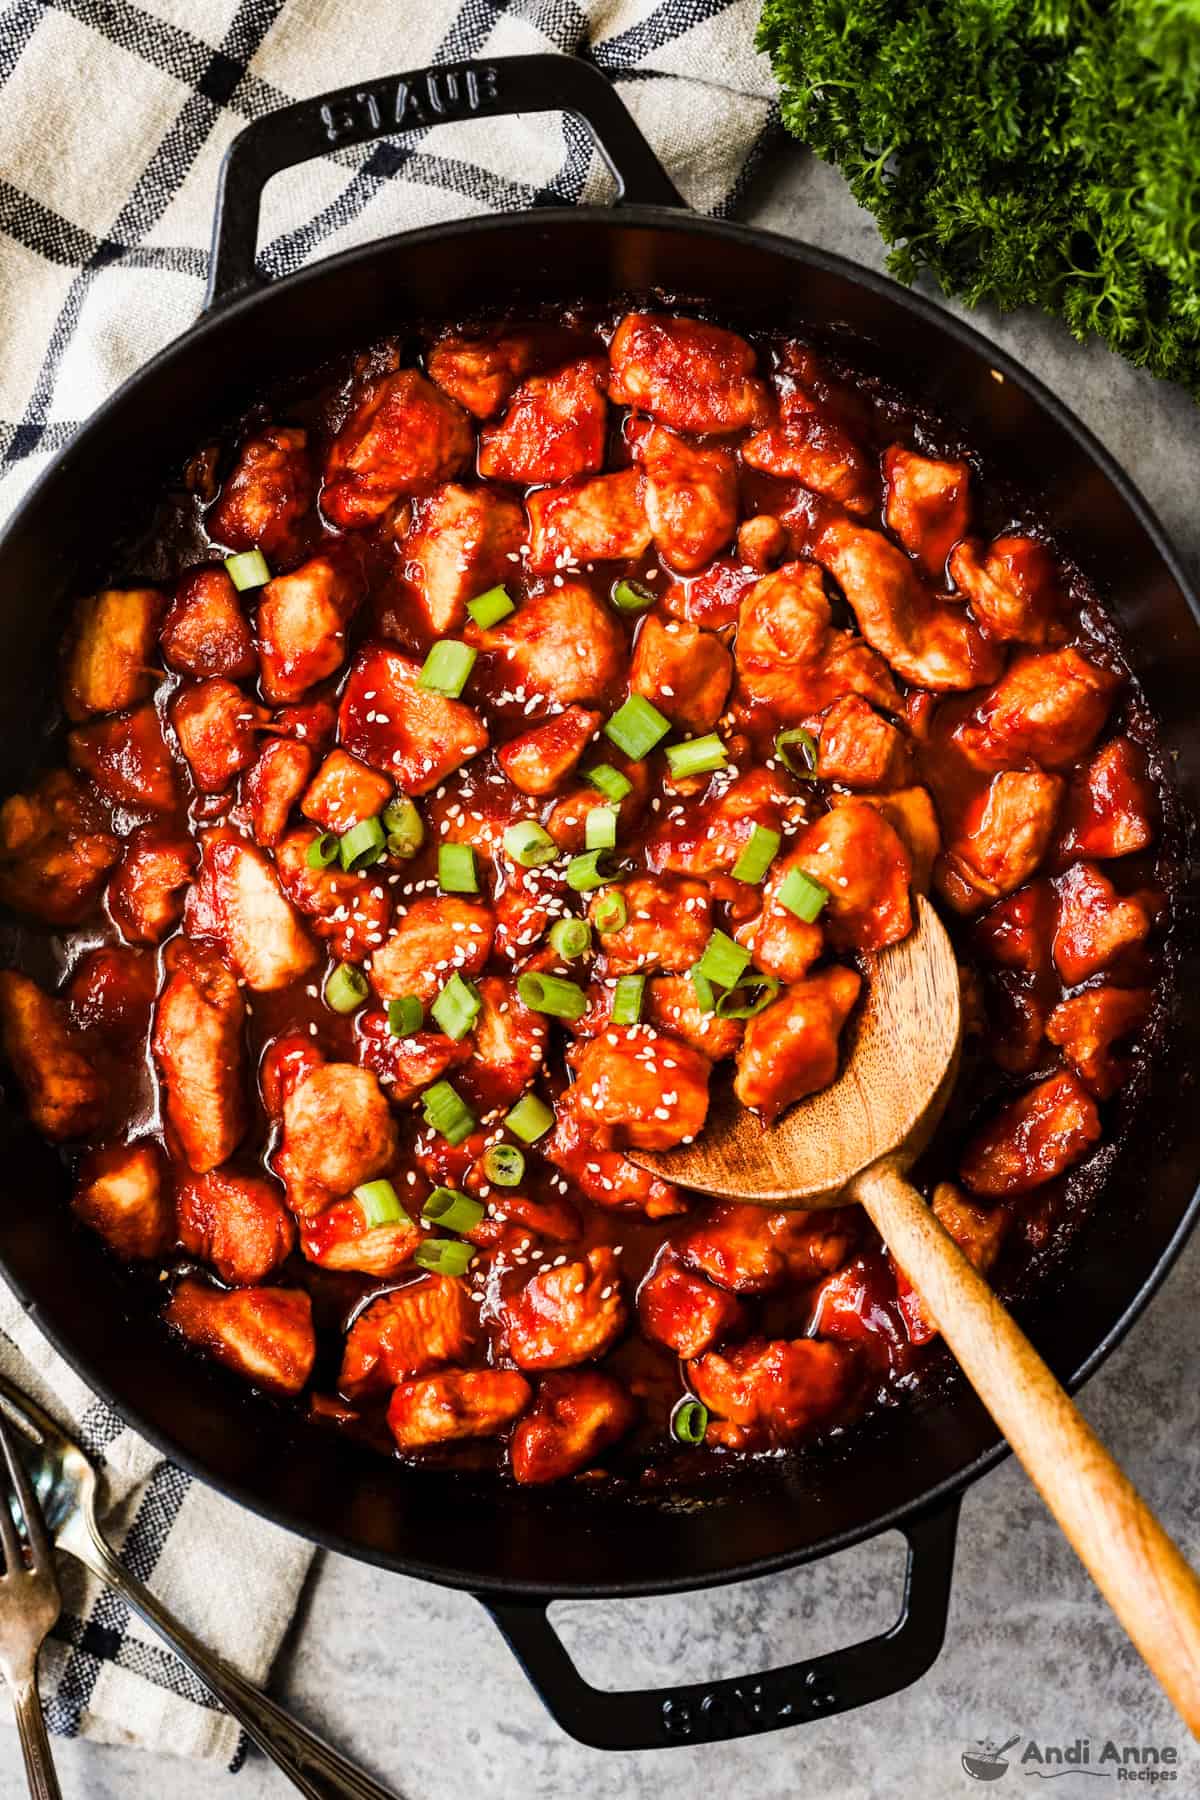
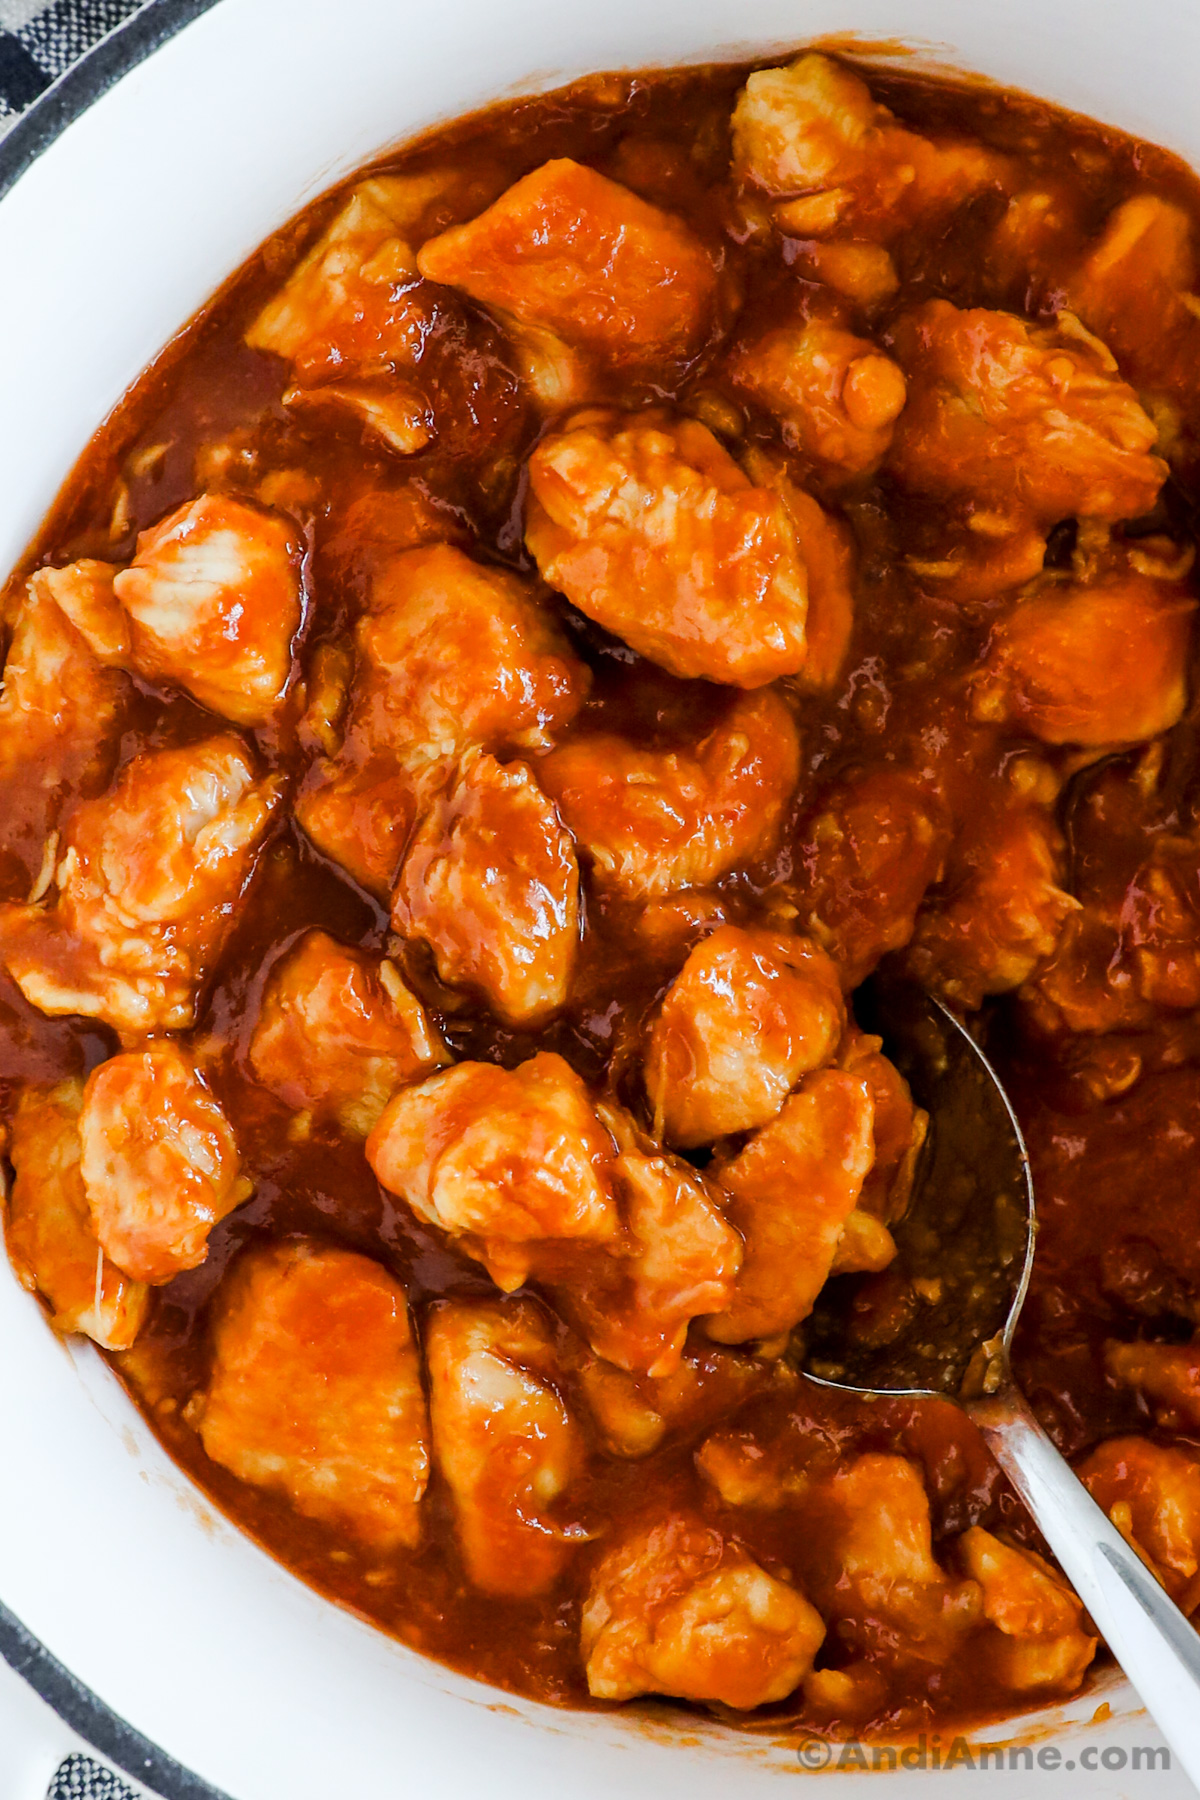
This baked sweet and sour chicken is a simple weeknight dinner made with tender chicken pieces and a glossy homemade sauce that tastes just like takeout, without deep frying 👇👇
The chicken is lightly coated, quickly seared, then baked in a sweet and tangy pineapple sauce until thick and perfectly glazed. It's an easy family-friendly dinner that pairs beautifully with rice and works well for meal prep or leftovers.
Why I Love This Recipe
- Ready in about 20 minutes from start to finish
- One pot dinner with minimal cleanup
- Sweet, tangy takeout-style sauce made at home
- Easy to add pineapple or extra vegetables
- Perfect for quick weeknight meals or leftovers
When to Make This Sweet and Sour Chicken
This recipe fits perfectly into busy weeknights when takeout feels tempting but you still want something homemade.
• Easy weeknight dinner - Serve over white rice for a complete meal.
• Budget-friendly takeout alternative - Made with simple pantry ingredients.
• Meal prep friendly - The sauce reheats beautifully.
• Family dinner favorite - Sweet, tangy flavor that even picky eaters enjoy.
It's one of those dependable chicken recipes that works year-round.
Note from Andi

This is one of those weeknight dinners I make when everyone is hungry and takeout feels tempting, but I still want something simple and homemade. After testing different methods, I've found that a quick stovetop sear followed by baking in the oven gives you tender chicken and that thick, glossy sweet and sour sauce, all in one pan.
Cutting the chicken into small, even pieces helps it stay juicy and soak up the sauce while it bakes. It's an easy family-friendly dinner that works for busy nights, meal prep, and leftovers.
What Makes This Sweet and Sour Chicken Different
Most sweet and sour chicken recipes rely on deep frying, but this baked sweet and sour chicken keeps things simple and weeknight-friendly. The chicken is quickly seared on the stovetop, then baked in the oven so the sauce thickens into a rich, glossy coating without extra oil or frying.
Because everything happens in one pan, the chicken stays tender, and the flavor stays balanced instead of overly sweet or greasy. It's the kind of dependable, pantry-friendly dinner that's easy to make anytime, which is exactly why it stays on repeat in my kitchen.
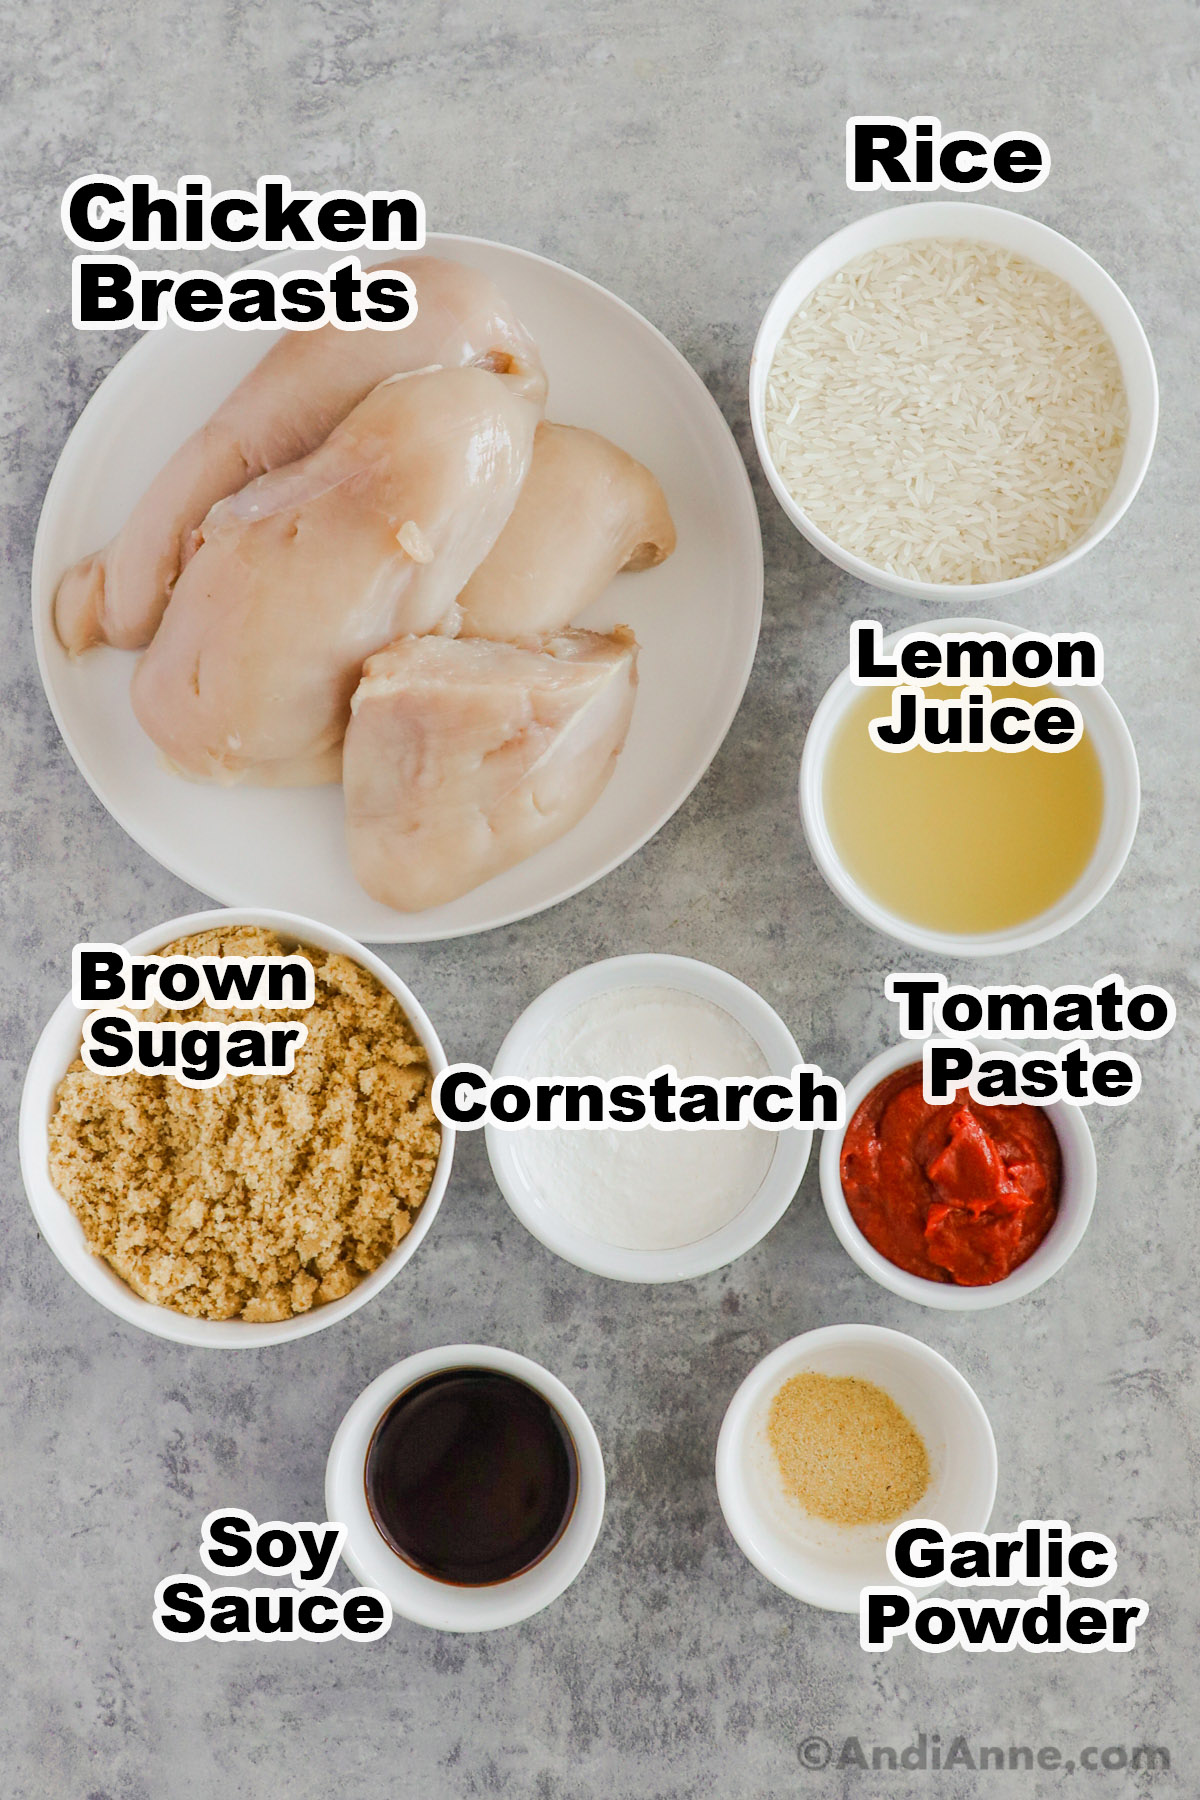
Recipe Ingredients 👇👇
Chicken and Vegetables
- 1 lb boneless skinless chicken breast, cut into bite-size pieces for quick cooking
- 2 Tbsp cornstarch, helps create a light coating and thickens the sauce
- 1 Tbsp cooking oil
- 1 bell pepper, chopped for color and sweetness
- 1 cup pineapple chunks (optional), classic sweet-and-sour flavor
Sweet and Sour Sauce
- ½ cup lemon juice or pineapple juice , base of the sauce
- ¼ cup brown sugar, balances the tangy flavor
- 3 Tbsp ketchup, adds color and sweetness
- 2 Tbsp rice vinegar or white vinegar, creates the signature tang
- 1 Tbsp soy sauce, adds savory depth
- 1 tsp garlic powder, quick flavor boost
- 1 tsp cornstarch, thickens the sauce to a glossy finish
For Serving
- Cooked white rice or noodles, to soak up the extra sauce
- Green onions or sesame seeds (optional) for garnish
How Much Does This Cost to Make?
Making sweet and sour chicken at home is often more affordable than ordering takeout.
Approximate breakdown:
• 1 lb chicken breast - about $6
• Sauce ingredients - about $2
• Bell pepper + pineapple - about $2
That's roughly $10 for a full family dinner serving four, making this a budget-friendly option for easy weeknight recipes.
Key Ingredients That Create Classic Sweet and Sour Flavor
A true sweet and sour sauce balances sweet, tangy, and savory in the same bite. Brown sugar adds warmth and sweetness, vinegar brings the signature tang, and soy sauce gives depth so the flavor doesn't taste flat.
Cornstarch is what creates the smooth, glossy sauce that clings to the chicken just like restaurant takeout. When these simple pantry ingredients cook together quickly in the pot, they form the familiar sweet and sour flavor everyone expects from this classic dish.
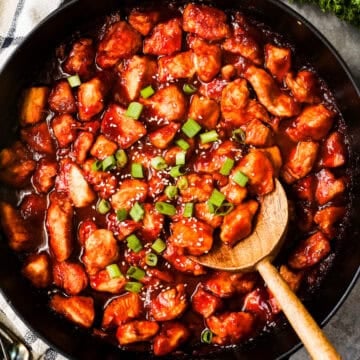
Watch How To Make Sweet and Sour Chicken 👇👇
This baked recipe creates tender chicken and glossy sauce in minutes using simple pantry ingredients.
Looking for More Easy Dinner Ideas?
If this sweet and sour chicken is your kind of weeknight meal, you can browse all of my chicken recipes for more simple oven and skillet dinners. And if you prefer minimal cleanup, my one pot dinner collection is full of easy meals that cook in a single pan. You can also explore all of my family-friendly dinner recipes when you're planning out your week.
Step-By-Step Instructions 👇👇
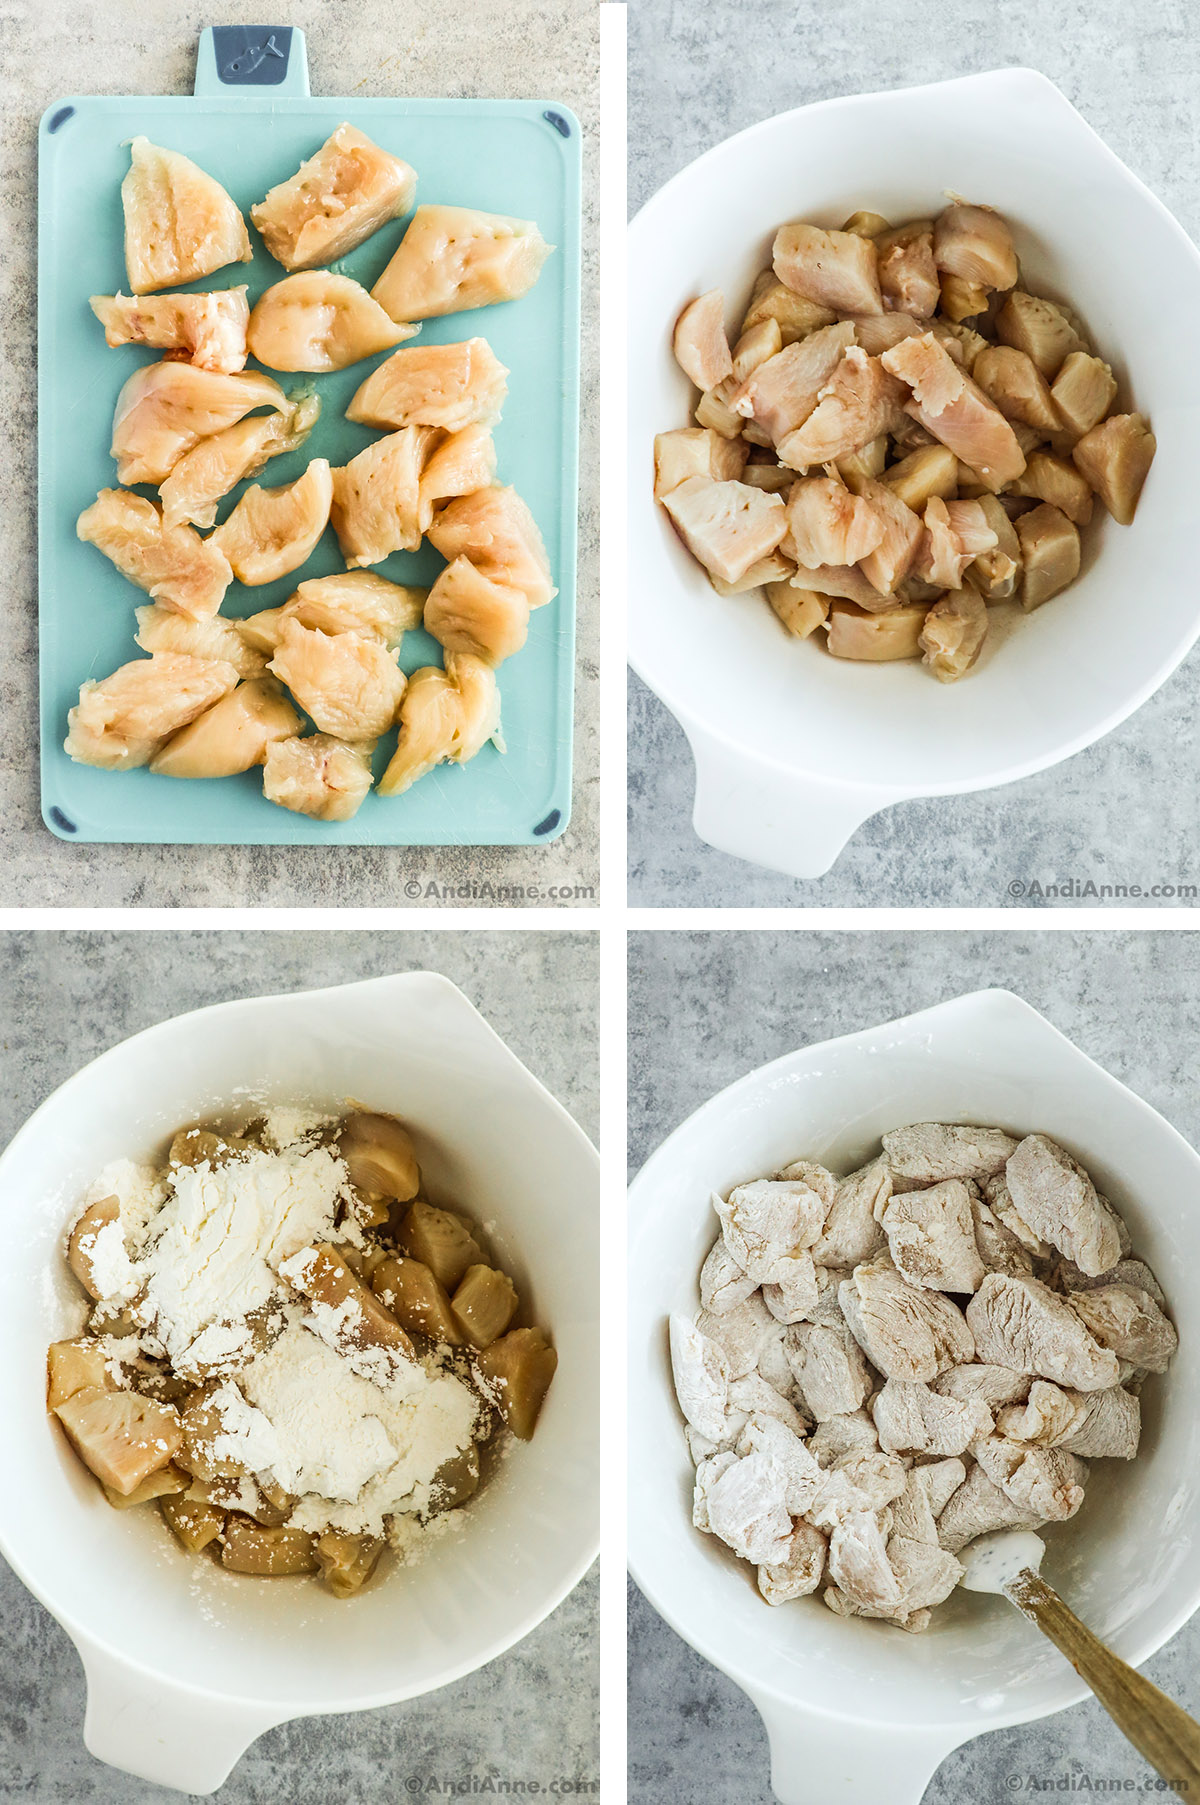
STEP 1: Prep the Chicken
Preheat oven to 350°F. Cut 1 lb chicken breast into bite-size pieces. Toss with 2 Tbsp cornstarch until evenly coated.
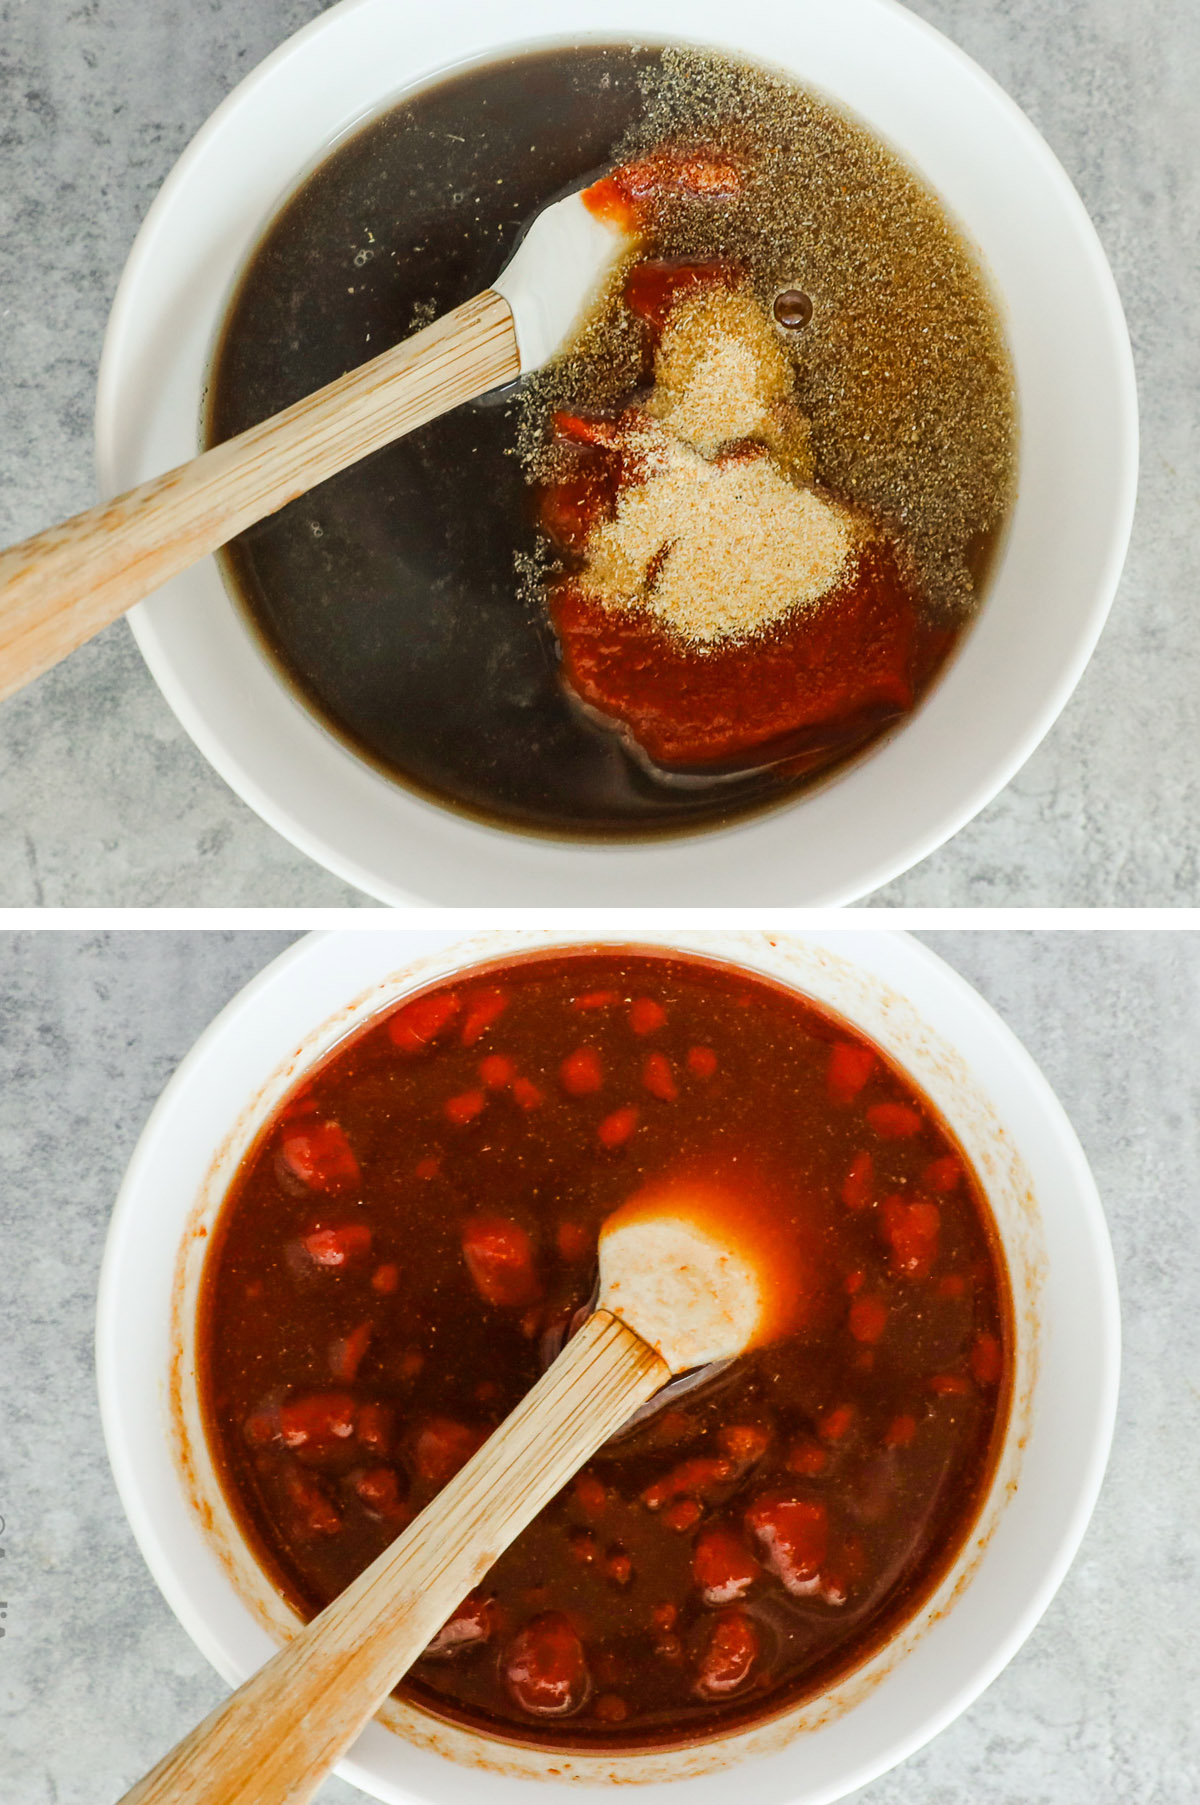
STEP 2: Mix the Sauce
In a bowl, whisk together ½ cup pineapple juice, ¼ cup brown sugar, 3 Tbsp ketchup, 2 Tbsp rice vinegar, 1 Tbsp soy sauce, 1 tsp garlic powder, and 1 tsp cornstarch until smooth.
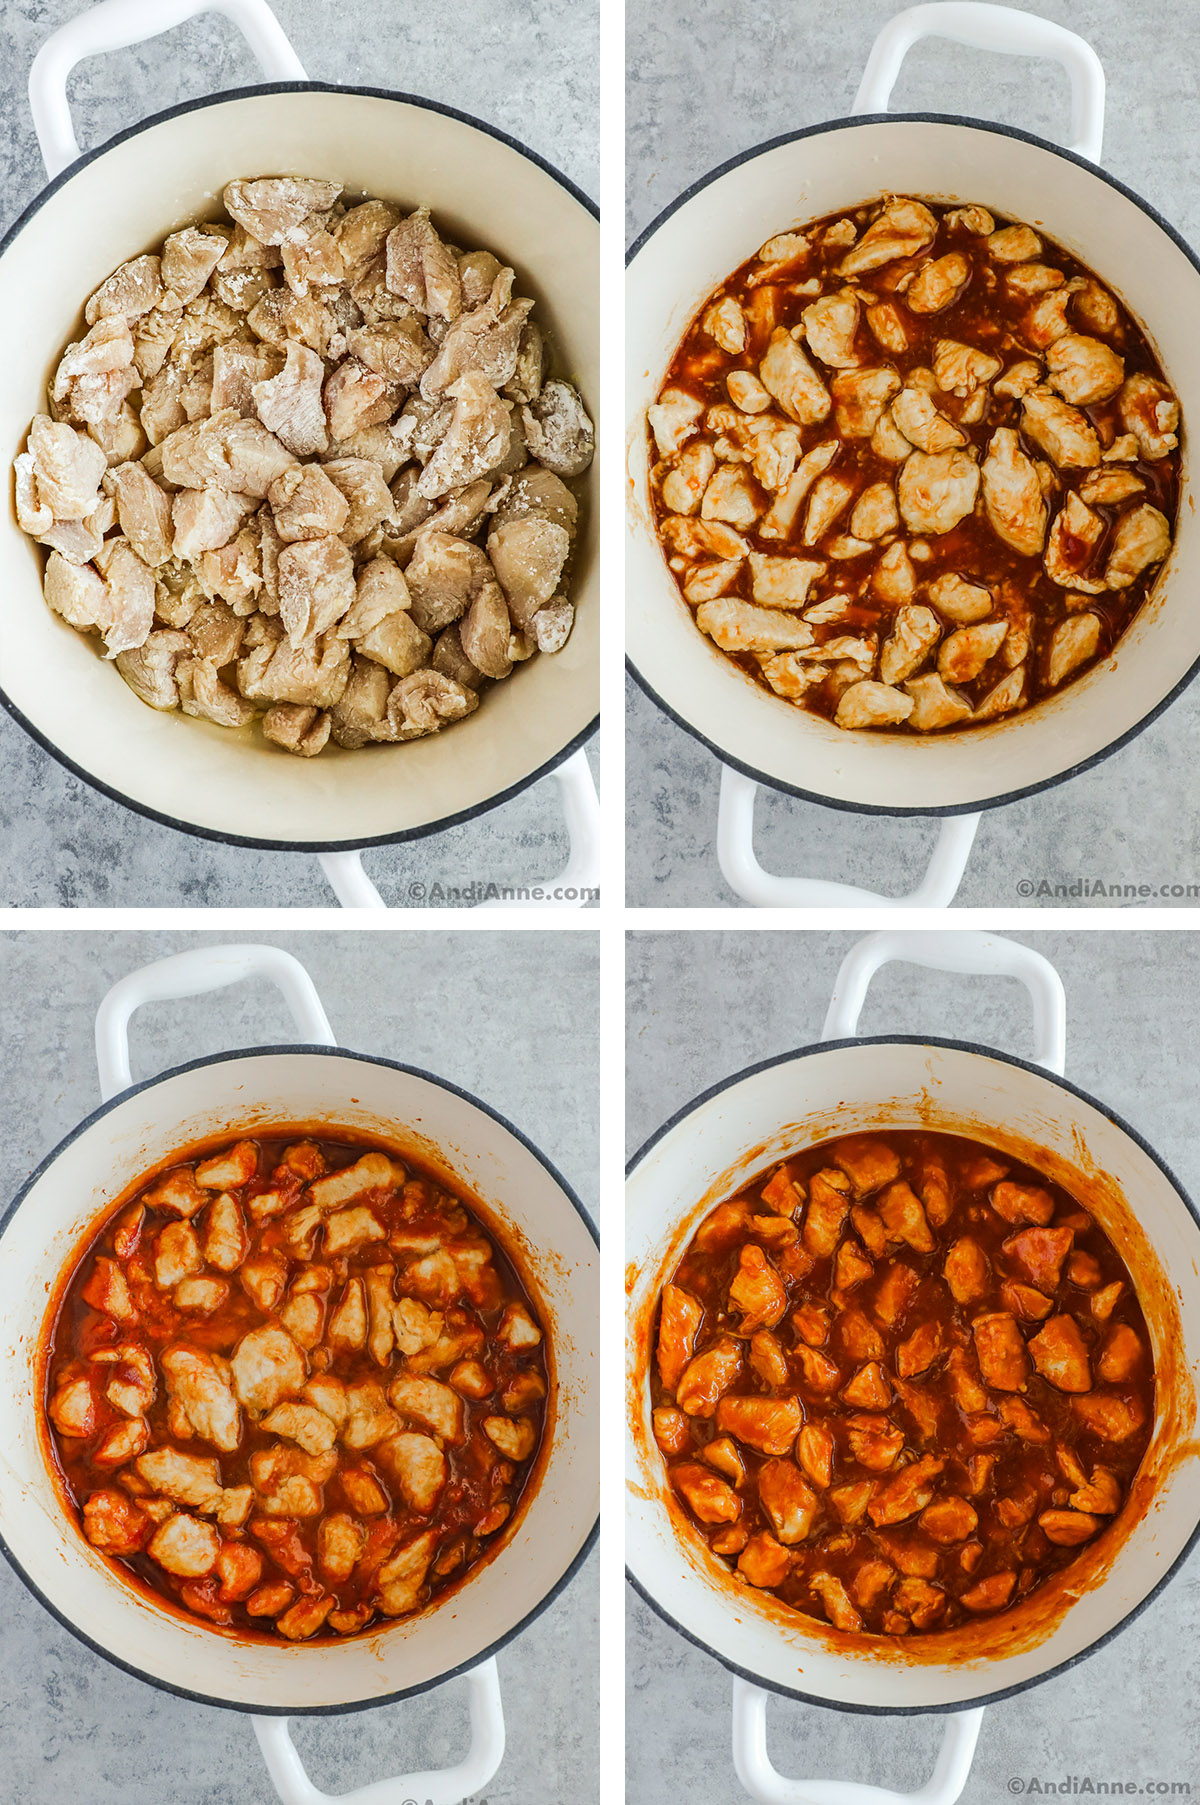
STEP 3: Cook the Chicken
Heat 1 Tbsp oil in a large oven-safe skillet over medium-high heat. Add chicken and sear for 30-60 seconds per side until lightly golden.
STEP 4: Add Vegetables (optional)
Stir in chopped bell pepper and pineapple chunks (if using).
STEP 5: Bake
Pour sauce over the chicken and stir. Transfer skillet to the oven and bake for 25-30 minutes, stirring halfway through, until sauce thickens and chicken reaches 165°F.
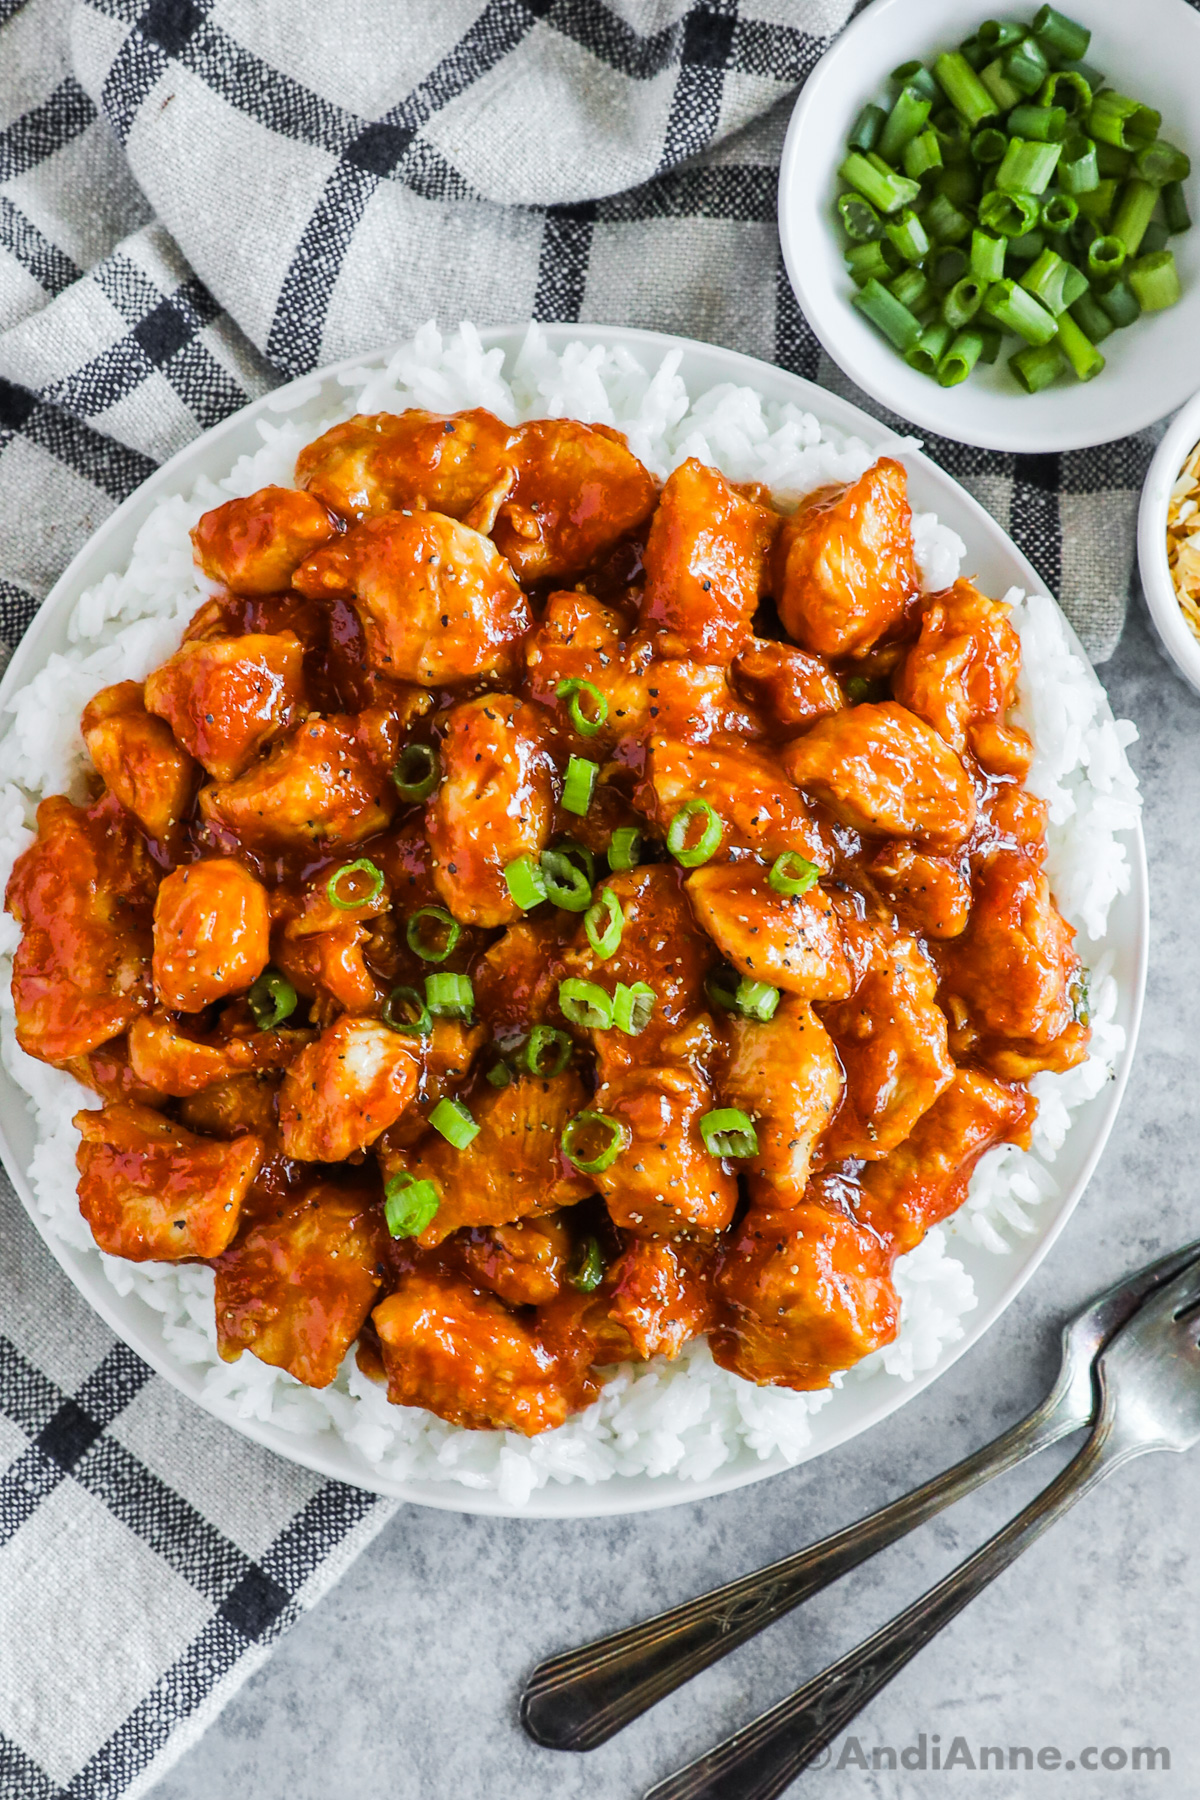
STEP 6: Serve
Spoon over cooked white rice and garnish with green onions or sesame seeds if desired.
Recipe Tips
- Cut chicken into even pieces for quick, uniform cooking.
- Cook over medium-high heat to keep the chicken tender, not soggy.
- Stir constantly once the sauce is added so it thickens smoothly.
- Add pineapple at the end to keep it bright and juicy.
- Serve immediately for the best glossy texture.
Is Homemade Sweet and Sour Chicken Better Than Takeout?
Homemade sweet and sour chicken is usually lighter and less greasy than restaurant versions because the chicken is baked instead of deep fried. You still get the same sweet, tangy sauce and tender bites of chicken, but with simpler ingredients and less oil.
It's also faster than waiting for takeout, which makes this recipe perfect for busy weeknights when you want comforting flavor without the extra cost or time.
Variations and Substitutions
- Use chicken thighs for a juicier stir-fry.
- Swap pineapple for mandarin oranges or leave it out.
- Add onion, snap peas, or broccoli for extra vegetables.
- Use honey instead of brown sugar for a lighter sweetness.
- Serve over cauliflower rice for a low-carb option.
If you love easy takeout-style dinners, my honey garlic baked chicken uses similar pantry ingredients and pairs perfectly with garlic butter rice. And for another quick skillet meal, these teriyaki turkey rice bowls are great for meal prep and busy weeknights.
Common Mistakes That Make the Sauce Too Thin
• Not baking long enough
• Skipping the cornstarch in the sauce
• Using too much liquid
• Not stirring halfway through baking
A few small adjustments help create that glossy, takeout-style coating.
What to Serve With
This sweet and sour chicken is perfect over steamed white rice, fried rice, or simple noodles. Add an easy side like steamed broccoli or green beans for a complete dinner.
Storage and Reheating
- Fridge: Store leftovers in an airtight container for up to 4 days.
- Freezer: Freeze for up to 2 months.
- Reheat: Warm in a pot or microwave until heated through, adding a splash of water if the sauce thickens.
Sweet and sour chicken is one of those classic takeout-style dinners that's surprisingly easy to master at home once you understand the balance of sweet, tangy, and savory.
FAQs
It's lighter than deep-fried takeout and made with simple ingredients cooked in one pot.
Yes. The sauce is still sweet and tangy without it.
Cornstarch mixed into the sauce thickens it as it cooks.
Yes. Add it when the sauce goes in and heat until warm.
More Sweet and Sour Dinner Ideas
If you love that classic sweet and tangy flavor, my homemade sweet and sour sauce is a simple pantry recipe you can keep on hand for stir-fries, dipping, or quick skillet dinners. And if you want something a little different, these sweet and sour chicken legs bake up tender and glazed with the same bold flavor in an easy oven version.
For party-style meals or seafood nights, sweet and sour meatballs are perfect for serving over rice or as an appetizer, and this sweet and sour pineapple fish is a lighter option that still delivers that glossy, takeout-style sauce.
Baked Sweet and Sour Chicken
Tap Stars To Rate!
Ingredients
Chicken and Vegetables
- 1 lb boneless skinless chicken breast - cut into bite-size pieces
- 2 Tbsp cornstarch
- 1 Tbsp cooking oil
- 1 bell pepper - chopped
- 1 cup pineapple chunks - optional
Sweet and Sour Sauce
- ½ cup lemon juice - or pineapple juice
- ¼ cup brown sugar
- 3 Tbsp ketchup
- 2 Tbsp rice vinegar - or white vinegar
- 1 Tbsp soy sauce
- 1 tsp garlic powder
- 1 tsp cornstarch
Instructions
- Preheat oven to 350°F.
- Cut 1 lb chicken breast into bite-size pieces and toss with 2 Tbsp cornstarch until evenly coated.
- In a bowl, whisk together ½ cup pineapple juice, ¼ cup brown sugar, 3 Tbsp ketchup, 2 Tbsp rice vinegar, 1 Tbsp soy sauce, 1 tsp garlic powder, and 1 tsp cornstarch until smooth.
- Heat 1 Tbsp cooking oil in a large oven-safe skillet over medium-high heat. Add the coated chicken and sear for 30-60 seconds per side, just until lightly golden.
- Stir in 1 chopped bell pepper and 1 cup pineapple chunks (if using).
- Pour the sauce over the chicken and stir to coat evenly.
- Transfer skillet to the oven and bake for 25-30 minutes, stirring halfway through, until the sauce thickens and the chicken reaches 165°F internally.
- Serve over cooked white rice or noodles and garnish with green onions or sesame seeds if desired.
Notes
- Cut chicken evenly so it cooks at the same rate.
- Do not skip the 1 tsp cornstarch in the sauce - it creates the glossy coating.
- Sear quickly to avoid drying out the chicken before baking.
- Stir halfway through baking so the sauce thickens evenly and coats the chicken.
- Add pineapple at the beginning of baking for softer texture, or at the end for brighter flavor.
- Store leftovers in an airtight container in the refrigerator for up to 4 days.
- Freeze for up to 2 months in a freezer-safe container.
- Reheat gently in a skillet or microwave, adding a splash of water if the sauce thickens too much.
Nutrition
Nutrition info is auto-calculated and meant to be an approximation only.


Leave a Reply