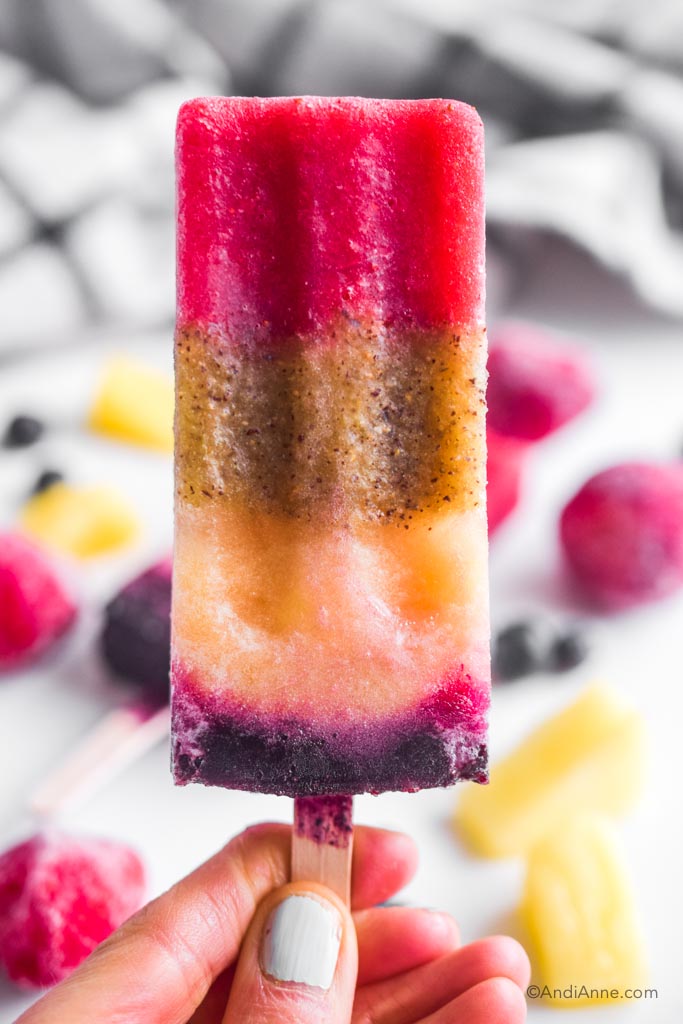
Rainbow real fruit popsicles are made with strawberries, pineapple, kiwis, and blueberries. They're easy to make and the perfect summer treat! These popsicles are healthier than the store-bought versions that usually contain low quality ingredients and added refined sugar. And let's not get started on the organic ones... they're so expensive!! These will cost less than $3 to make. Wahoo!
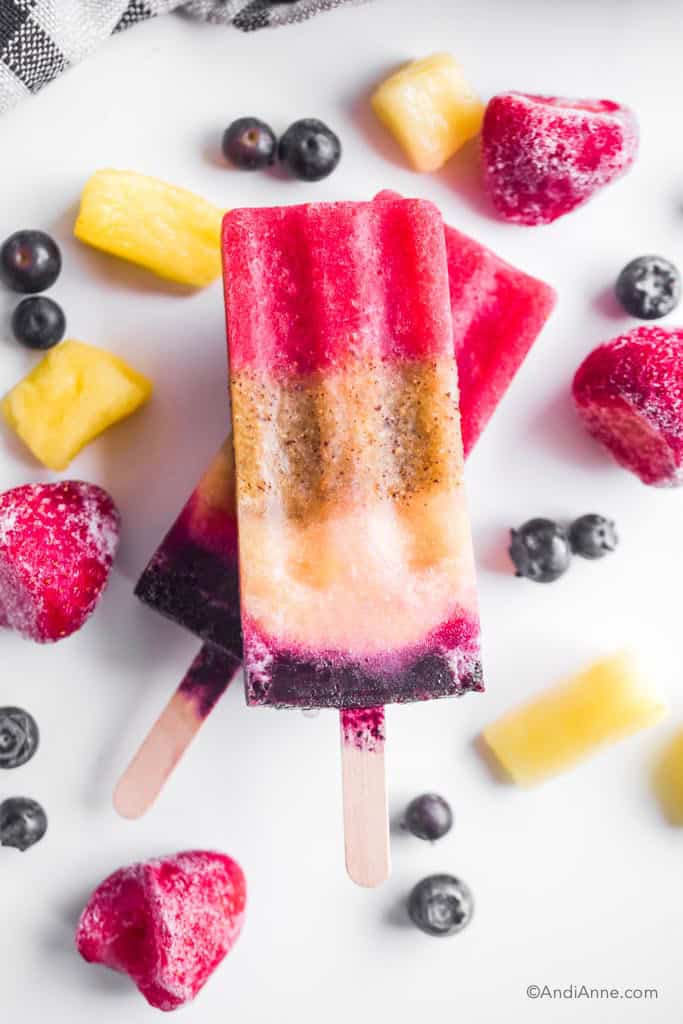
Rainbow Real Fruit Popsicles
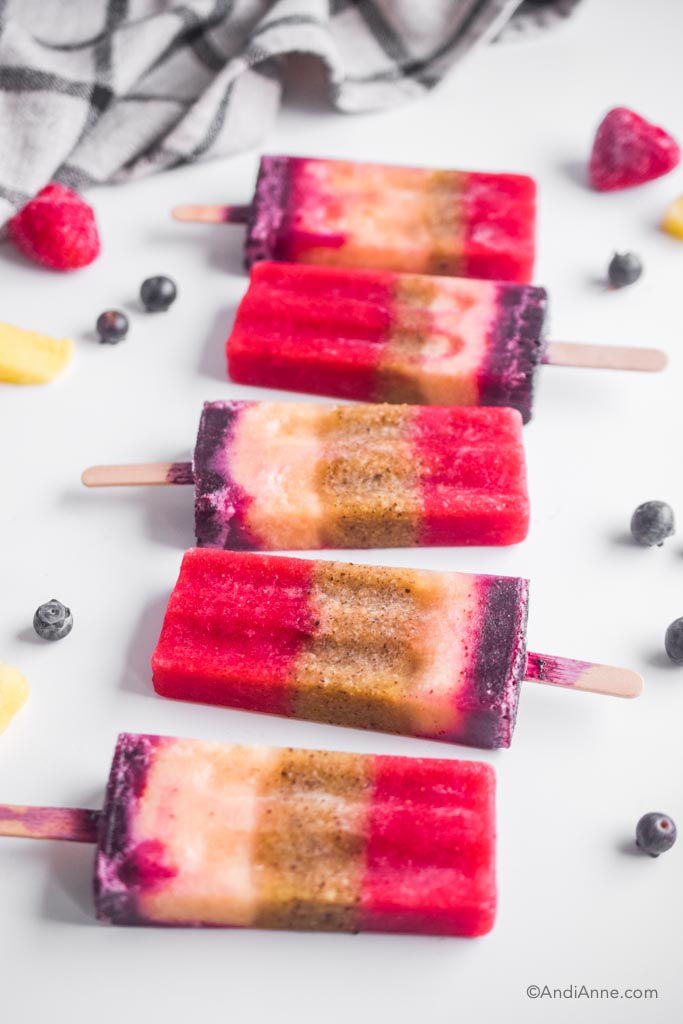
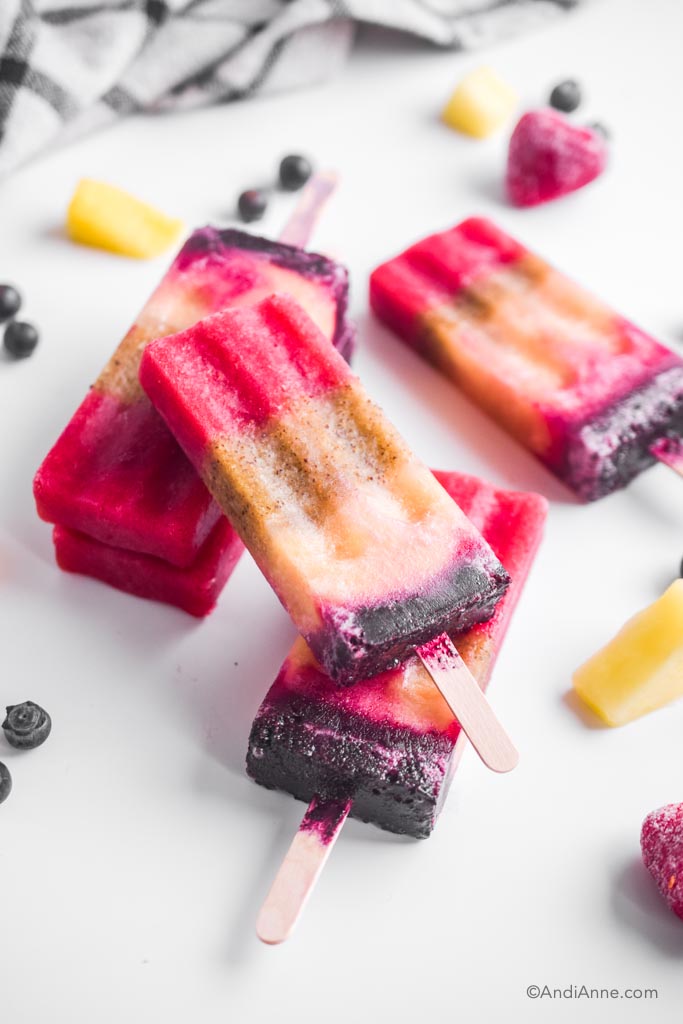
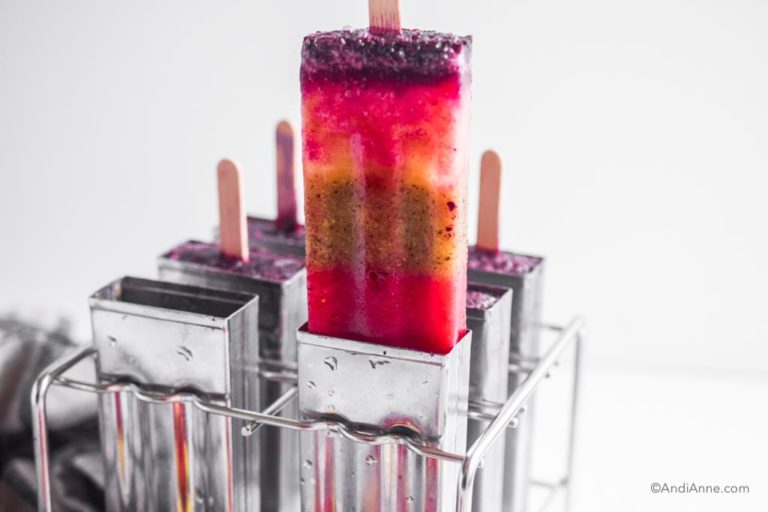
Can we talk about how cute these are? I just love them! REAL food can create such beautiful colors. And these popsicles are definitely a feast on the eyes.
My daughter was absolutely delighted to see the surprise of colors as I pulled one out of the popsicle mold. "Wow!", she said, with total awe. It was pretty cute.
Okay so let's be real... mom to mom here. Before I made these I tried a different watermelon popsicle recipe. Basically, it was a combination of fresh watermelon with just a hint of maple syrup. Not too much. I was trying to make a totally pure, healthy popsicle. Well... it wasn't a hit in our house. Not at all. My daughter too one bite and didn't want any more. My husband didn't even want to eat them! And he usually eats everything I make for the blog!! They were just too boring and too bland.
So with that lesson learned, I went into this recipe knowing that these had to be more than just fruit. Yes, moms, I get it. In theory, it would be nice if we could just blend water with fruit and have our kids eat it. And if yours do, that's so wonderful! But for the families like mine that need a bit more sweetener, I've got you covered with a simple solution... organic fruit juice. Yep, it's so simple but it works. It's the perfect amount of sweetener. It's all-natural. It's inexpensive (usually). And your kids will happily eat these delicious popsicles!! Okay, let's get on to the recipe...
Rainbow Real Fruit Popsicles Ingredients
Here's what you'll need to make these popsicles along with a few substitution ideas:
- Frozen Strawberries - I used one cup of frozen strawberries. Raspberries or watermelon would also work!
- Fresh Kiwi - I don't have frozen kiwi at my grocery store, so I used three fresh ones. Peel off the outer skin then pop the whole thing in the blender. You could also use grapes, avocado, or spinach for this section. Spinach is totally tasteless so kids won't notice.
- Frozen Pineapple - I used one cup of frozen pineapple. You could also use mango or bananas.
- Frozen Blueberries - I used 1 cup of frozen blueberries but ended up having a lot left over. Next time I would probably use ½ cup. You could also use blackberries.
- Organic Fruit Juice - I used organic pomegranate cherry Kiju juice. Whichever juice you choose, read the ingredients label first. Is it real juice? Are there less than 3 ingredients? Are there added preservatives and names you can't pronounce? I always try to choose brands that use less ingredients and are all-natural. Note: If you don't want to use juice, you can also just use water.
You can use fresh or frozen fruit for these popsicles. I don't recommend using canned fruit as it usually contains added sweetener.
How To Make Rainbow Real Fruit Popsicles
These rainbow real fruit popsicles are prepared in four steps. It takes about 20 minutes for each layer to freeze enough before you can add the next one.
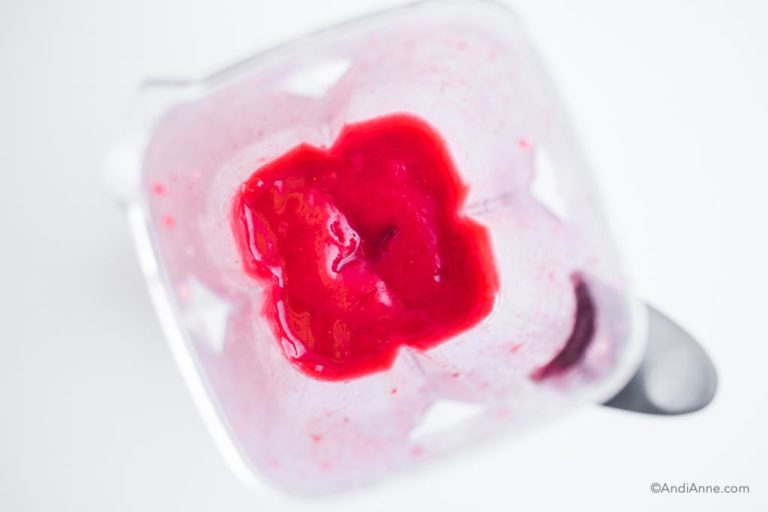
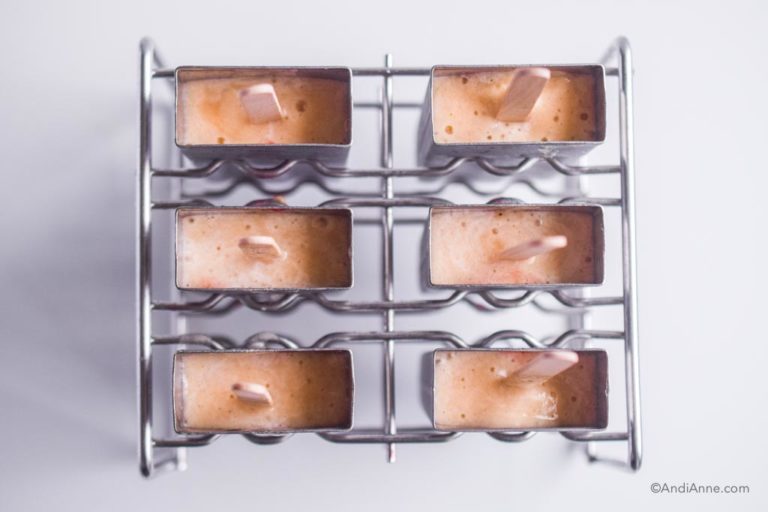
- Strawberry Layer: Add strawberries and organic fruit juice (or water) to the blender and blend until smooth. Pour a small amount into each popsicle mold. You might need to use a spoon for this part. Add the popsicle sticks. Place in the frezer and freeze for 20 minutes.
- Kiwi Layer: Remove the skin from the kiwis. Add them to a blender along with juice. Pour a small amount into each popsicle mold. Freeze another 20 minutes.
- Pineapple Layer: Add frozen pineapple and juice to the blender. Blend until smooth. Pour a small amount into each popsicle. Freeze another 20 minutes.
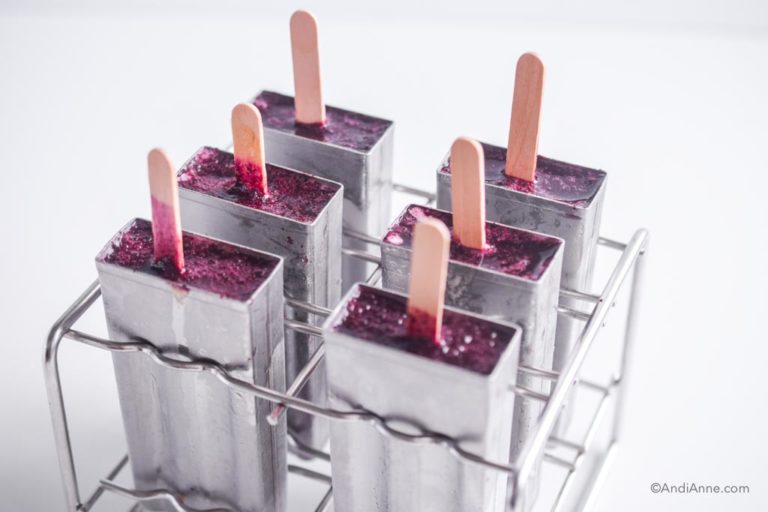
- Blueberry Layer: Add blueberries and juice to a blender. Blend until smooth. Pour just enough so that that the popsicle mold is filled with a bit of space for room to expand. Freeze the popsicles for 12 hours.
NOTE: Depending on the style of popsicle mold you have, you might need to remove the stick and replace it each time. Don't have a good popsicle mold yet? I have this stainless steel one and absolutely love it. There's no plastic, it will last me a lifetime and it's easy to clean. It's better for our health and better for the planet!
More Healthy Treats To Try
I love making healthy treat recipes! Here are a few faves that you should save for later:
- Banana Cream Popsicles - So easy to make, dairy-free, and healthier than the store-bought popsicles.
- Homemade Fudgesicles - These are healthy! They're sooo good. They're dairy-free and made with real food ingredients (no refined sugar or added preservatives).
- Carrot Cake Bites - These energy bites don't require any baking. They taste just like carrot cake.
- Health Banana Splits - The perfect Sunday brunch treat. Kids and adults will love this recipe. And it's full of healthy ingredients.
- Mango Turmeric Smoothie - One of my favorite afternoon pick-me-ups. The perfect sweetness with a little kick all thanks to the ginger. This smoothie is high in antioxidants and makes a good after-school snack for kids and moms.
Rainbow Real Fruit Popsicles
Tap Stars To Rate!
Ingredients
Strawberry Layer
- 1 cup frozen strawberries
- ¼ cup organic fruit juice - or water
Kiwi Layer
- 3 kiwis, skin removed and sliced - or frozen
- 2 Tbsp organic fruit juice - or water
Pineapple Layer
- 1 cup frozen pineapple
- 3 Tbsp organic fruit juice - or water
Blueberry Layer
- ½ cup frozen blueberries
- 2-3 Tbsp organic fruit juice - or water
Instructions
- Strawberry Layer: Add the strawberries and juice (or water) to a blender. Blend until smooth (add more liquid if necessary). Pour a small amount into each popsicle mold. Add the popsicle sticks and freeze for 20 minutes.

- Kiwi Layer: Peel off the kiwi skin. Add kiwis to the blender along with juice (or water). Blend until smooth (add more liquid if necessary). Pour a small amount into each popsicle mold. Add popsicle sticks back and freeze another 20 minutes.
- Pineapple Layer: Add the pineapple and juice (or water) to a blender. Blend until smooth. Pour into the popsicle mold (you may need to remove the popsicle sticks depending on the style of mold you have). Leave enough space at the top for one more layer. Freeze another 20 minutes.
- Blueberry Layer: Add blueberries and juice (or water) to a blender. Blend until smooth. Pour into popsicle mold leaving a small amount of space at top for room to expand. Freeze 12 hours.
- Serving Instructions: Run the outer part of the popsicle mold underneath cold water for a few seconds. Gently pull the popsicle stick and it should begin to release. Serve immediately.
Notes
- You might need more liquid to blend the frozen fruit. If you do, add 1 Tbsp at a time so you don't add too much. Fresh fruit will require less added juice.
- I used organic fruit juice to sweeten my popsicles. You can also use coconut water, or water instead.
- Need a new popsicle mold? I have this stainless steel one and absolutely love it! It's plastic-free, will last a lifetime, and uses wooden popsicle sticks. It's so easy to clean, each mold can be removed from the stand. I highly recommend it!
Nutrition
Nutrition info is auto-calculated and meant to be an approximation only.