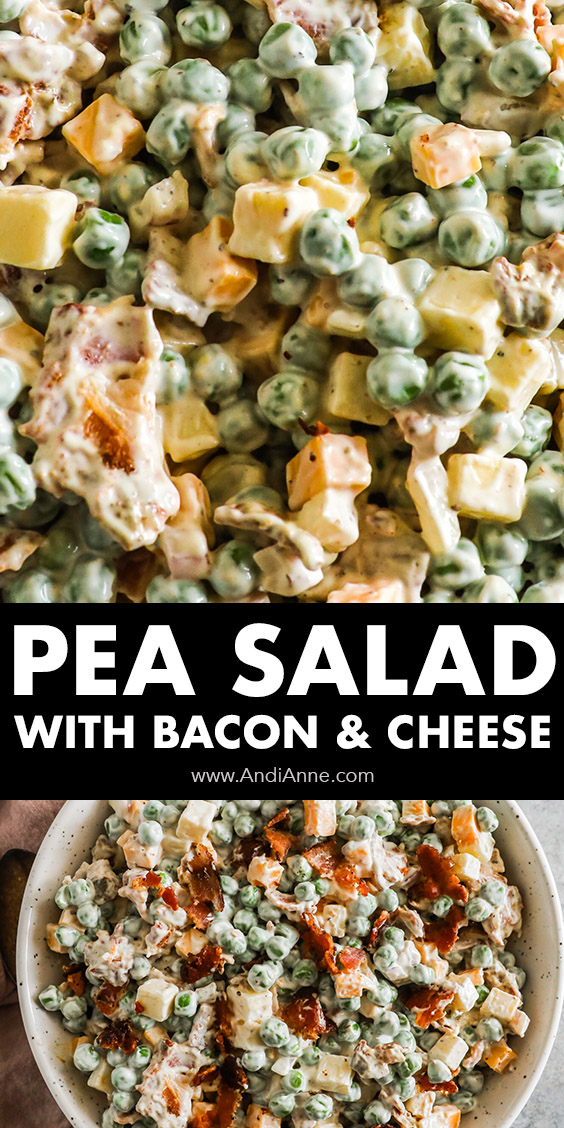
Pea salad is a creamy side dish made with peas, bacon, cheese and red onion, all smothered in a creamy sauce. Serve alongside our quinoa salad, and easy tangy dill pickle pasta salad and sweet and refreshing strawberry spinach salad for the perfect side dishes at picnics, potlucks or BBQs.
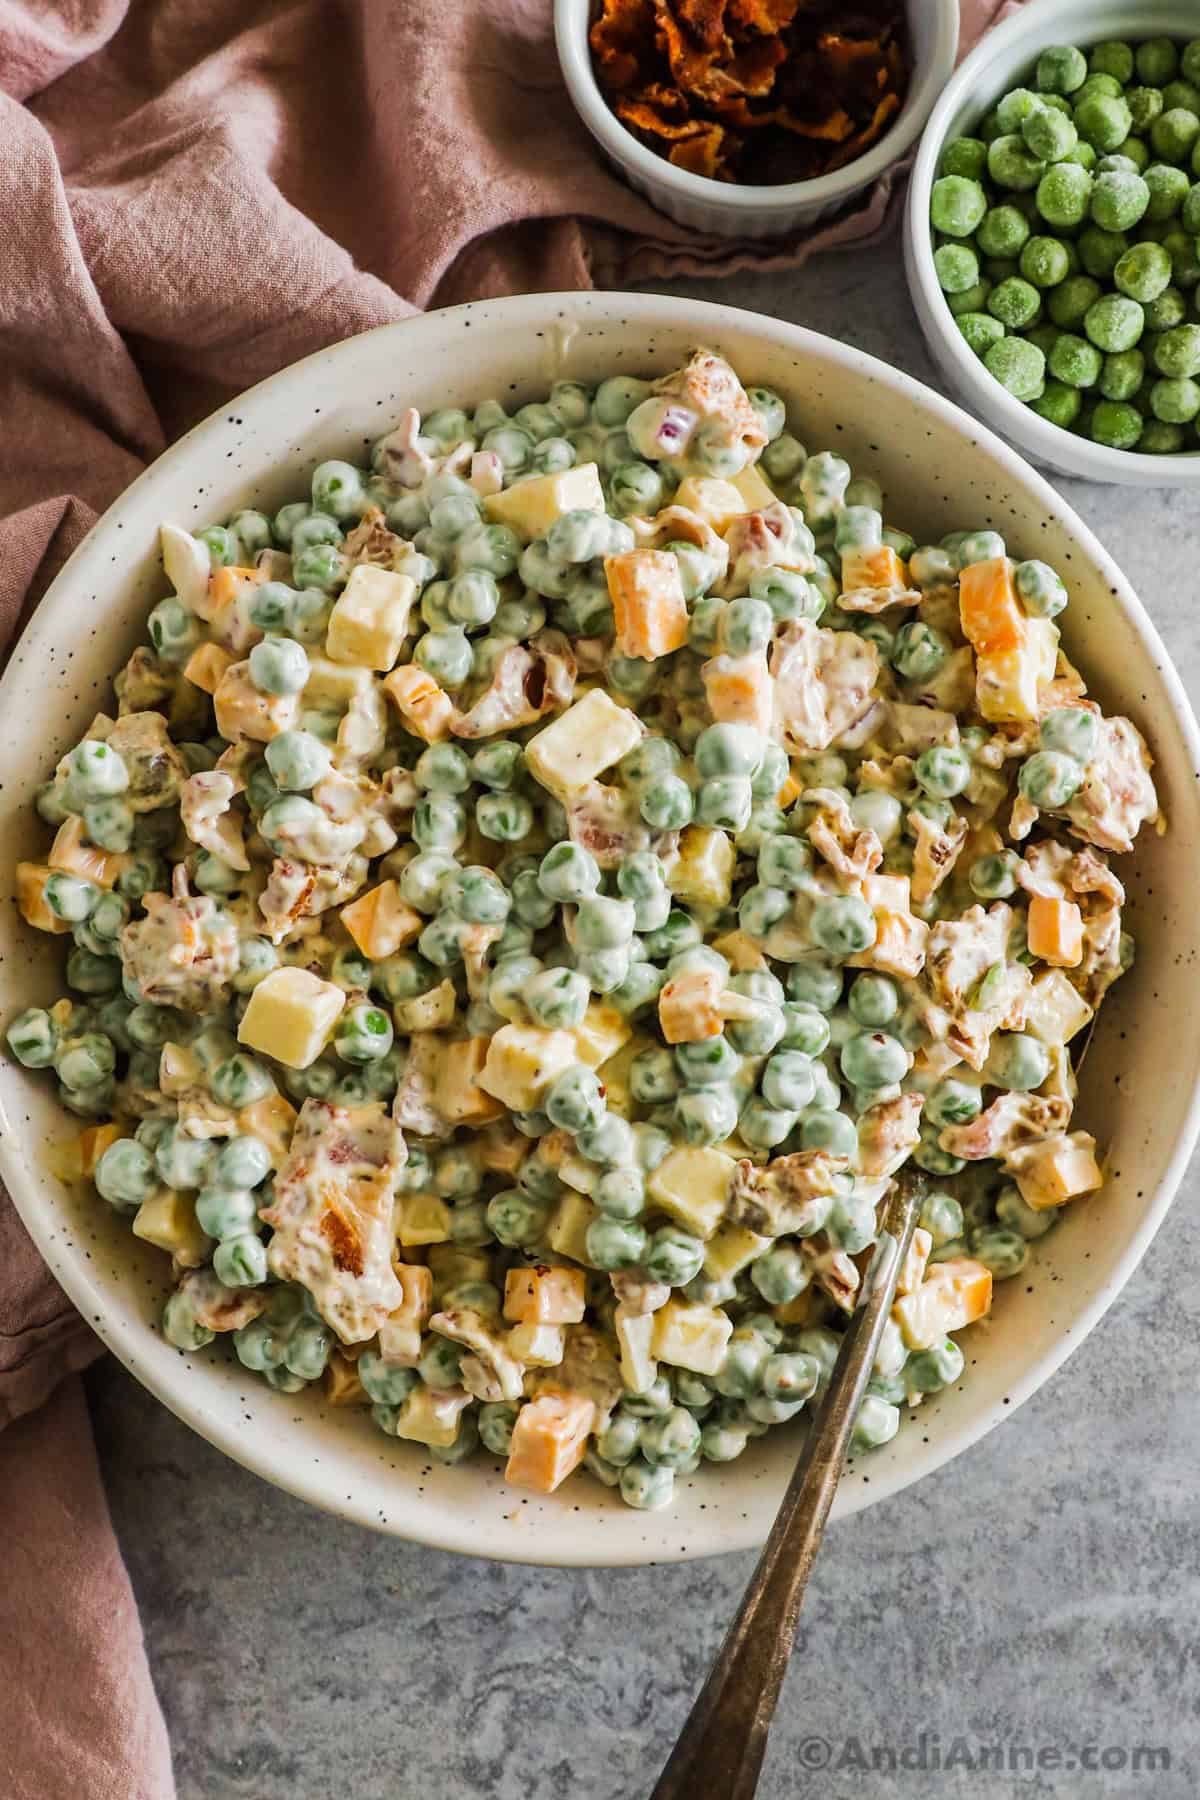
Green Pea Salad
Classic Pea salad is a delicious and easy-to-make side dish that can be enjoyed all year round. It's a great way to add some affordable vegetables to your plate, and it can be customized to suit your taste preferences.
Here are a few reasons why pea salad is so good:
- TASTY - The sweetness of the peas, the crunch of the bacon, and the creaminess of the dressing create a delightful combination of flavors.
- VERSATILE - Pea salad can be made with a variety of ingredients, such as bacon, cheese, onions, and celery. You can also experiment with different dressings, such as ranch or vinaigrette, to create a unique flavor.
- BUDGET FRIENDLY - Frozen peas are an affordable ingredient that can be found at most grocery stores. You can also use leftover ingredients, such as bacon or cheese, to make the salad even more budget-friendly.
- CROWD PLEASER - This is a popular dish that is sure to impress your guests. It's a great option for potlucks, picnics, or BBQs, and it pairs well with a variety of main dishes.
- CUSTOMIZABLE - You can easily customize the recipe to your liking. You can add other vegetables like carrots or bell peppers, use different types of dressing, or swap with ham to make it a more substantial dish.
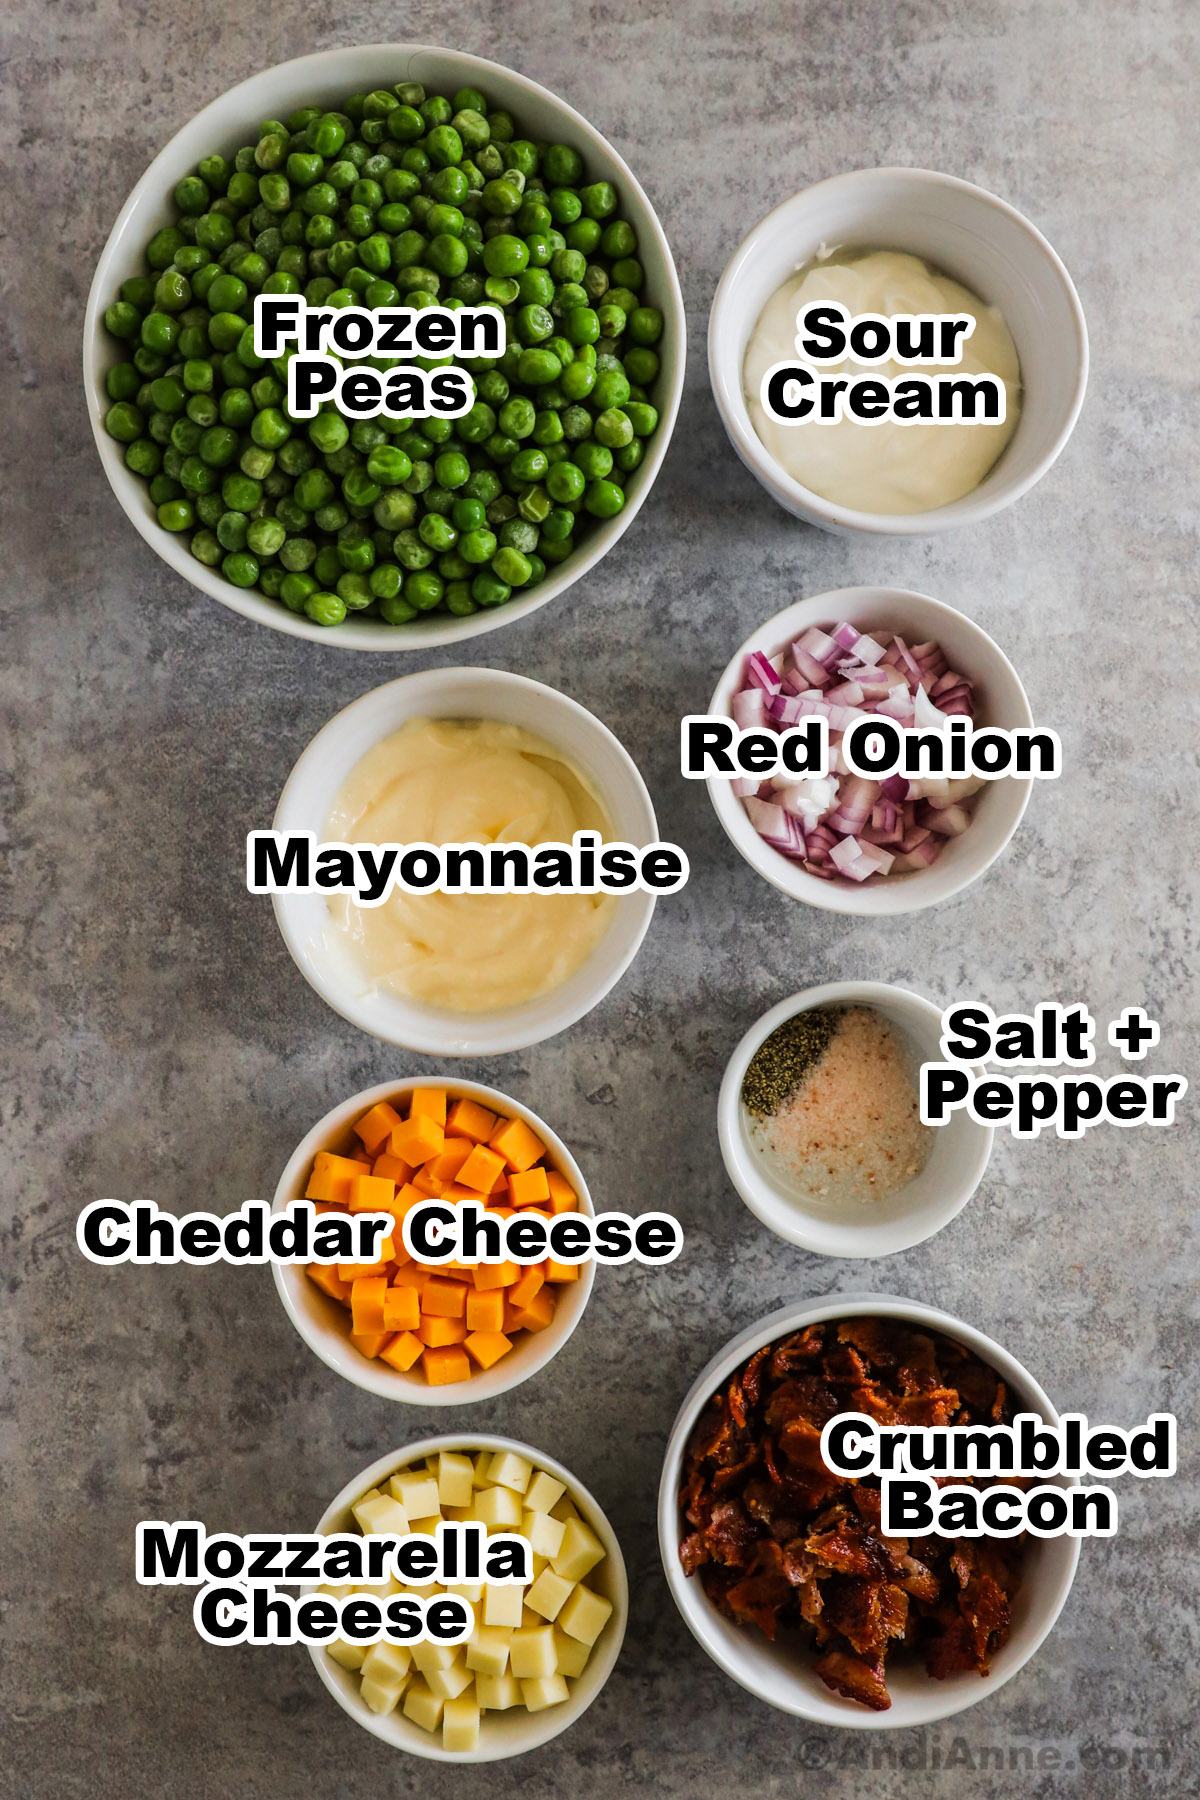
Recipe Ingredients
This pea salad couldn't be easier to make. Here's a list of the ingredients with a few variations you can use. The full pea salad ingredients list is included in the recipe card at the bottom of this post.
- SWEET PEAS - Frozen peas are sweet, and tender, and add a nice crunch to the salad. You can also use fresh peas, which would taste even more delicious. Canned peas can also work but the texture will be a bit softer.
- SOUR CREAM - Sour cream adds a tangy flavor to the salad and helps to balance out the sweetness of the peas. If you don't have sour cream, you can use plain Greek yogurt or mayonnaise instead.
- MAYONNAISE - Mayonnaise helps to bind the salad together and adds a tangy taste. If you don't like mayonnaise, you can use miracle whip, Greek yogurt, or sour cream instead.
- WHITE VINEGAR - White vinegar helps to balance out the sweetness of the peas. If you don't have white vinegar, you can use apple cider vinegar or lemon juice instead.
- RED ONION - Red onions add a really nice crunch and a slightly sweet flavor to the salad. I prefer to dice the red onion small, similar to the size of the peas. If you don't have red onion, you can use sweet white onion, shallots, or green onions instead.
- CHEDDAR CHEESE - Sharp cheddar cheese adds a nice flavor and helps to balance out the sweetness of the peas. Feel free to use shredded cheddar cheese instead. If you don't have cheddar cheese, you can use more mozzarella cheese or feta cheese instead.
- MOZZARELLA CHEESE - This complements the cheddar cheese nicely.
- BACON - Crumbled bacon adds a nice smoky flavor and a crunchy texture. If you don't eat bacon, you can leave it out or use vegetarian bacon instead.
- SALT AND PEPPER - Salt and pepper are added to the creamy sauce and can also be used to season the final salad. Be sure to taste the salad as you go and adjust the seasoning as needed.
Variations of Pea Salad
There are many variations of pea salad out there. Feel free to mix in a few ingredients. Here are some suggestions for pea salads:
- FRUIT - If you have a sweet tooth, you can add some dried cranberries, raisins, or chopped apples. This will add a nice contrast to the savory flavors of the salad.
- NUTS - Chopped nuts like almonds, walnuts or sunflower seeds will all add a nice crunch.
- CROUTONS - Sprinkle in croutons just before serving.
- SPICE - If you like a little kick in your salad, you can add some zesty ingredients like chopped jalapeños and red pepper flakes.
- HAM - Swap out the bacon for diced ham.
- EGGS - Hard-boiled eggs are a common ingredient in many old-fashioned pea salad recipes.
- MORE VEGGIES - Try chopped celery, bell pepper, green onion, or cooked tender-crisp asparagus.
Whether you prefer a sweet or zesty flavor or want to add some unique ingredients, there are endless variations of cold pea salad that you can try.
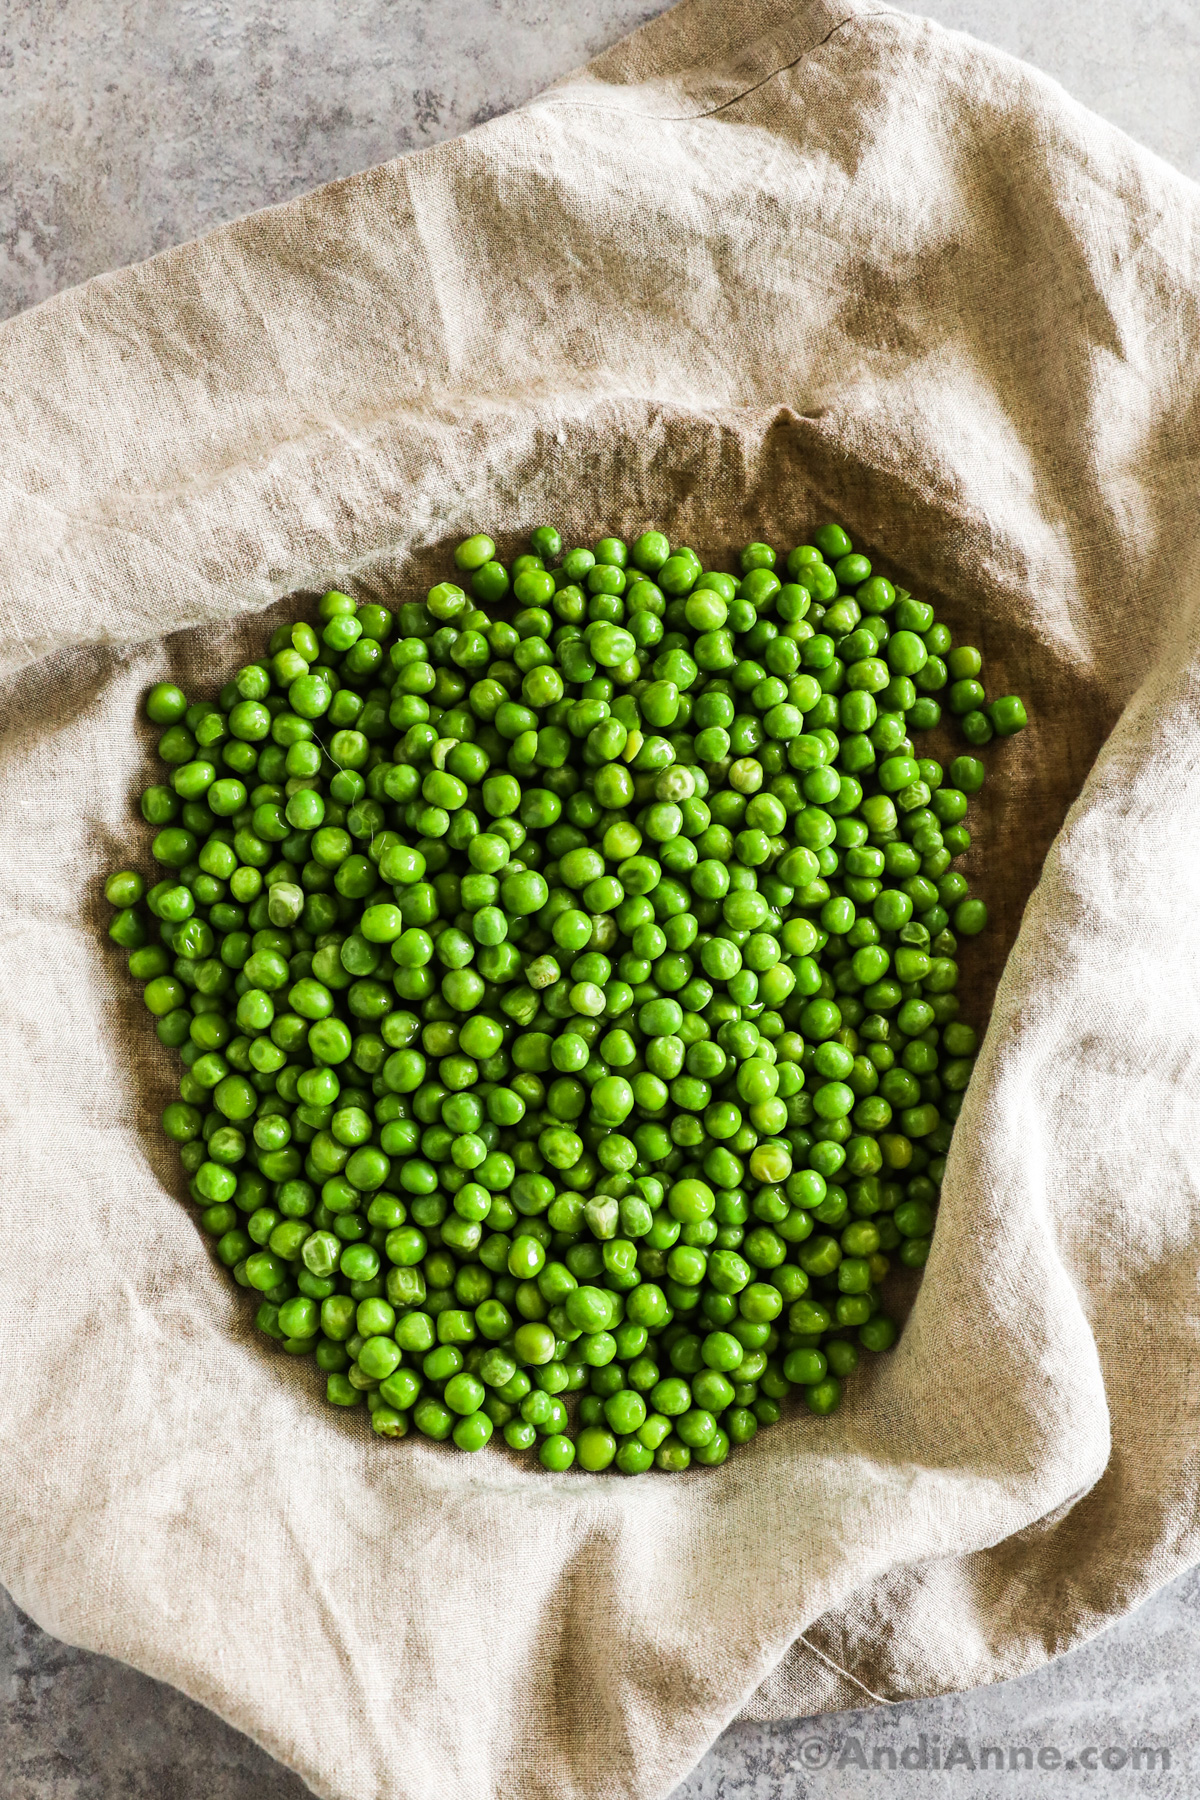
How to Thaw Frozen Peas Quickly
If you're in a hurry and need to make pea salad, you can quickly thaw frozen peas using a few methods:
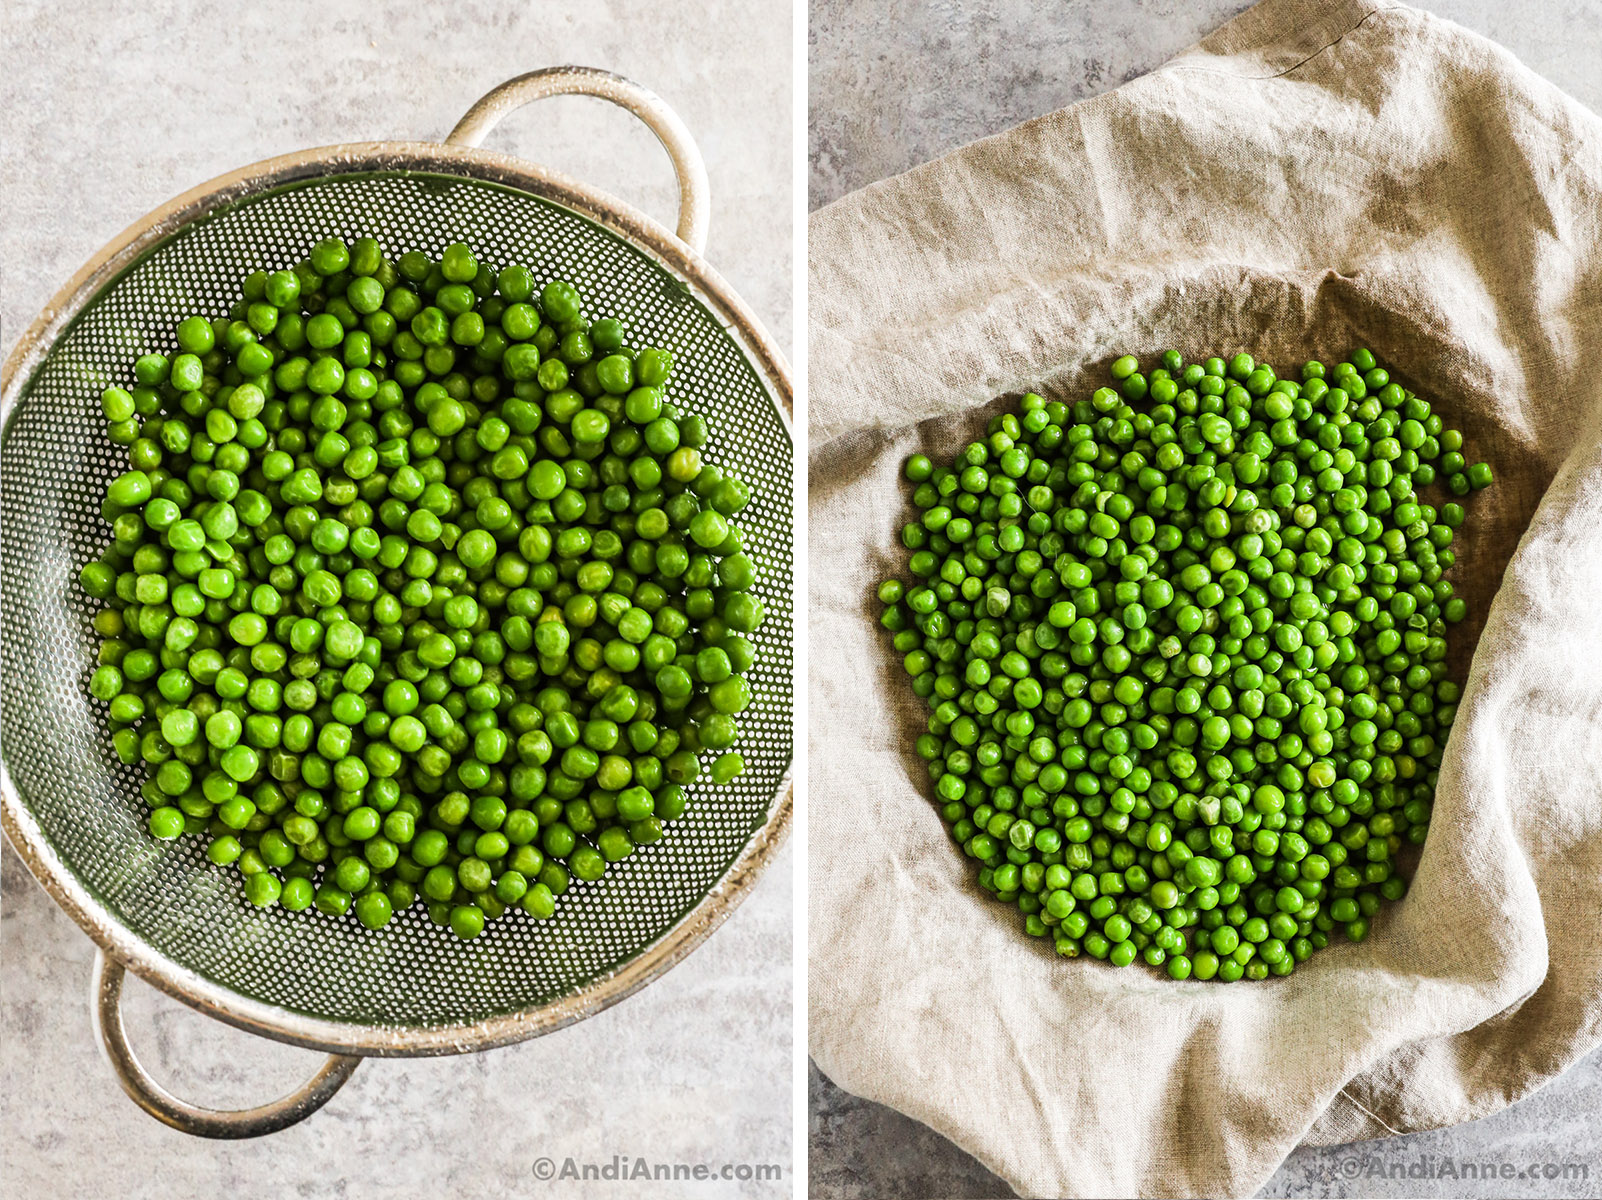
- RUN UNDER WATER - Place the frozen peas in a strainer and run cold water over them for 2-3 minutes. This will help to thaw the peas quickly and effectively. Make sure to shake the strainer a few times to ensure that all the peas are evenly thawed.
- SOAK IN WATER - Another way to thaw frozen peas is to soak them in cold water for about 15 minutes. This method is useful if you don't have access to running water or if you want to thaw a large quantity of peas at once. Once the peas are thawed, drain them thoroughly.
After thawing the frozen peas, it is important to pat them dry thoroughly with a towel. This will help to remove any excess moisture and prevent the salad from becoming soggy.
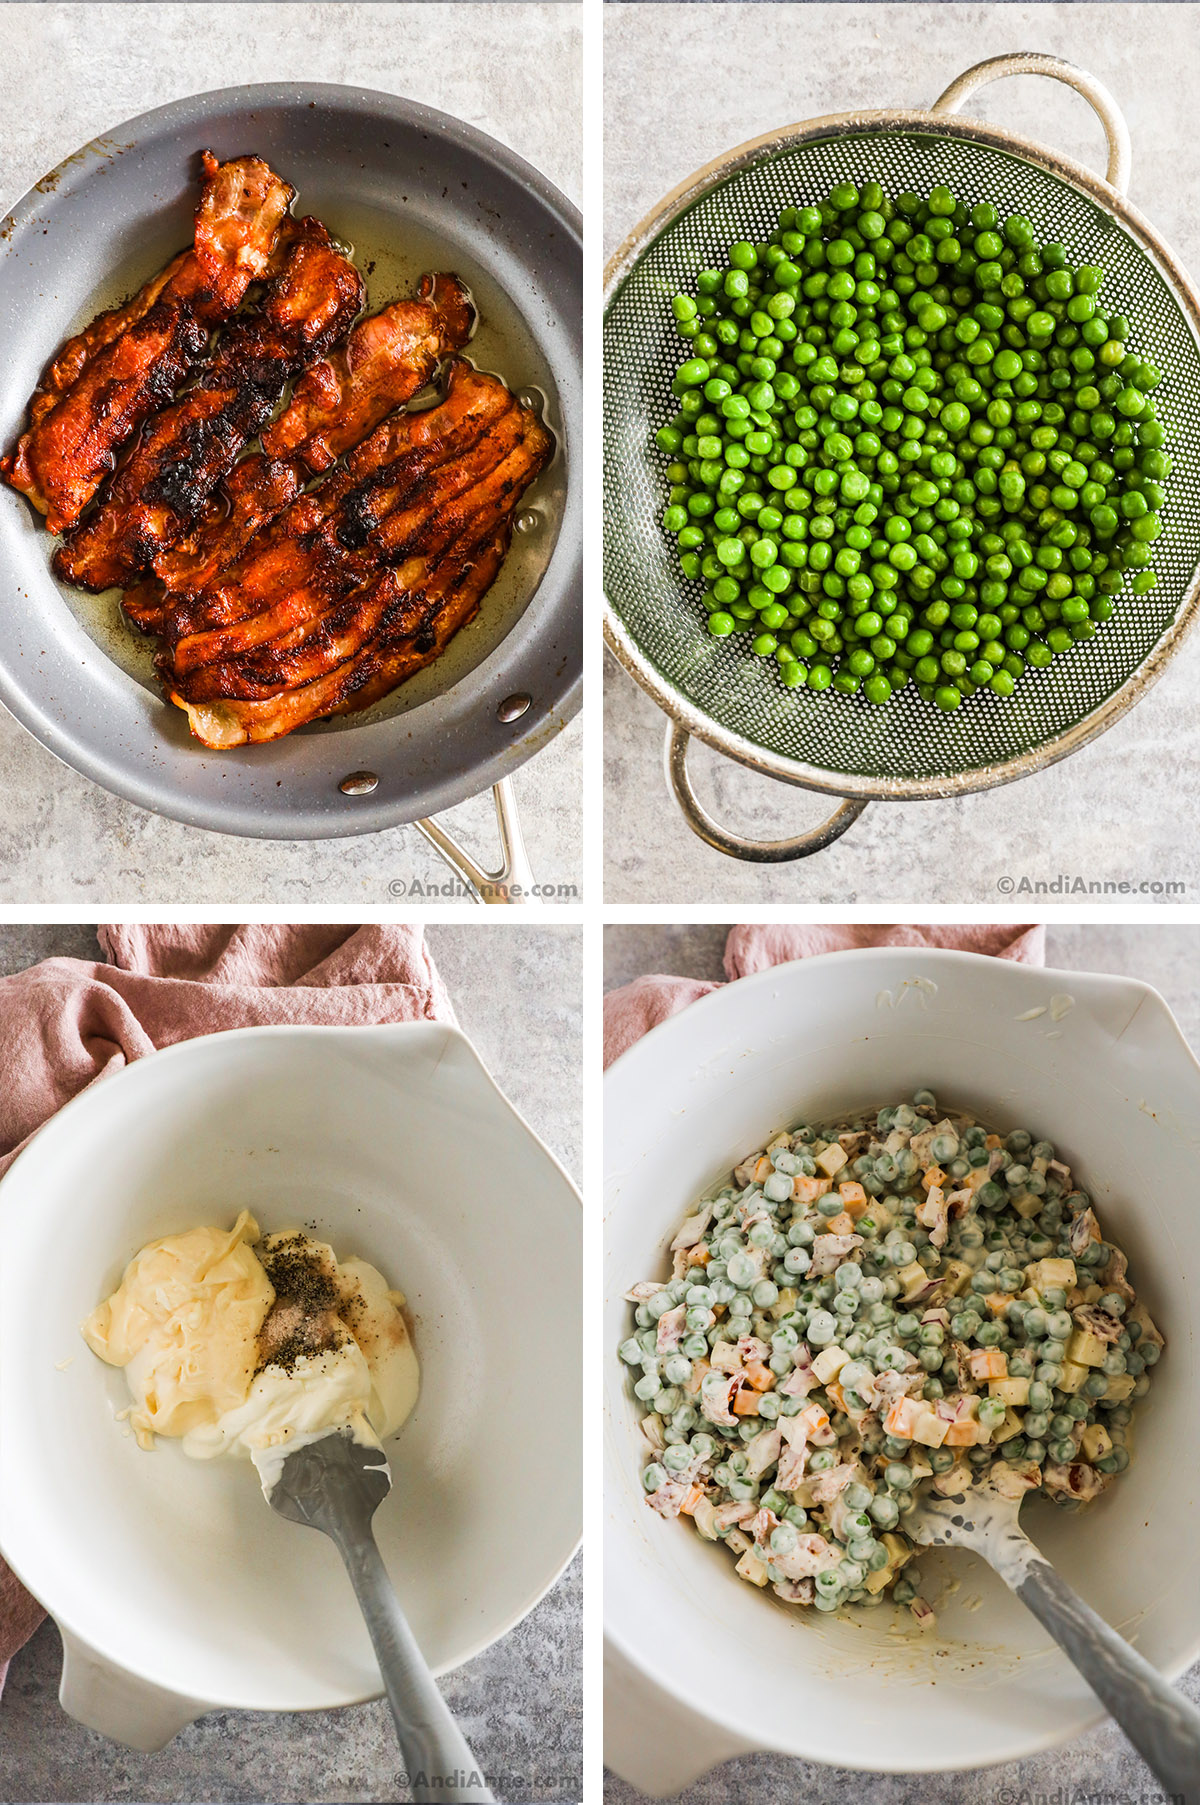
How to Make Pea Salad
Making this salad is simple and easy. Here's an overview of how to make them with the full instructions in the recipe card at the bottom of this post:
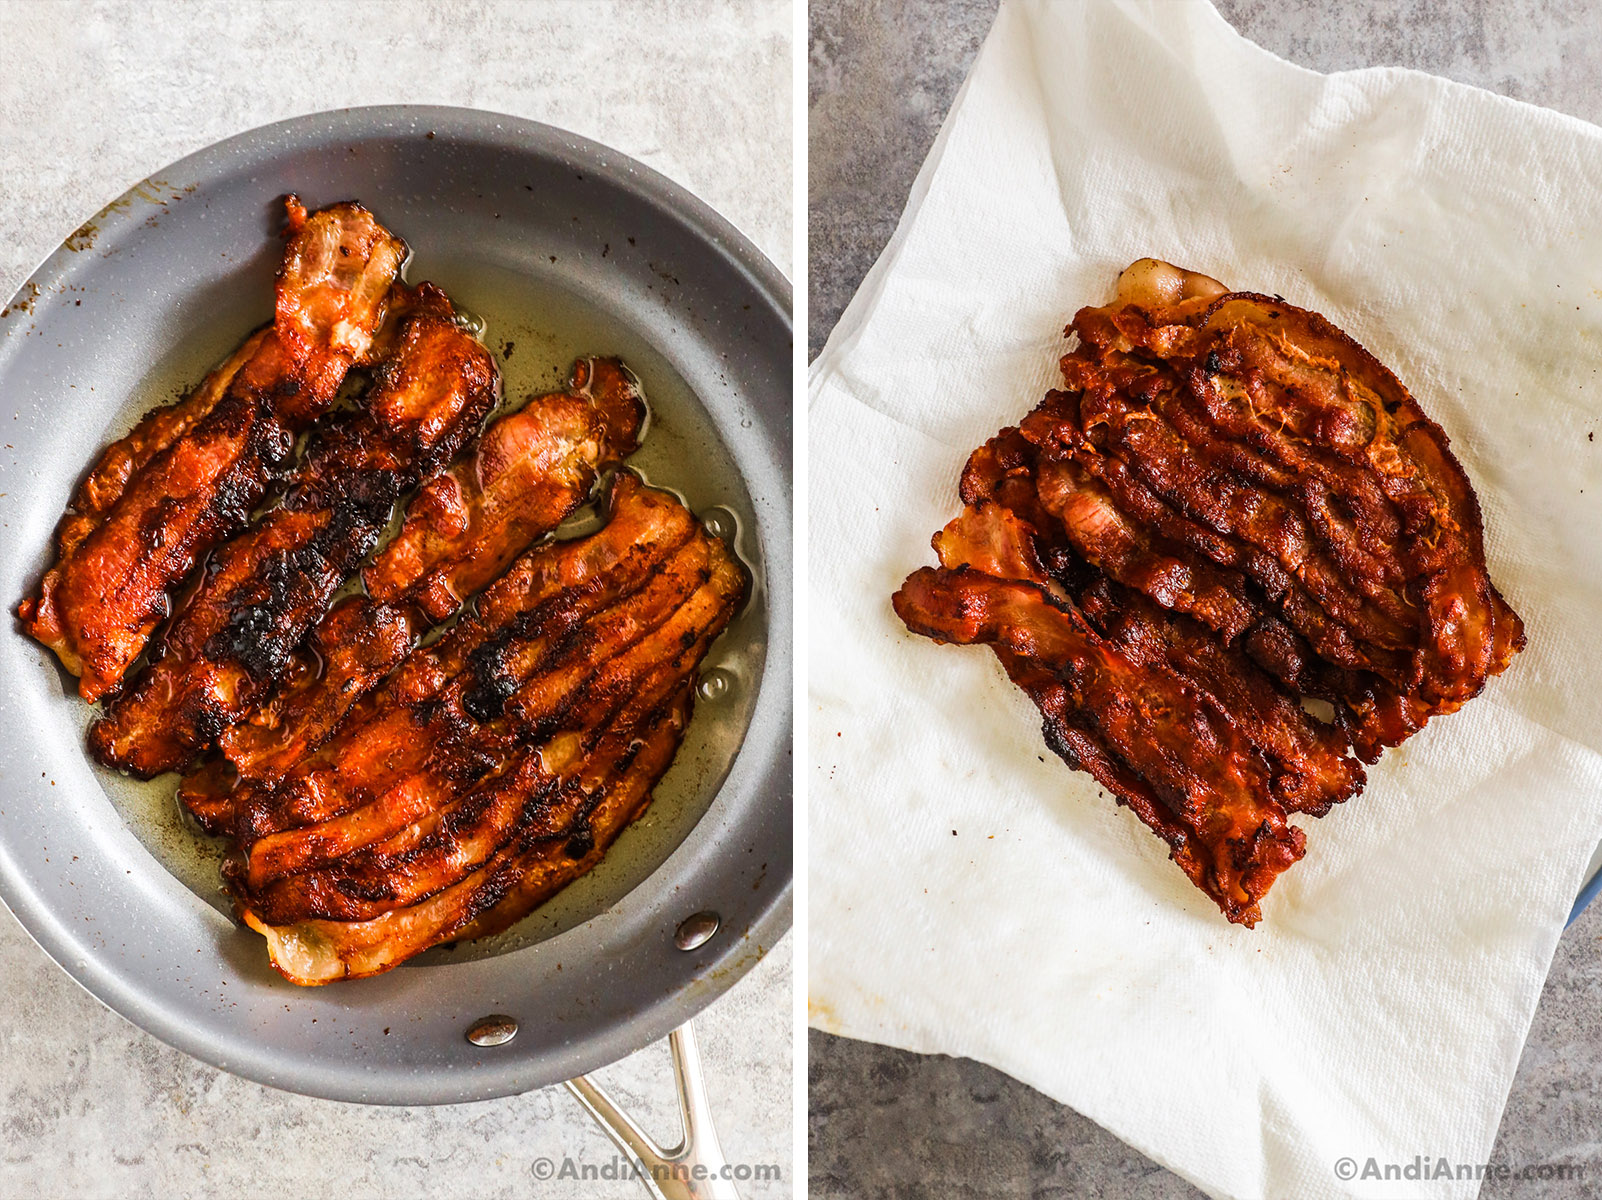
- COOK BACON AND CRUMBLE - Cook 8 slices of bacon until crispy. Once cooked, place on a paper towel to absorb excess grease. Once the bacon has cooled, you can crumble the bacon into small pieces and set it aside.
- THAW PEAS - Take 4 cups of frozen green peas and thaw them under cold running water. Make sure to drain any excess water and pat them dry with a towel.
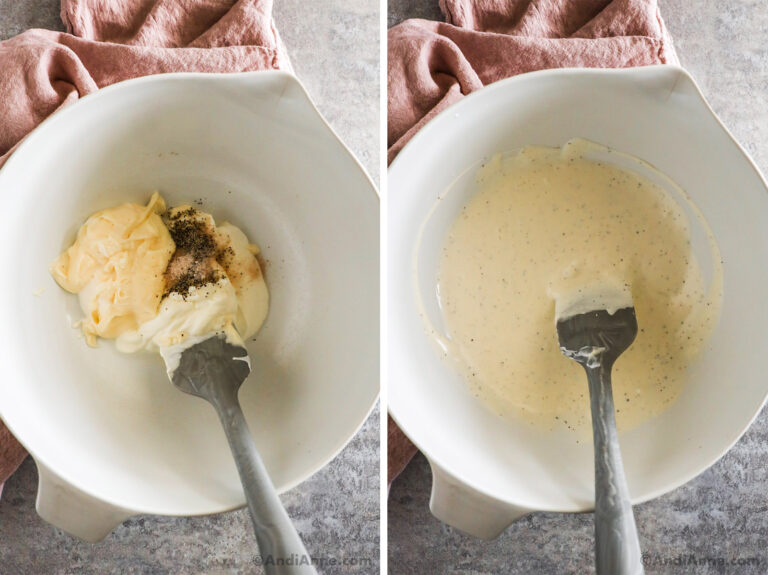
- MIX DRESSING - In a large mixing bowl, the sour cream, mayonnaise, white vinegar, salt, and pepper.
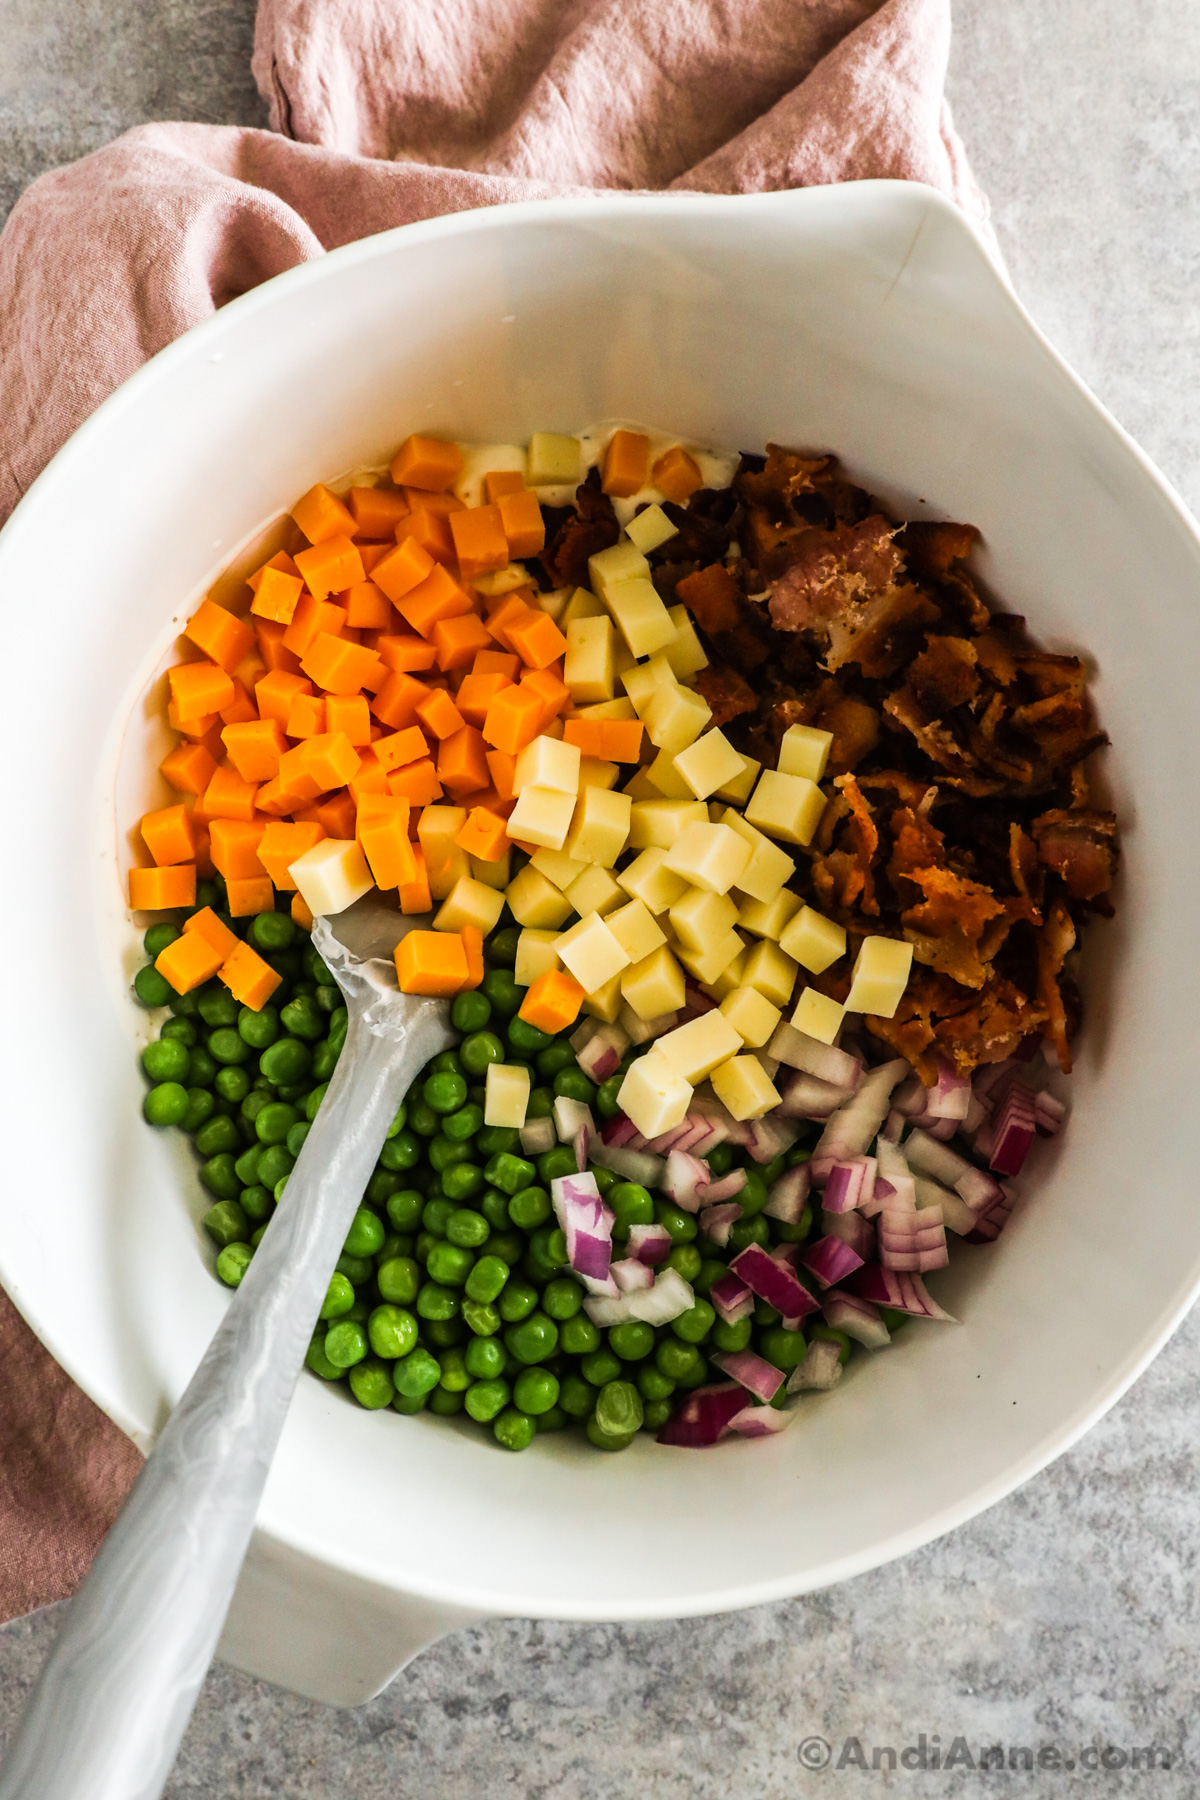
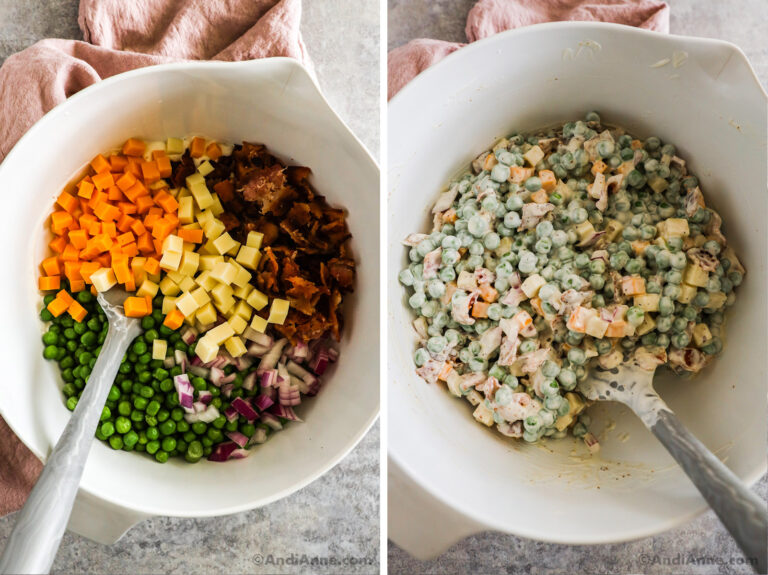
- COMBINE - Add the thawed peas, chopped red onion, cubed cheddar cheese, cubed mozzarella cheese, and the crumbled bacon into the mixing bowl. Gently fold the ingredients together until they are evenly coated.
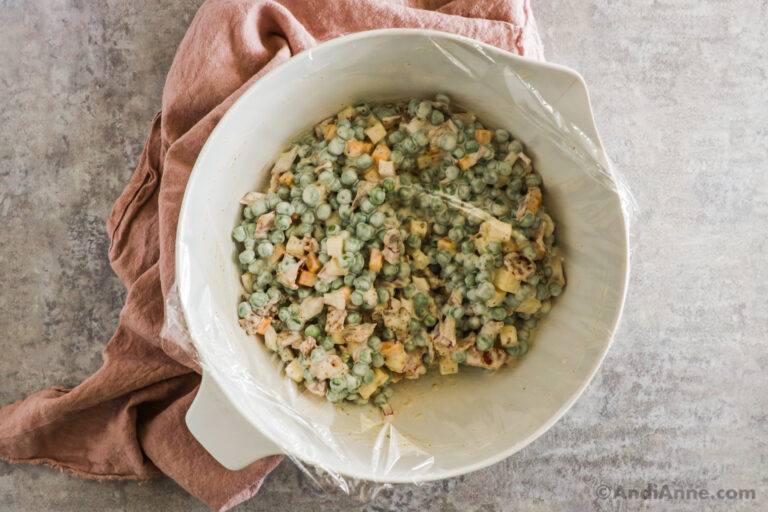
- CHILL - Cover the mixing bowl with plastic wrap and chill the salad in the refrigerator for at least 4 hours or overnight. This will allow the flavors to meld together and create a refreshing taste.
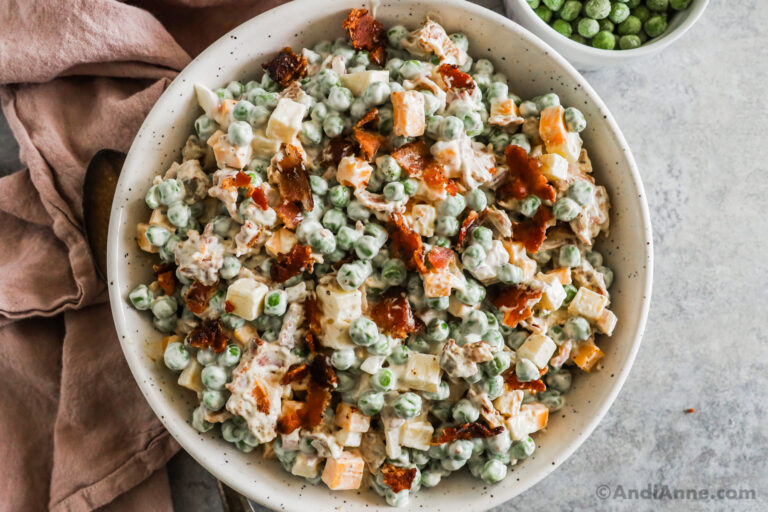
- SERVE - Once the salad has chilled, give it a quick stir and transfer it to a serving dish. Sprinkle more crumbled bacon over the top for added flavor. Serve and enjoy!
Storing Leftovers
By following these tips, you can ensure that your leftovers stay fresh and delicious for as long as possible.
- SERVE OR STORE PROMPTLY - If you're serving the salad at a potluck, make sure to serve it promptly. If you have leftovers, make sure to store them in the fridge to avoid spoilage.
- USE AN AIRTIGHT CONTAINER - To keep your pea salad fresh, store leftovers in an airtight container. This will prevent air from getting in and causing the salad to dry out.
- REFRIGERATE - Store this in the refrigerator as soon as possible, ideally within two hours of making it. This will help to keep it fresh. It's best to consume it within three to four days. After that, the mayonnaise can start to break down and the salad can become watery.
- POTLUCKS - If you're taking your pea salad to a potluck, make sure to keep it chilled in a cooler or insulated bag. This will help to maintain the temperature and prevent spoilage.
Recipe Tips
Here are some recipe tips to help you make the best pea salad:
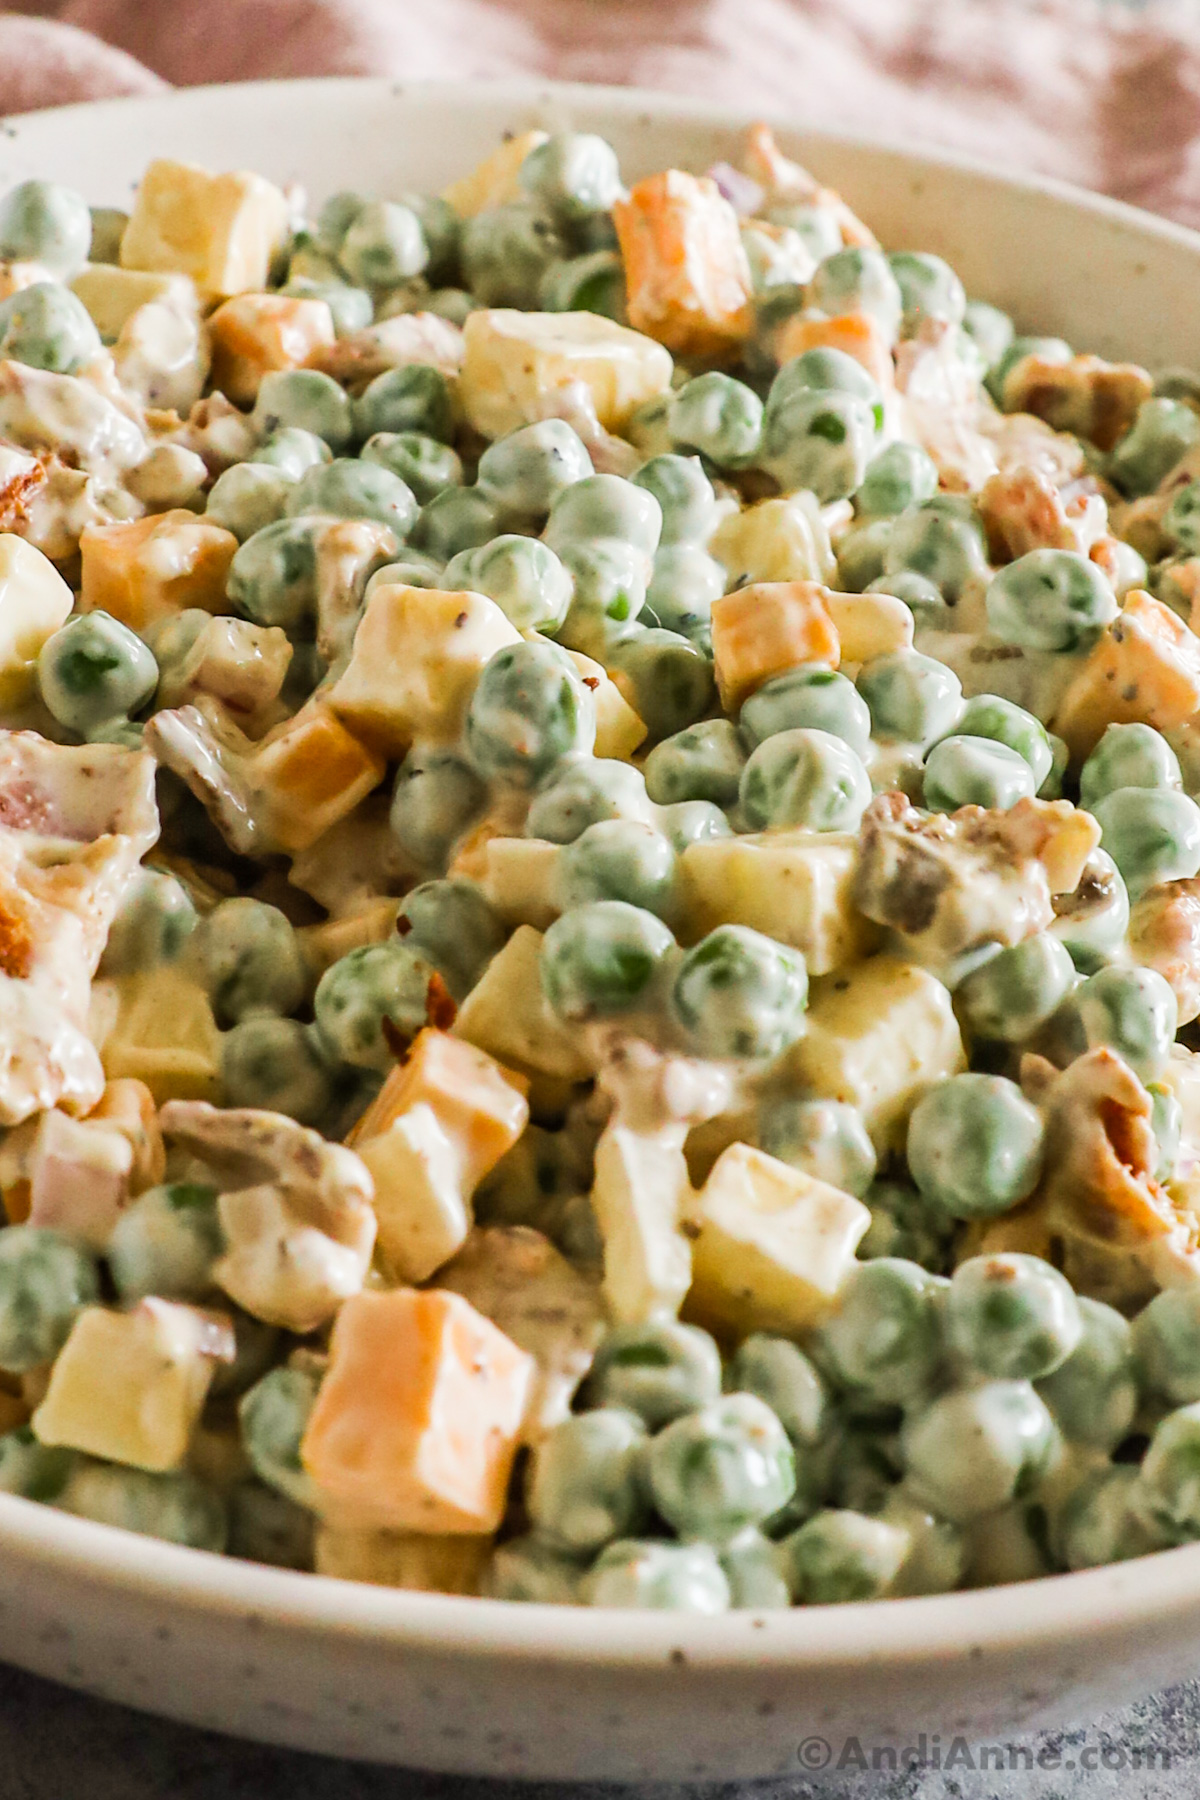
- CUBE THE CHEESE THE SAME SIZE AS PEAS - To ensure that each bite has a perfect balance of flavors, it's important to cube the cheese the same size as the peas. This will help everything mix together evenly.
- COOK THE BACON EXTRA CRISPY FOR CRUNCH - Bacon adds a delicious crunch to the salad, but it's important to cook it extra crispy. This will prevent it from getting soggy and will give it a satisfying crunch.
- PAT PEAS DRY THOROUGHLY BEFORE ADDING TO SALAD - Peas can be quite watery, so it's important to pat them dry thoroughly before adding them to the salad. This will prevent it from becoming too watery and will ensure that the dressing sticks to the peas.
- CHILL AT LEAST 4 HOURS - Pea salad is best when it's cold, so be sure to chill it for at least 4 hours before serving. This will allow the flavors to meld together and will make the salad even more delicious.
- KEEP IN FRIDGE UNTIL READY TO SERVE - Once the salad is chilled, be sure to keep it in the fridge until you're ready to serve it. This will ensure that it stays cold and fresh.
- STIR JUST BEFORE SERVING - Before serving, give the salad a quick gentle stir to make sure that everything is evenly mixed. This will ensure that each bite has a perfect balance of flavors.
Can you make pea salad ahead of time?
Yes, you can make this delicious pea salad ahead of time! In fact, making it ahead of time can actually improve the flavor as the ingredients have more time to meld together.
Simply prepare the pea salad according to your recipe, cover it tightly with plastic wrap or an airtight lid, and store it in the refrigerator until you're ready to serve it. It's best to make it no more than a day in advance to ensure the ingredients stay fresh.
How do you keep pea salad fresh?
To keep your pea salad fresh, store it in an airtight container in the refrigerator. If you're making it ahead of time, be sure to keep it refrigerated until you're ready to serve it.
If you're bringing it to a potluck or picnic, use a cooler with ice packs to keep it chilled. It's important to note that pea salad can become watery over time, so if you notice any excess liquid, give the salad a quick stir and simply drain it off before serving.
Conclusion
If you are looking for an easy and delicious salad to serve for a summer barbecue or potluck, then you should definitely try this easy sweet pea salad!
It's a simple dish that requires only a few ingredients and minimal prep time. You can make it ahead of time and store it in the fridge until you're ready to serve.
More Salad Recipes
- Corn Tomato Avocado Salad
- Dill Pickle Pasta Salad
- Taco Chicken Salad
- Quinoa Salad
- Burger Salad
- Broccoli Crunch Salad
- Strawberry Spinach Salad
Pea Salad Recipe
Tap Stars To Rate!
Ingredients
- 8 cooked bacon slices - crumbled (about 1 cup)
- 4 cups frozen peas - or fresh peas
- ½ cup sour cream
- ½ cup mayonnaise
- 2 tsp white vinegar - or apple cider vinegar
- ½ tsp salt
- ¼ tsp ground black pepper
- ⅓ cup chopped red onion
- ½ cup cubed cheddar cheese
- ½ cup cubed mozzarella cheese
Instructions
- Cook the bacon in a frying pan until it's crispy. Blot with paper towels and let cool. Crumble into small pieces and set aside.
- Thaw the frozen peas by adding them to a strainer and rinsing under cold water for 2-3 minutes. Pat them dry thoroughly with a towel.
- In a large bowl, mix together the sour cream, mayonnaise, white vinegar, salt and pepper.
- Add in the thawed peas, chopped red onion, cubed cheddar cheese and mozzarella cheese. Sprinkle in the bacon and mix everything together.
- Cover the salad with a lid or plastic wrap and place in the fridge for 4 hours, or overnight.
- Sprinkle on more crispy bacon just before serving.
Notes
- SERVE OR STORE PROMPTLY - If you're serving the salad at a potluck, make sure to serve it promptly. If you have leftovers, make sure to store them in the fridge to avoid spoilage.
- USE AN AIRTIGHT CONTAINER - To keep your pea salad fresh, store leftovers in an airtight container. This will prevent air from getting in and causing the salad to dry out.
- REFRIGERATE - Store this in the refrigerator as soon as possible, ideally within two hours of making it. This will help to keep it fresh. It's best to consume it within three to four days. After that, the mayonnaise can start to break down and the salad can become watery.
- POTLUCKS - If you're taking your pea salad to a potluck, make sure to keep it chilled in a cooler or insulated bag. This will help to maintain the temperature and prevent spoilage.
Nutrition
Nutrition info is auto-calculated and meant to be an approximation only.


Leave a Reply